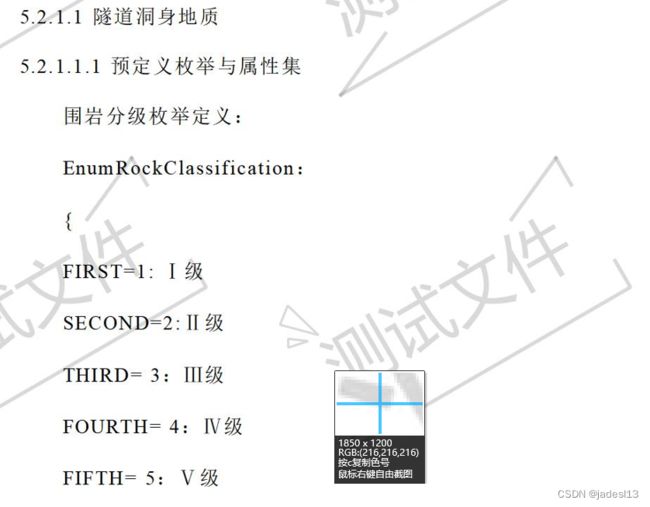
Python实践11:基于PIL对图片批量去水印
代码如下:
'''
Author: error: git config user.name && git config user.email & please set dead value or install git
Date: 2022-10-19 09:09:53
LastEditors: error: git config user.name && git config user.email & please set dead value or install git
LastEditTime: 2022-10-19 10:42:28
FilePath: \BaiduNetdiskWorkspace\towaterMark.py
Description: 这是默认设置,请设置`customMade`, 打开koroFileHeader查看配置 进行设置: https://github.com/OBKoro1/koro1FileHeader/wiki/%E9%85%8D%E7%BD%AE
'''
from itertools import product
from PIL import Image
import os,time

def  towatermark(srcpath,savpath):
    '''批量去水印'''
    files = os.listdir(srcpath) #所有文件
    count = 0
    for f in files:
        print(count)
        file_p = os.path.join(srcpath,f) # 图片原始位置
        squar_p = os.path.join(savpath,f)
        img = Image.open(file_p)
        width,height = img.size
        # print('图片宽度、高度:' + str(width) + ',' + str(height))
        range_wid = range(width)
        range_hei = range(height)
        # print(range_wid)
        # print(range_hei)
        T1 = time.clock()
        print('...开始处理' + f )
        for pos in product(range_wid,range_hei):
            #600为水印颜色
            rgb = img.getpixel(pos)[:3]
            # print(str(pos[0])+','+str(pos[1]))
            if sum(rgb) > 530 and sum(rgb) < 760:    # 此处为简单示例,大多水印是灰色,容易识别。对于复杂水印,要设计具体的判识规则。
                # print(rgb, end=' -> ')
                img.putpixel(pos,(255,255,255))  # 设置为白色
                rgb2 = img.getpixel(pos)[:3]
                # print(rgb2, end=',')

        if not os.path.exists(squar_p):
            img.save(squar_p)
            print('...处理完毕,输出至' + squar_p)
        else:
            print('...已经存在,不需保存')

        T2 = time.clock()
        print("...耗时", round(T2-T1,3), "秒")
        count += 1


if __name__ == '__main__':
    srcpath = r'F:\BaiduNetdiskWorkspace\picture_from'
    savpath = r'F:\BaiduNetdiskWorkspace\picture_to'
    towatermark(srcpath,savpath)


