VCED:学习Jina的简单操作
文章目录
-
- VCED:学习Jina的简单操作
-
- 在pycharm里连接docker环境
- 几个简单的jina demo
-
- image
- text
- video
VCED:学习Jina的简单操作
在pycharm里连接docker环境
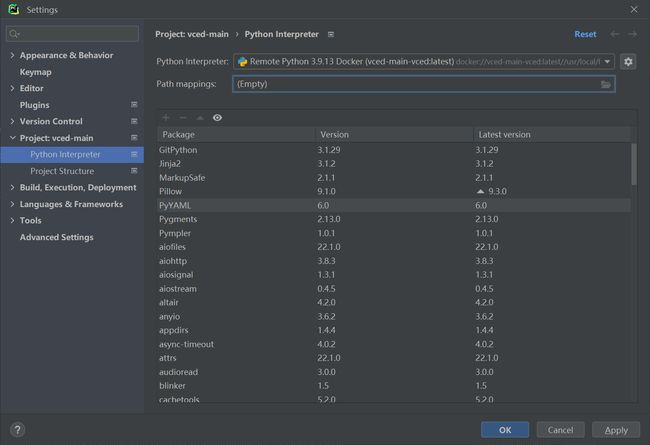
在pycharm里找到docker环境
New一个环境
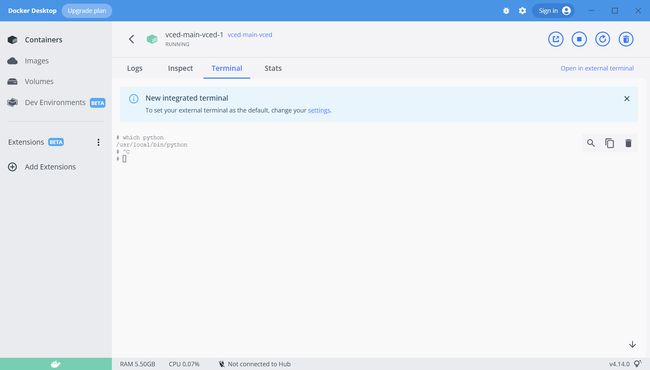
在docker里进入terminal,找到python 位置
成功得到decker环境
运行jina的代码
几个简单的jina demo
image
- 读取图片并转为tensor
from jina import Document

d = Document(uri='lena.jpg')
d.load_uri_to_image_tensor()

print(d.tensor.shape)  # (618, 641, 3)
print(d.tensor)
这里用一个图像处理的经典图片lena
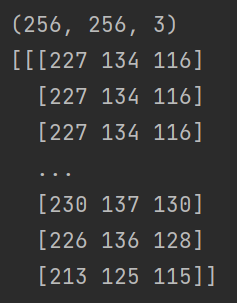
得到了结果
- 进行简单的图形处理
from jina import Document

d = (
    Document(uri='lena.jpg')
    .load_uri_to_image_tensor()
    .set_image_tensor_shape(shape=(224, 224))  # 设置shape
    .set_image_tensor_normalization()  # 标准化
    .set_image_tensor_channel_axis(-1, 0)  # 更改通道
)

print(d.tensor.shape)  # (3, 224, 224)
print(d.tensor)

# 你可以使用 save_image_tensor_to_file 将 tensor 转为图像。当然,因为做了预处理,图片返回时损失了很多信息。
d.save_image_tensor_to_file('lena-proc.png', channel_axis=0)  # 因为前面进行了预处理,channel_axis应该设为0
得到了图片
读取图像数据集
Omniglot数据集是由来自50种不同语言的1,623个手写字符构成的,每个字符都有20个不同的笔迹,这就构成了一个样本类别极多(1623种),但每种类别的样本数量极少(20个)的小样本手写字符数据集。使用中通常选择1200种字符作为训练集,剩余的423种字符作为验证集,并通过旋转90°,180°和270°进行数据集扩张,每张图片通过裁剪将尺寸统一为28*28。
这个报错暂时没解决
- 切割大型图像
from jina import Document

d = Document(uri='complicated-image.jpeg')
d.load_uri_to_image_tensor()
print(d.tensor.shape)  # (792, 1000, 3)
原图像shape为(792, 1000, 3)
使用 6464 的滑窗切割原图像,切分出 1215=180 个图像张量
d.convert_image_tensor_to_sliding_windows(window_shape=(64, 64))
print(d.tensor.shape)  # (208, 64, 64, 3)
可以通过 as_chunks=True,使得上述 180 张图片张量添加到 Document 块中。
# PS:运行这行代码时,需要重新 load image tensor,否则会报错。
d = Document(uri='complicated-image.jpeg')
d.load_uri_to_image_tensor()
d.convert_image_tensor_to_sliding_windows(window_shape=(64, 64), as_chunks=True)
print(d.chunks)
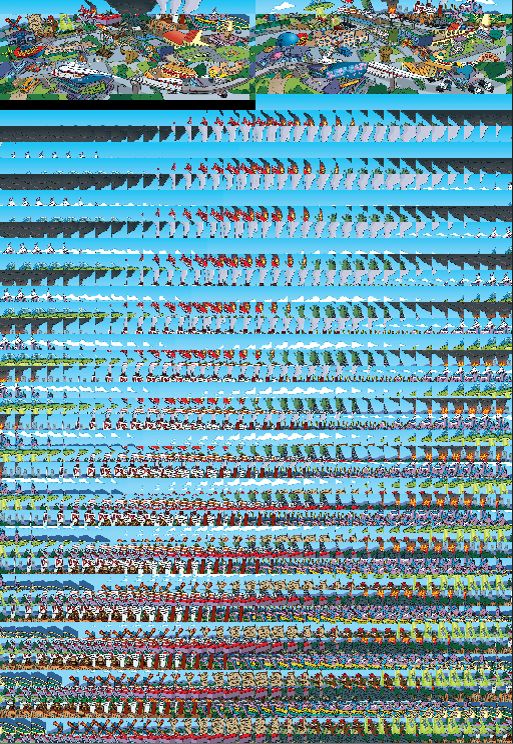
使用 plot_image_sprites 将各个 chunk 绘制成图片集图片
d.chunks.plot_image_sprites('simpsons-chunks.png')
因为采用了滑动窗口扫描整个图像,使用了默认的 stride,切分后的图像不会有重叠,所以重新绘制出的图和原图差别不大。
也可以通过设置 strides 参数进行过采样。
d.convert_image_tensor_to_sliding_windows(window_shape=(64, 64), strides=(10, 10), as_chunks=True)
d.chunks.plot_image_sprites('simpsons-chunks-stride-10.png')
得到过采样的图片
text
- 创建简单的文本数据
d = Document(text='hello, world.')
print(d.text)  # 通过text获取文本数据
打印出结果
对于网页,如果文本数据很大,或者自URI,可以先定义URI,然后将文本加载到文档中
d = Document(uri='https://www.w3.org/History/19921103-hypertext/hypertext/README.html')
d.load_uri_to_text()
print(d.text)
打印结果
支持多语言
d = Document(text='   नमस्ते दुनिया! 你好世界!こんにちは世界!  Привет мир!')
print(d.text)
- 切割文本
from jina import Document  # 导包

d = Document(text='  नमस्ते दुनिया! 你好世界!こんにちは世界!  Привет мир!')
d.chunks.extend([Document(text=c) for c in d.text.split('!')])  # 按'!'分割
d.summary()
- text、ndarray互转
from jina import DocumentArray, Document  # 导包

# DocumentArray 相当于一个 list,用于存放 Document
da = DocumentArray([Document(text='hello world'),
                    Document(text='goodbye world'),
                    Document(text='hello goodbye')])
print(da)
结果
转为字典
vocab = da.get_vocabulary()
print(vocab)
结果
{'hello': 2, 'world': 3, 'goodbye': 4}
text转为tensor向量
for d in da:
    d.convert_text_to_tensor(vocab, max_length=10)  # max_length为向量最大值,可不设置
    print(d.tensor)
结果
[0 0 0 0 0 0 0 0 2 3]
[0 0 0 0 0 0 0 0 4 3]
[0 0 0 0 0 0 0 0 2 4]
tensor向量转为text
for d in da:
    d.convert_tensor_to_text(vocab)
    print(d.text)
结果
hello world
goodbye world
hello goodbye
- 简单的文本匹配
from jina import Document, DocumentArray

d = Document(
    uri='https://www.gutenberg.org/files/1342/1342-0.txt').load_uri_to_text()  # 链接是傲慢与偏见的电子书,此处将电子书内容加载到 Document 中
da = DocumentArray(Document(text=s.strip()) for s in d.text.split('\n') if s.strip())  # 按照换行进行分割字符串
da.apply(lambda d: d.embed_feature_hashing())

q = (
    Document(text='she entered the room')  # 要匹配的文本
    .embed_feature_hashing()  # 通过 hash 方法进行特征编码
    .match(da, limit=5, exclude_self=True, metric='jaccard', use_scipy=True)  # 找到五个与输入的文本最相似的句子
)

print(q.matches[:, ('text', 'scores__jaccard')])  # 输出对应的文本与 jaccard 相似性分数
输出结果
[['staircase, than she entered the breakfast-room, and congratulated', 'of the room.',
  'She entered the room with an air more than usually ungracious,',
  'entered the breakfast-room, where Mrs. Bennet was alone, than she', 'those in the room.'],
 [{'value': 0.6}, {'value': 0.6666666666666666}, {'value': 0.6666666666666666}, {'value': 0.6666666666666666},
  {'value': 0.7142857142857143}]]
video
- 视频的导入和切分
# 视频需要依赖 av 包
# pip install av
from jina import Document
d = Document(uri='cat.mp4')
d.load_uri_to_video_tensor()

# 相较于图像,视频是一个 4 维数组,第一维表示视频帧 id 或是视频的时间,剩下的三维则和图像一致。
print(d.tensor.shape)  # (31, 1080, 1920, 3)

# 使用 append 方法将 Document 放入 chunk 中
for b in d.tensor:
    d.chunks.append(Document(tensor=b))

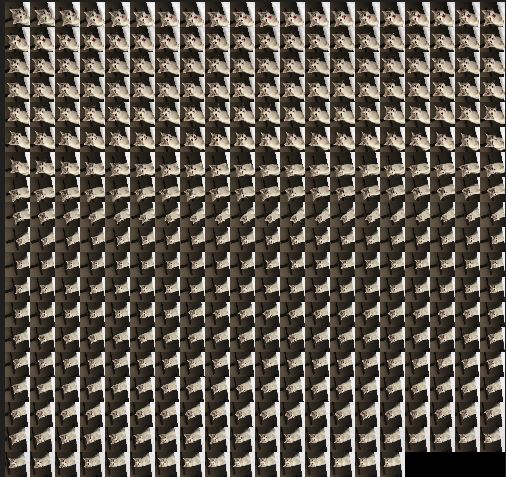
d.chunks.plot_image_sprites('mov.png')
先在docker里安装av包
在docker中安装了但是在pycharm里跑一直报错
- 在docker的容器中安装包,却无法在pycharm中更新
经过大佬指点和自己网上查找,得到答案
针对于第一个问题,我了解到Pycharm对docker环境解释器的加载只和镜像有关,与容器没有关系,只要提供镜像,镜像里的环境就能加载,手动创建的容器其实并不能影响镜像环境。
因此,这会导致一个问题,当我们需要在已有的镜像中安装新的package时,直接在容器中添加,对于Pycharm的解释器是没有用的,并不能影响当前的环境。因此,我们需要手动将添加包,修改后的容器保存为新的镜像,重新添加Python解释器,这样Pycharm才能加载到新的环境。
参考:
Docker在Pycharm平台上的部署
Docker 如何保存对容器的修改
于是在docker里
pip install av
pip install matplotlib
然后
docker ps
找到container的id
命令查看现有的镜像
docker image ls
此时的镜像
安装两个包后commit为新的image
docker commit 0ef9ef12a061 newjina
得到了新的image
从docker里启动新的image
参照前面Docker在Pycharm平台上的部署,得到新的interpreter
然后就能成功跑动代码
得到猫片的切分
- 关键帧抽取
from docarray import Document

d = Document(uri='cat.mp4')
# 可以使用 only_keyframes 这个参数来提取关键帧
d.load_uri_to_video_tensor(only_keyframes=True)
print(d.tensor.shape)
每个人自己的视频得到的shape都不同
(3, 640, 640, 3)
- 张量转存为视频
# 使用 save_video_tensor_to_file 进行视频的保存
from docarray import Document

d = (
    Document(uri='cat.mp4')
    .load_uri_to_video_tensor()  # 读取视频
    .save_video_tensor_to_file('60fps.mp4', 60)  # 将其保存为60fps的视频
)


