将windows下visual studio 2022开发的opencv基于C++代码迁移到Ubuntu下的QT5.9.2(VS2022 QT工程与QT creator工程互转)
1. 在VS2022上安装QT VS Tools
1.1 安装QT VS Tools插件
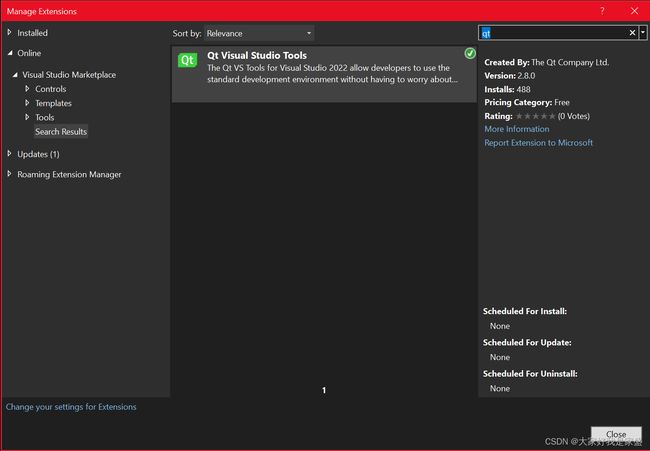
进入VS2022然后依次点击:Extensions > Manage Extensions from the IDE menu, 然后搜索 “qt”。找到Qt Visual Studio Tools后,安装即可。
1.2 在windows下安装你ubuntu下对应版本的QT
当我完成1.1 安装好vs2022下的qt插件后,重启vs2022插件生效,但是发现无法配置qt的路径
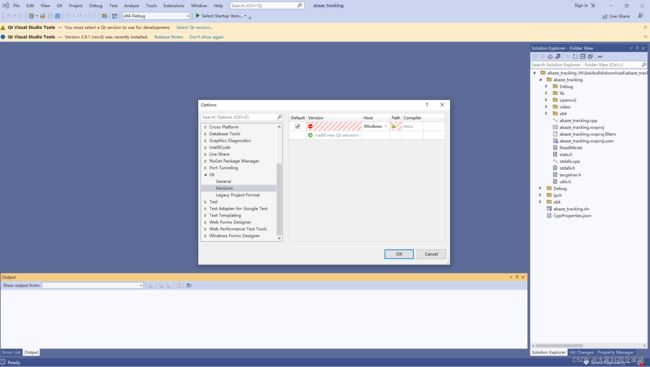
然后我到qt官网查了一下,说是只安装插件还不够,还需要在windows下也装一个qt软件;

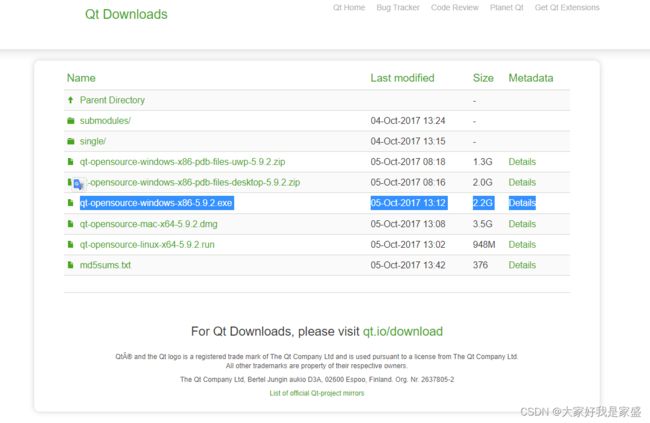
因为我ubuntu下用的是qt5.9.2,所以我进入qt的官网https://download.qt.io/archive/qt/5.9/5.9.2/,为windows也下载一个qt5.9.2的windows安装包并安装,下载这个就行:qt-opensource-windows-x86-5.9.2.exe
等待下载:
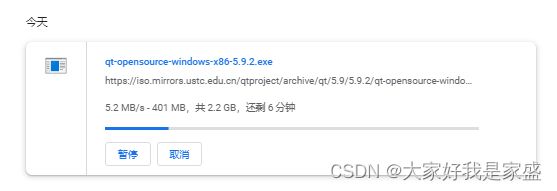
然后双击安装
安装路径建议非C盘就行,我安装到了G:\Qt\Qt5.9.2
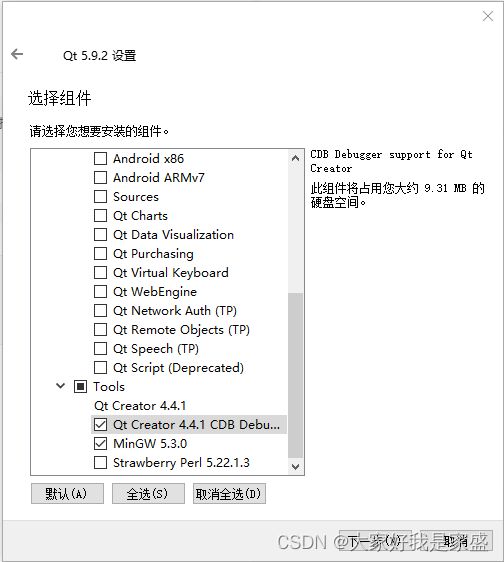
有关组件配置的,我一共选了三项(注意,务必选上msvc2017 64-bit,否则在vs2022中是无法正常为qt vs tool配置qt的路径的,后面我折腾了半天,最后还是要卸载qt重装,这里我第一次忘记√了…)![]()
1.3 为vs2022配置qt环境
进入vs2022,系统会弹出让我们:Qt visual Studio Tools — You must select a Qt version to use for development. Select Qt version…
也就是选择一个qt版本,这里我们依次设置版本号为5.9.2,然后有一个path要设置
其实就是在找qmake.exe在的位置,我的qmake.exe在这里G:\Qt\Qt5.9.2\5.9.2\mingw53_32\bin


点击ok就设置好了

但是我发现添加了qt的路径点ok后并没有添加成功,搜索了一下,说是要我更新一下vs2022
然后我点击右下角的小铃铛


点击update on close,然后关闭vs2022,然后会自动进入更新程序的界面,等待更新成功就行了
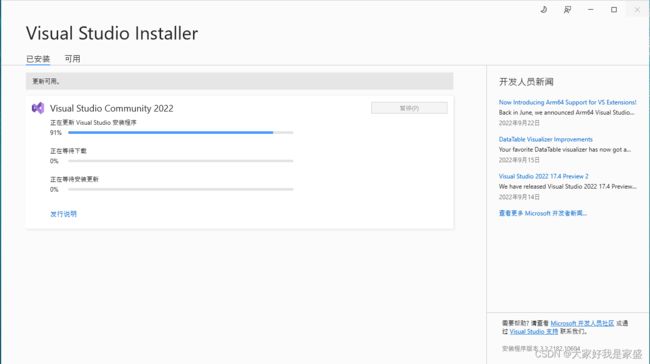
安装好后点击启动

结果重启还是不行,看来是qt安装的时候少安装了东西,我要安装一点其他东西
找到你的MaintenanceTool.exe
就在qt的安装目录下
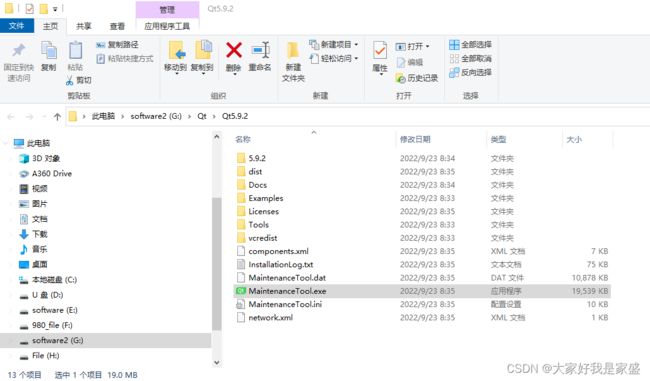
双击打开

skip 然后选中添加或移除组件然后下一步
结果提示我“要继续此操作,至少需要一个有效且已启用的储存库”

然后点设置-储存库-临时储存库
注意:手动添加储存库要定位一个储存有QT在线安装镜像的地址
(网址:http://download.qt.io/static/mirrorlist/)这个网站,显示了各国的qt镜像站点,中国有四个,我用的是清华的站,点击HTTP会进入一个网络文件夹。
![]()
然后依次进入/online/qtsdkrepository/windows_x86/root/qt/ 最终的文件夹显示如下,在这个界面复制一下当前地址框地址,也就是:
https://mirrors.tuna.tsinghua.edu.cn/qt/online/qtsdkrepository/windows_x86/root/qt/

然后把网址添加进去

然后点击一下测试看看能不能成功
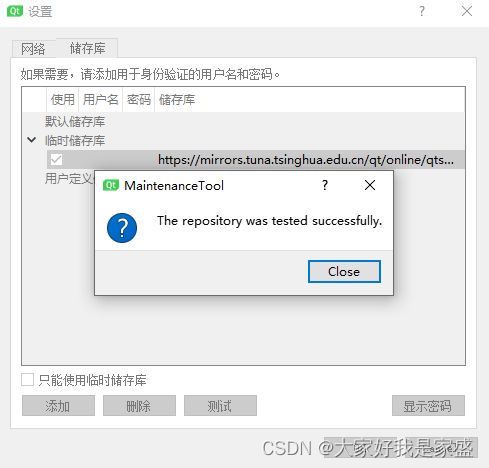
这样就是没问题的
然后点ok,然后这个窗口会关闭,然后就可以增量式安装qt的其他包了

等待加载完成
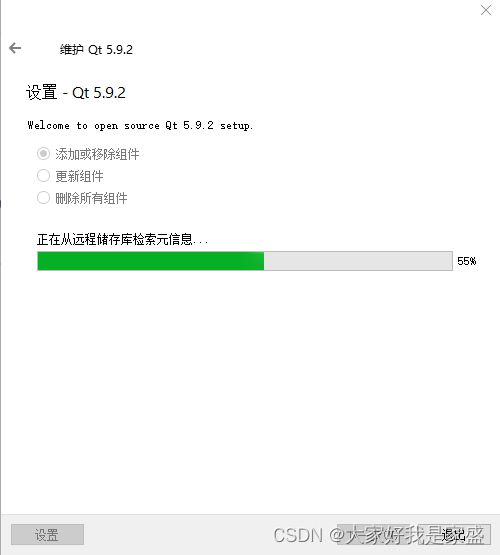
我等待了半个小时,一直是99%,然后我重新加载了一下,居然失败了。我还是把qt卸载了重装吧…

https://mirrors.ustc.edu.cn/qtproject/online/qtsdkrepository/windows_x86/root/qt/

我卸载qt
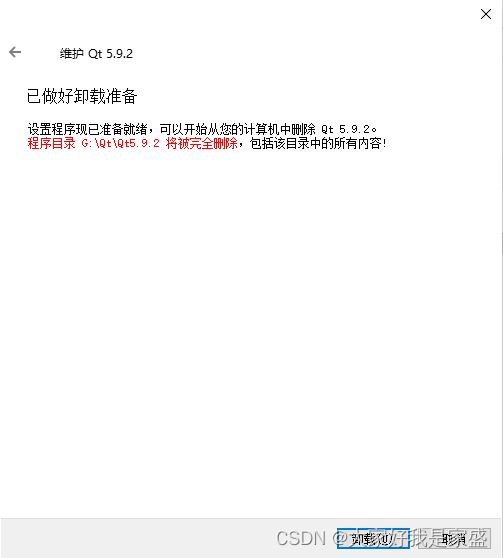

双击qt的安装包,重新安装qt
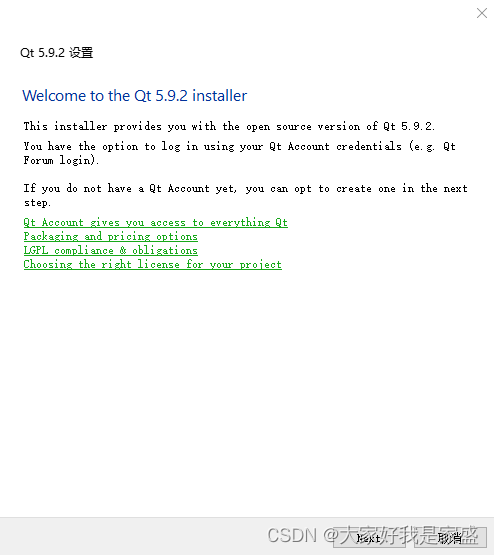
依次下一步

这是我的选择


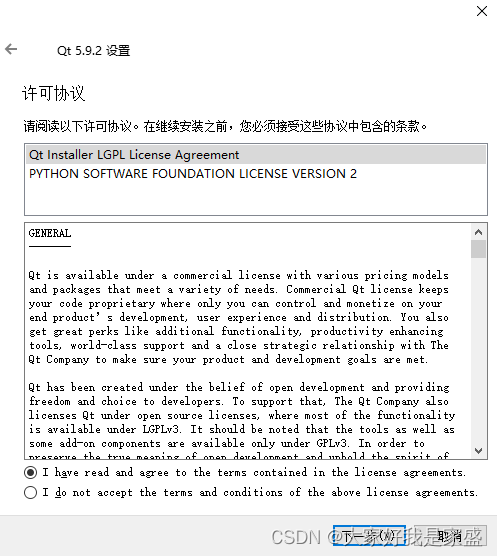
选择同意后安装

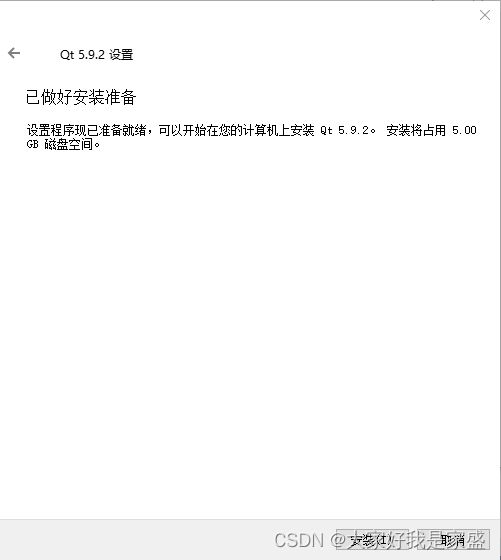
等待安装成功
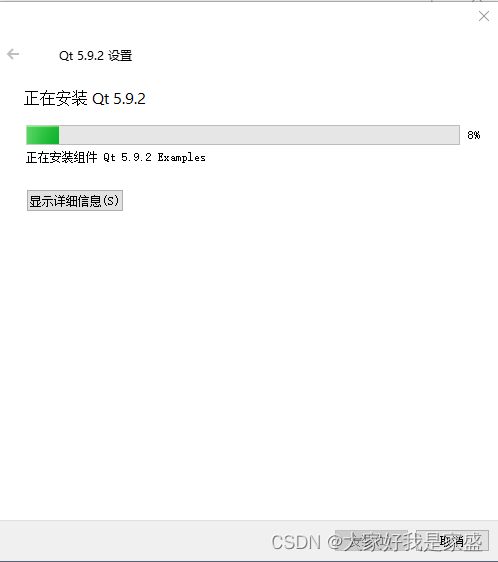
安装成功了

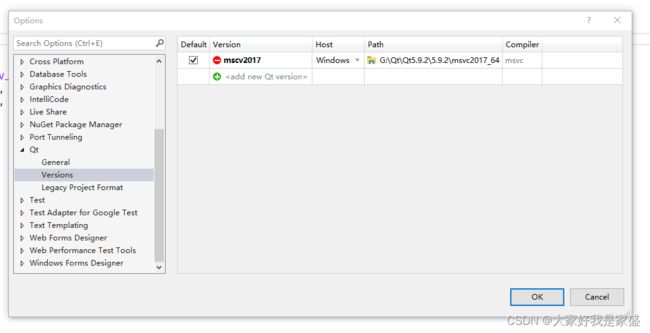
发现现在解决了插件的qt路径问题,但是还是无法导出qt的.pro文件(后面发现我需要新建工程文件并且设置qt的工程文件才能使用这个插件,这里我傻了,我想直接把老的vs2022的工程文件直接导出qt文件…人家插件没那么智能!),Qt的部分功能不可用,是灰色的
![]()
接下来找到这个程序Opencvtry.vcxproj你的也是以.vcxproj结尾的,用记事本打开这个文件
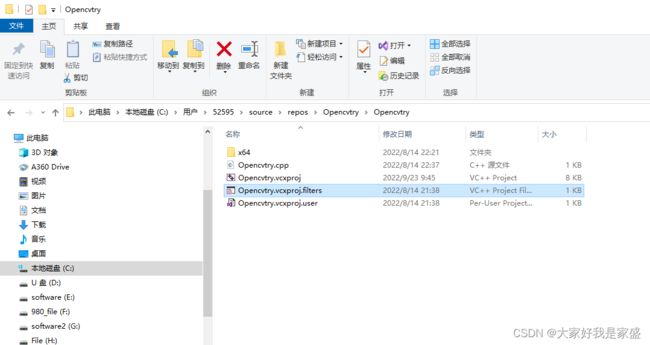
找到关键字Keyword
将内容更改为Qt4VSv1.0即可

重新打开vs2022结果还是灰色的,没用

我终于知道了,其实我是安装成功了的,我重新建了一个工程文件qt插件的功能就是好的了

1.3 在vs2022中创建可以迁移到qt的工程文件,并将win10下的工程文件迁移到ubuntu下;
1.3.1.1 在vs2022中创建可以迁移到qt的工程文件,案例1:以用opencv打开一张图片为例
新建一个项目
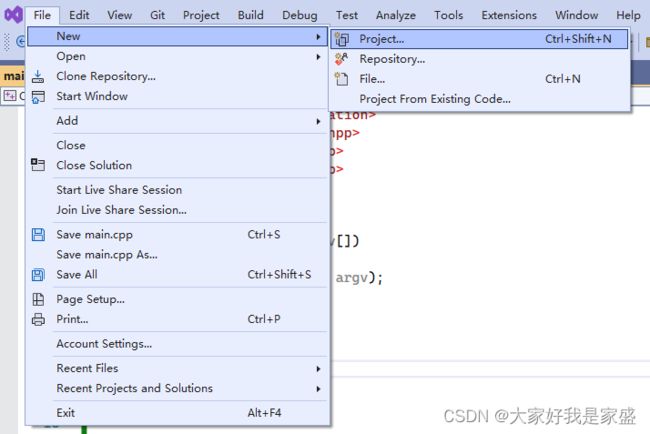
选择第一个就行,然后next

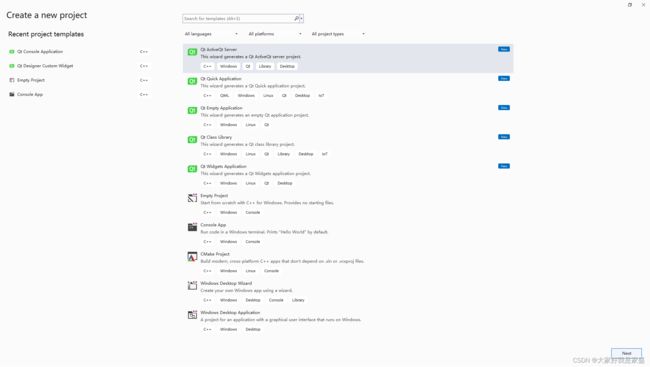
取个名字,然后create

然后添加一下之前配置好的opencv各个依赖链接的配置(这部分细节可以看这个教程)
![]()
然后添加之前我保存的配置(这个操作可以让我们每次新建一个文件不需要都通通重新配置一下opencv的链接)我之前放到了这里C:\Users\52595\source\repos\Opencv_Property_sheet

把这张图片01.jpg放到这个工程文件夹下
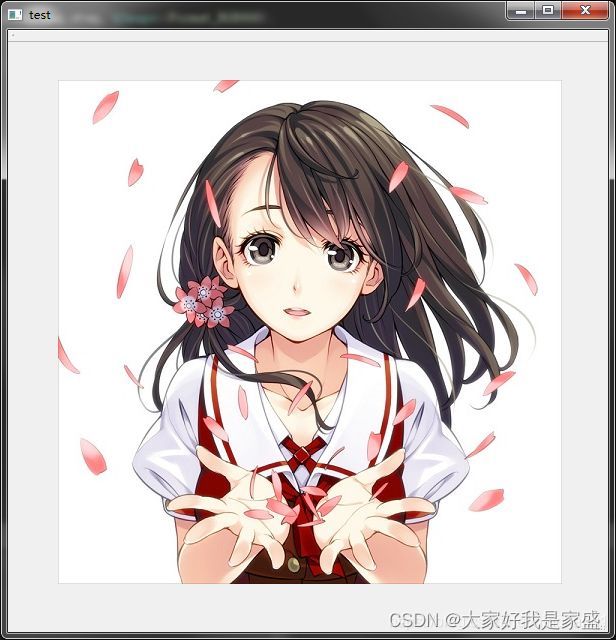

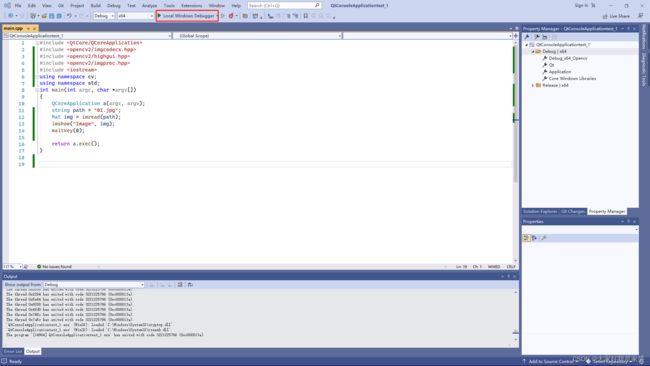
这个程序是用opencv打开一张图片
#include 1.3.2 在vs2022中利用Qt vs tool 创建可以迁移到qt的工程文件
依次打开:插件->Qt vs tool->Create Basic .pro File… ->ok
->ok
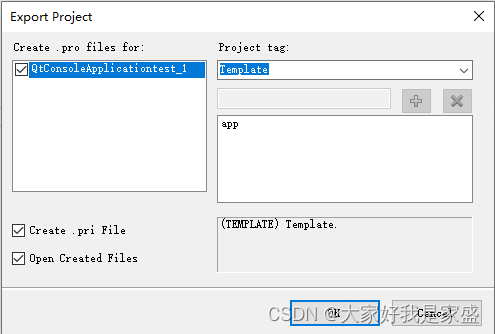
->保存
点击保存就创建好了
进入文件夹中看到多了这两个文件
QtConsoleApplicationtest_1.pri
QtConsoleApplicationtest_1.pro

如果用这个Export Project to .pri File...

发现也是生成一个QtConsoleApplicationtest_1.pri文件
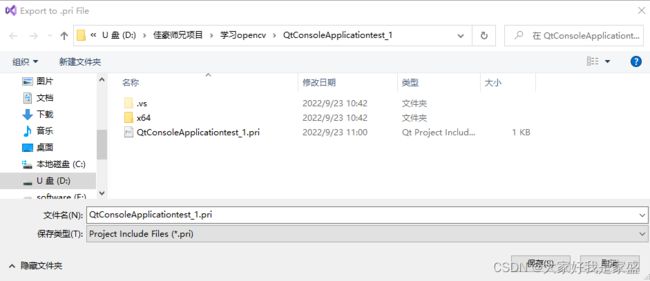
接下来我们把这个文件拿到ubuntu下去试试
进入ubuntu18.04,然后打开qt
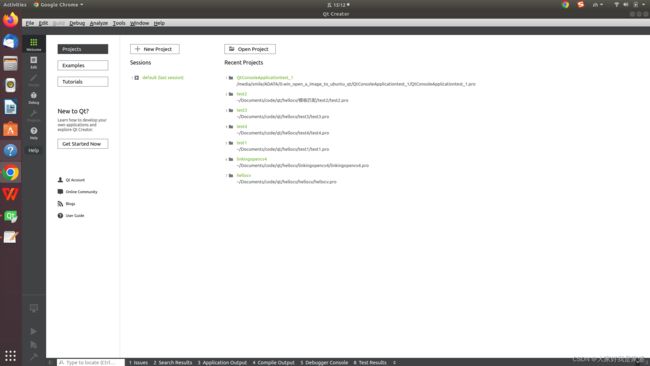
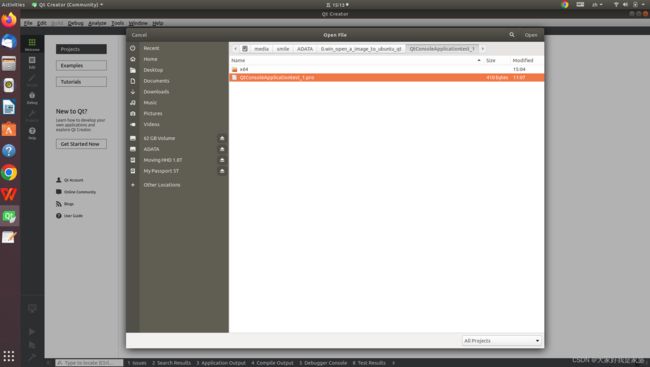
open project

然后打开刚刚从win10下vs2022中的qt项目
点击configure project
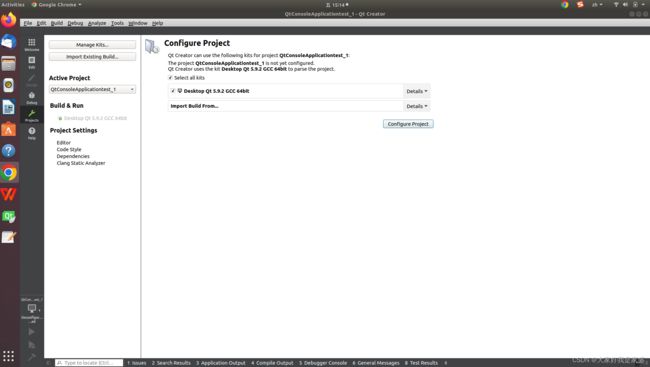
接下来就打开了整个工程文件
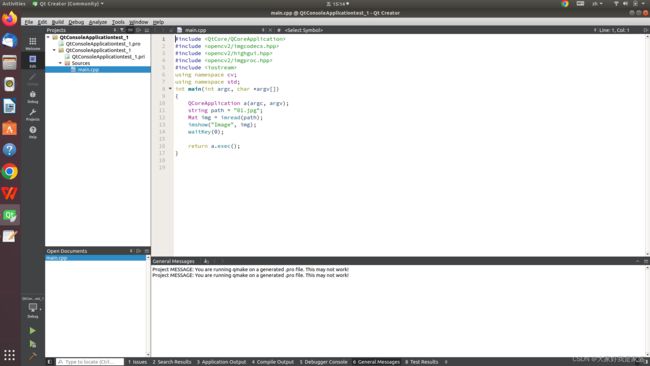
接下来我们要对QtConsoleApplicationtest_1.pro文件进行一些修改(主要是为它添加ubuntu下opencv相关的库、引用等)
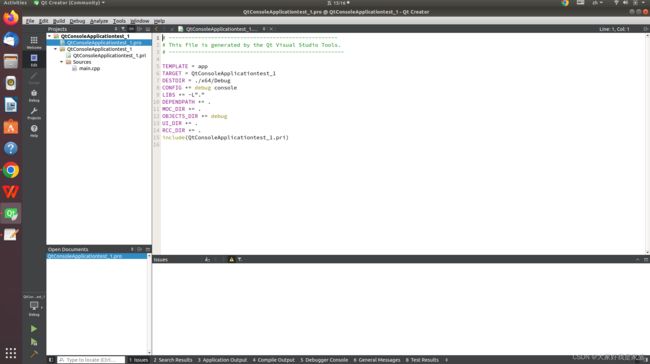
主要改动是在最后一行添加:
INCLUDEPATH +="usr/local/include/" #为了让qt能找到你ubuntu系统中的一些库

#LIBS +=`pkg-config --cflags --libs opencv` #我看到网上有教程说这样可以,但是我测试这个不行
LIBS += /usr/local/lib/libopencv_highgui.so \ #主要是引入opencv的库,如果你安装过程和我上一次教程一致,那就没问题
        /usr/local/lib/libopencv_core.so    \
        /usr/local/lib/libopencv_imgproc.so \
        /usr/local/lib/libopencv_imgcodecs.so
然后把程序编译一下,进入main.cpp文件->build->run qmake

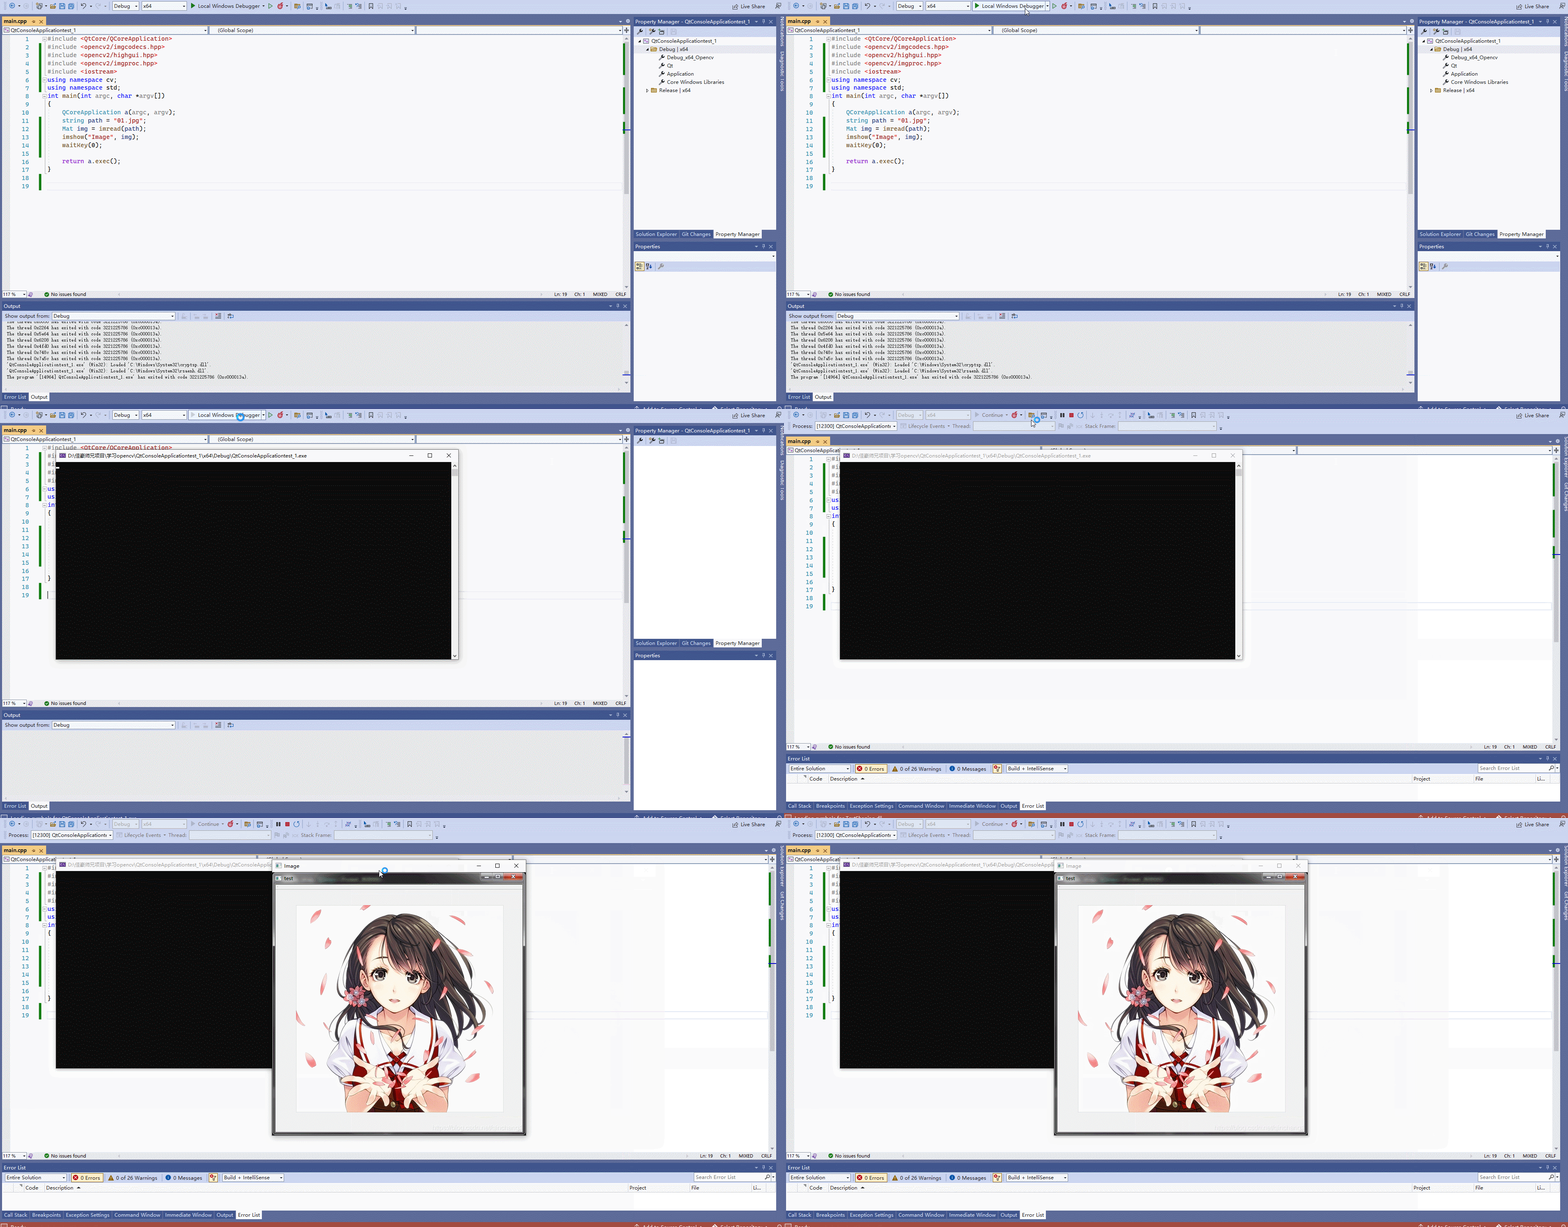
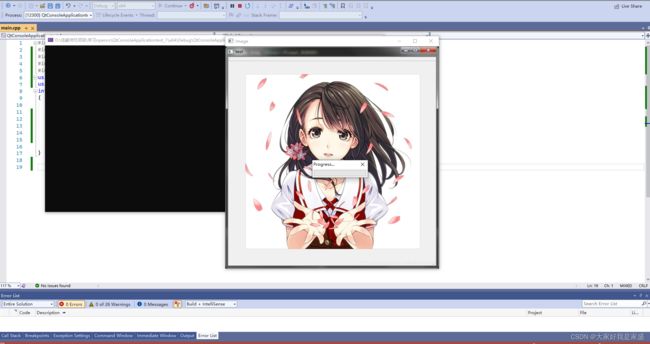
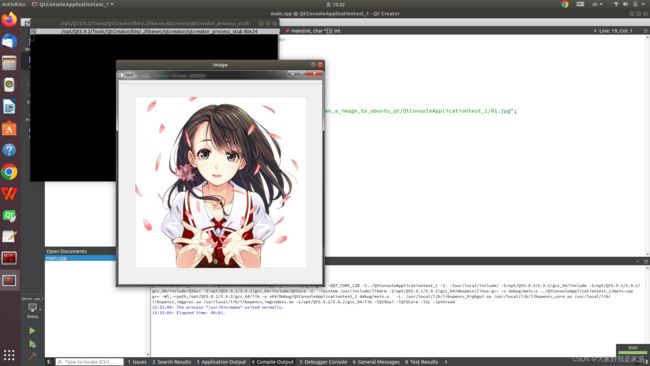
然后运行编译后的程序:点击左下角的绿色三角形
![]()
大功告成,完成了第一个程序的迁移!(_)
(备注,在qt里面,像视频、图片,路径最好用绝对路径,否则很可能无法运行!)
1.3.1.2 在vs2022中创建可以迁移到qt的工程文件,案例2:把一个opencv模板匹配的程序从win10下的vs2022迁移到ubuntu的qt5.9.2
1.我打开了原本vs2022下的程序(当前我的环境是Opencv_tutorial.sln工程文件),接下来我要将它变成qt工程文件

2.新建一个project

4.选择Qt Console Application的C++
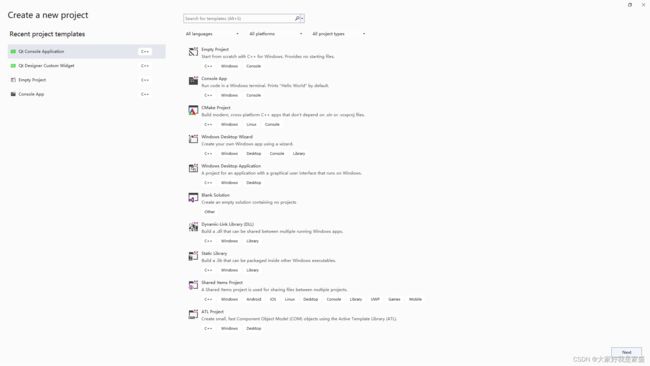

5.然后点右下角的next,然后设置好project name、文件放置的位置,然后点击右下角create

要注意,文件名、路径名不要太长了否则建不起来
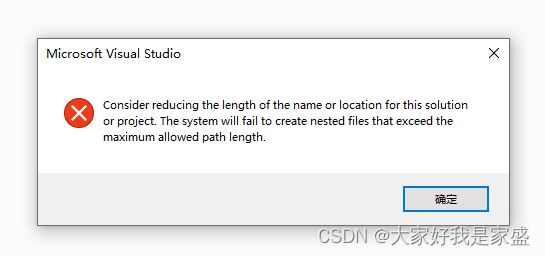
我改了一下,

qt的界面出来了
点击next,这里我选择了debug,然后点finish

到此,在vs2022下创建了qt的c++环境
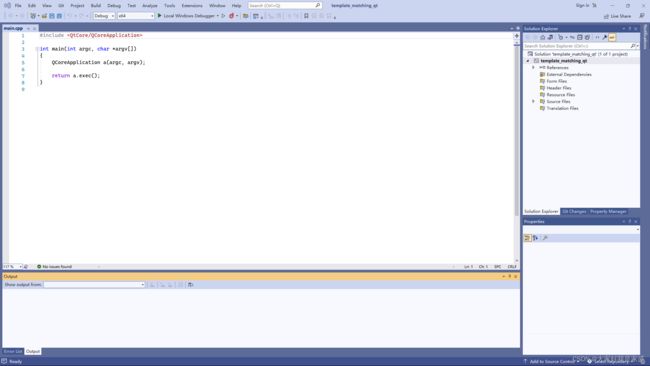
左边是vs2022的工程文件,右边是vs2022的qt环境下的c++工程文件

接下来我要把左边的代码迁移到右边
首先为右边配置一下opencv的环境C:\Users\52595\source\repos\Opencv_Property_sheet

左边的对视频进行模板匹配.cpp代码:
#include "opencv2/highgui/highgui.hpp"
#include "opencv2/imgproc/imgproc.hpp"
#include 右边的main.cpp代码:
#include 然后依次把左边的头文件、自定义的函数、主函数中的内容往右边搬
最后右边的样子
#include 然后确保右边的程序可以运行
然后将程序导出qt的.pro文件

点击ok
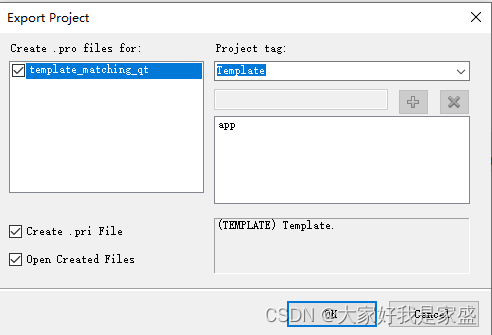
确定保存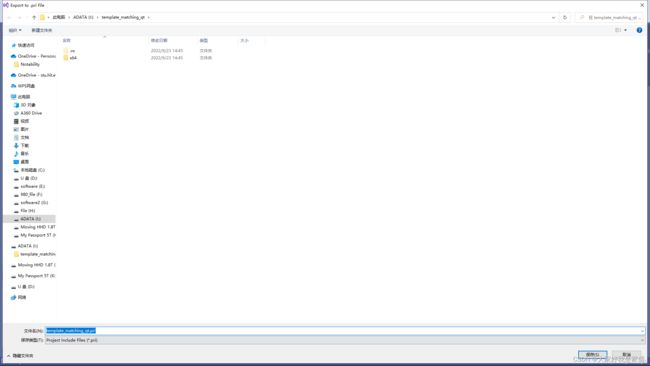
现在我的文件夹中多了这两个文件
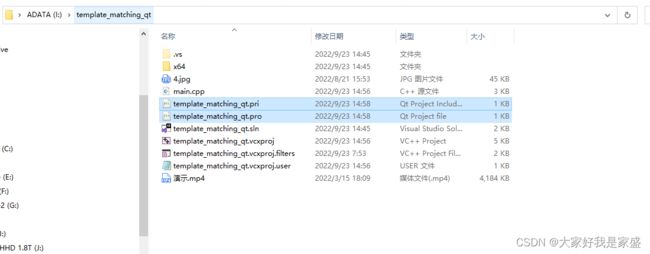
接下来到ubuntu里去试试qt
首先打开qt

然后open project,然后打开之前在win10下vs2022中通过Qt vs tool转换得到的.pro文件
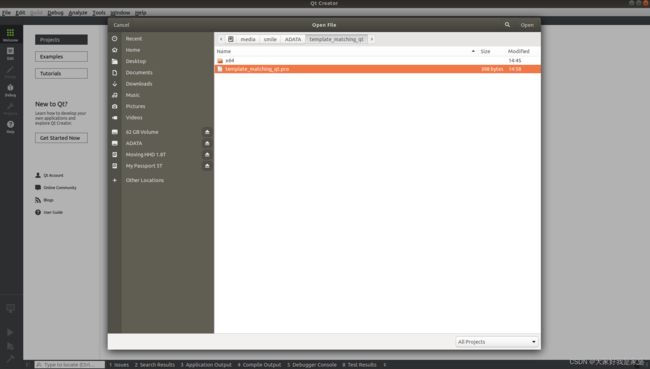
点击open后,点击configure figure
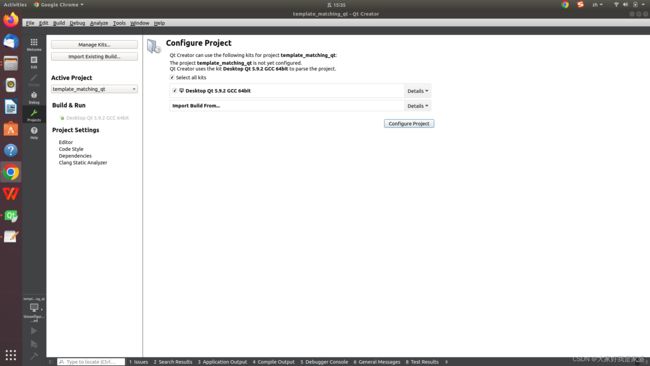
接下来我们要对template_matching_qt.pro文件进行一些修改(主要是为它添加ubuntu下opencv相关的库、引用等)
INCLUDEPATH +="usr/local/include/" #为了让qt能找到你ubuntu系统中的一些库

#LIBS +=`pkg-config --cflags --libs opencv` #我看到网上有教程说这样可以,但是我测试这个不行
LIBS += /usr/local/lib/libopencv_highgui.so \ #主要是引入opencv的库,如果你安装过程和我上一次教程一致,那就没问题
        /usr/local/lib/libopencv_core.so    \
        /usr/local/lib/libopencv_imgproc.so \
        /usr/local/lib/libopencv_imgcodecs.so
注意,如果出现中文乱码,可以这样解决

现在中文就不乱码了

然后我编译一下,这里报错Project MESSAGE: You are running qmake on a generated .pro file. This may not work!
qt下无法画红框?
#include >& contours, vector& hierarchy,//重载findContours
// int retr = RETR_LIST, int method = CHAIN_APPROX_SIMPLE, Point offset = Point(0, 0))//重载了findContours函数,防止运行结束时发生崩溃
//{
// //CvMat c_image = src;
// Mat c_image = src;
// MemStorage storage(cvCreateMemStorage());
// CvSeq* _ccontours = 0;
// //cvFindContours(&c_image, storage, &_ccontours, sizeof(CvContour), retr, method, CvPoint(offset));
// cvFindContours(&c_image, storage, &_ccontours, sizeof(CvContour), retr, method, Point(offset));
// if (!_ccontours)
// {
// contours.clear();
// return;
// }
// Seq all_contours(cvTreeToNodeSeq(_ccontours, sizeof(CvSeq), storage));
// int total = (int)all_contours.size();
// contours.resize(total);
//
// SeqIterator it = all_contours.begin();
// for (int i = 0; i < total; i++, ++it)
// {
// CvSeq* c = *it;
// ((CvContour*)c)->color = (int)i;
// int count = (int)c->total;
// int* data = new int[count * 2];
// cvCvtSeqToArray(c, data);
// for (int j = 0; j < count; j++)
// {
// contours[i].push_back(Point(data[j * 2], data[j * 2 + 1]));
// }
// delete[] data;
// }
//
// hierarchy.resize(total);
// it = all_contours.CV_THRESH_BINARY_INVbegin();
// for (int i = 0; i < total; i++, ++it)
// {
// CvSeq* c = *it;
// int h_next = c->h_next ? ((CvContour*)c->h_next)->color : -1;
// int h_prev = c->h_prev ? ((CvContour*)c->h_prev)->color : -1;
// int v_next = c->v_next ? ((CvContour*)c->v_next)->color : -1;
// int v_prev = c->v_prev ? ((CvContour*)c->v_prev)->color : -1;
// hierarchy[i] = Vec4i(h_next, h_prev, v_next, v_prev);
// }
// storage.release();
//}
//2022.9.24zaoshang
//Point2f midpoint(Point2f& ptA, Point2f& ptB) {
// return Point2f((ptA.x+ ptB.x)*0.5,(ptA.y + ptB.y)*0.5);
//}
//double length(Point2f& ptA, Point2f& ptB) {
// return sqrtf( powf((ptA.x - ptB.x), 2) + powf((ptA.y - ptB.y), 2) );
//}
Point2f midpoint(Point2f ptA, Point2f ptB) {
return Point2f((ptA.x+ ptB.x)*0.5,(ptA.y + ptB.y)*0.5);
}
double length(Point2f ptA, Point2f ptB) {
return sqrtf( powf((ptA.x - ptB.x), 2) + powf((ptA.y - ptB.y), 2) );
}
int main(){
//VideoCapture capture("/media/smile/Moving HHD 1.8T/佳豪师兄项目/3tjh01.mp4");
//VideoCapture capture("D:\\佳豪师兄项目\\3tjh.mp4");
VideoCapture capture("/media/smile/Moving HHD 1.8T/佳豪师兄项目/3.将vs2022_win10下的程序迁移到ubuntu下Qt5.9.2/1.将我之前在vs2022跑起来的程序在vs2022中转为qt文件并迁移到ubuntu下/1.成功在ubuntu-qt下运行的迁移程序/segmentation_only_qt/3tjhx0.5.mp4");
//J:\佳豪师兄项目\分割演示220815\光流法\新数据12.22
// VideoCapture capture(1);
//VideoCapture cap(0);
//VideoCapture capture("H:\ev_recode/20220813_163511.mp4");
//VideoCapture capture("D:/VSc++code/Vs2012code/实验数据1.5/4n.mp4");
/*获取视频帧的尺寸和帧率*/
int CV_CAP_PROP_FPS;
int CV_CAP_PROP_FRAME_WIDTH;
int CV_CAP_PROP_FRAME_HEIGHT;
double rate = capture.get(CV_CAP_PROP_FPS);
int width = capture.get(CV_CAP_PROP_FRAME_WIDTH);
int height = capture.get(CV_CAP_PROP_FRAME_HEIGHT);
if (capture.isOpened())
{
while (capture.read(frame)) {
cvtColor(frame, gray, COLOR_BGR2GRAY);
delectFeature_single(frame,dst);
imshow("输CV_THRESH_BINARY_INV出视频", frame);//imshow("input video", frame);??
waitKey(30);
}
}
}
void delectFeature_single(Mat &frame, Mat &dst){
int largest_area=0;
int largest_contour_index=0;
int CV_THRESH_BINARY_INV;
Point2f pointO = Point2f(dst.size().width, dst.size().height);
Point2f pointB;
//颜色空间转换 dst=hsv
cvtColor(frame, dst, COLOR_BGR2HSV);
//Scalar scalarL = Scalar(0, 25, 48);0
//Scalar scalarH = Scalar(40, 145, 236);
//掩码mask=dst
inRange(dst, scalarL, scalarH, dst);
threshold(dst, dst, 160, 255, CV_THRESH_BINARY_INV);
//获取自定义核kernel 第一个参数MORPH_RECT表示矩形的卷积核
Mat kernel3 = getStructuringElement(MORPH_RECT, Size(1, 1));
Mat kernel2 = getStructuringElement(MORPH_RECT, Size(2, 2));
Mat kernel0 = getStructuringElement(MORPH_RECT, Size(3, 3));
Mat kernel = getStructuringElement(MORPH_RECT, Size(4, 4));
erode(dst, dst, kernel3);
dilate(dst, dst, kernel0);
//morphologyEx(dst, dst, MORPH_OPEN, kernel3);//MORPH_OPEN 开运算
//imshow("膨胀(+开运算)后", dst);
vector<vector<Point> > contours; // Vector for storing contours
vector<Vec4i> hierarchy;
findContours( dst, contours, hierarchy, RETR_CCOMP, CHAIN_APPROX_SIMPLE ); // Find the contours in the image RETR_CCOMP
Rect boundRect; //定义普通正外接矩形集合
vector<RotatedRect> box(contours.size()); //定义最小外接矩形集合
Point2f rect[4];
size_t i;
for( i = 0; i< contours.size(); i++ ) // iterate through each contour.
{
double area = contourArea( contours[i] ); // Find the area of contour
if( area > largest_area )
{
largest_area = area;
largest_contour_index = i; //Store the index of largest contour
//boundRect[i] = boundingRect(Mat(contours[i]));
boundRect = boundingRect( contours[i] ); // 普通的外界矩形轮廓
box[i] = minAreaRect(contours[i]); //计算轮廓最小外接矩形
box[i].points(rect);//把最小外接矩形四个顶点复制给rect
}
}
//cout<<"每一帧中的最大面积"<
//rectangle(frame, Point(boundRect.x, boundRect.y), Point(boundRect.x + boundRect.width, boundRect.y + boundRect.height), Scalar(255, 255, 255), 1, 8);//绘制一般的外接矩形
for (int j = 0; j < 4; j++)
{
line(frame, rect[j], rect[(j + 1) % 4], Scalar(0, 0, 255), 2, 8); //绘制最小外接矩形每条边
}
drawContours( frame, contours,largest_contour_index, Scalar( 0, 255, 0 ), 2 ); // 用之前的索引largest_contour_index绘制最大轮廓
//确定末端中点坐标
if(length(rect[0], rect[3])<length(rect[0], rect[1])){//此时短边为03或12
if(length(pointO, midpoint(rect[0], rect[3]))<length(pointO, midpoint(rect[1], rect[2]))){
pointB = midpoint(rect[0], rect[3]);//中点坐标
}else{
pointB = midpoint(rect[1], rect[2]);
}
}else{//此时短边为01或23
if(length(pointO, midpoint(rect[0], rect[1]))<length(pointO, midpoint(rect[2], rect[3]))){
pointB = midpoint(rect[0], rect[1]);//中点坐标
}else{
pointB = midpoint(rect[2], rect[3]);
}
}
// if(length(rect[0], rect[3])
// if(length(pointO, midpoint(rect[0], rect[3]))
// pointB = midpoint(rect[0], rect[3]);//中点坐标
// }else{
// pointB = midpoint(rect[1], rect[2]);
// }
// }else{//此时短边为01或23
// if(length(pointO, midpoint(rect[0], rect[1]))
// pointB = midpoint(rect[0], rect[1]);//中点坐标
// }else{
// pointB = midpoint(rect[2], rect[3]);
// }
// }
//Point2f pointB = midpoint(rect[0], rect[3]);//中点坐标
circle( frame, pointB, 4, Scalar(255, 0, 0), -1);
//distance1 = sqrtf( powf((x - pointB.x), 2) + powf((y - pointB.y), 2) );
distance1 = sqrtf( powf((601 - pointB.x), 2) + powf((192 - pointB.y), 2) );
putText(frame, "The test is start:", Point(20, 10),FONT_HERSHEY_COMPLEX,0.5,Scalar(0,0,255));
putText(frame, cv::format("Device end point: X = %.0f pixels, Y = %.0f pixels", pointB.x, pointB.y), Point(20, 30),FONT_HERSHEY_COMPLEX,0.5,Scalar(0,0,255));
putText(frame, cv::format("The deformation is %.4f mm",-(distance1 / g_dPixelsPerMetric-130)), Point(20, 50),FONT_HERSHEY_COMPLEX,0.5,Scalar(0,0,255));
//if(distance1/g_dPixelsPerMetric > 40)
if ((110 > (distance1 / g_dPixelsPerMetric)) & ((distance1 / g_dPixelsPerMetric) > 100)) {
putText(frame, cv::format("Attention: Not Safe!!"), Point(20, 70),FONT_HERSHEY_COMPLEX,0.5,Scalar(0,0,255));
}
//line(frame, pointA, pointB, Scalar(0, 0, 255), 1, 8, 0);
circle( frame, pointA, 4, Scalar(0, 255, 0), -1);//起始点
//cout << "The deformation is"<
}
vs上可以画红框
```c
#include >& contours, vector& hierarchy,//重载findContours
// int retr = RETR_LIST, int method = CHAIN_APPROX_SIMPLE, Point offset = Point(0, 0))//重载了findContours函数,防止运行结束时发生崩溃
//{
// //CvMat c_image = src;
// Mat c_image = src;
// MemStorage storage(cvCreateMemStorage());
// CvSeq* _ccontours = 0;
// //cvFindContours(&c_image, storage, &_ccontours, sizeof(CvContour), retr, method, CvPoint(offset));
// cvFindContours(&c_image, storage, &_ccontours, sizeof(CvContour), retr, method, Point(offset));
// if (!_ccontours)
// {
// contours.clear();
// return;
// }
// Seq all_contours(cvTreeToNodeSeq(_ccontours, sizeof(CvSeq), storage));
// int total = (int)all_contours.size();
// contours.resize(total);
//
// SeqIterator it = all_contours.begin();
// for (int i = 0; i < total; i++, ++it)
// {
// CvSeq* c = *it;
// ((CvContour*)c)->color = (int)i;
// int count = (int)c->total;
// int* data = new int[count * 2];
// cvCvtSeqToArray(c, data);
// for (int j = 0; j < count; j++)
// {
// contours[i].push_back(Point(data[j * 2], data[j * 2 + 1]));
// }
// delete[] data;
// }
//
// hierarchy.resize(total);
// it = all_contours.begin();
// for (int i = 0; i < total; i++, ++it)
// {
// CvSeq* c = *it;
// int h_next = c->h_next ? ((CvContour*)c->h_next)->color : -1;
// int h_prev = c->h_prev ? ((CvContour*)c->h_prev)->color : -1;
// int v_next = c->v_next ? ((CvContour*)c->v_next)->color : -1;
// int v_prev = c->v_prev ? ((CvContour*)c->v_prev)->color : -1;
// hierarchy[i] = Vec4i(h_next, h_prev, v_next, v_prev);
// }
// storage.release();
//}
Point2f midpoint(Point2f& ptA, Point2f& ptB) {
return Point2f((ptA.x+ ptB.x)*0.5,(ptA.y + ptB.y)*0.5);
}
double length(Point2f& ptA, Point2f& ptB) {
return sqrtf( powf((ptA.x - ptB.x), 2) + powf((ptA.y - ptB.y), 2) );
}
int main(){
VideoCapture capture("J:\\佳豪师兄项目\\3.将vs2022_win10下的程序迁移到ubuntu下Qt5.9.2\\1.将我之前在vs2022跑起来的程序在vs2022中转为qt文件并迁移到ubuntu下\\0.vs2022程序,待转换为qt\\2022.9.23code_assamble\\optical_flow_safety_inspection_farah_meat\\分割演示220815\\光流法\\新数据12.22\\3tjh.mp4");
//VideoCapture capture("D:\\佳豪师兄项目\\3tjh.mp4");
//VideoCapture capture("J:\\佳豪师兄项目\\分割演示220815\\光流法\\新数据12.22\\3tjh.mp4");
//J:\佳豪师兄项目\分割演示220815\光流法\新数据12.22
//
// VideoCapture capture(1);
//VideoCapture cap(0);
//VideoCapture capture("H:\ev_recode/20220813_163511.mp4");
//VideoCapture capture("D:/VSc++code/Vs2012code/实验数据1.5/4n.mp4");
/*获取视频帧的尺寸和帧率*/
double rate = capture.get(CV_CAP_PROP_FPS);
int width = capture.get(CV_CAP_PROP_FRAME_WIDTH);
int height = capture.get(CV_CAP_PROP_FRAME_HEIGHT);
if (capture.isOpened())
{
while (capture.read(frame)) {
cvtColor(frame, gray, COLOR_BGR2GRAY);
delectFeature_single(frame,dst);
imshow("输出视频", frame);//imshow("input video", frame);??
waitKey(30);
}
}
}
void delectFeature_single(Mat &frame, Mat &dst){
int largest_area=0;
int largest_contour_index=0;
Point2f pointO = Point2f(dst.size().width, dst.size().height);
Point2f pointB;
//颜色空间转换 dst=hsv
cvtColor(frame, dst, COLOR_BGR2HSV);
//Scalar scalarL = Scalar(0, 25, 48);0
//Scalar scalarH = Scalar(40, 145, 236);
//掩码mask=dst
inRange(dst, scalarL, scalarH, dst);
threshold(dst, dst, 160, 255, CV_THRESH_BINARY_INV);
//获取自定义核kernel 第一个参数MORPH_RECT表示矩形的卷积核
Mat kernel3 = getStructuringElement(MORPH_RECT, Size(1, 1));
Mat kernel2 = getStructuringElement(MORPH_RECT, Size(2, 2));
Mat kernel0 = getStructuringElement(MORPH_RECT, Size(3, 3));
Mat kernel = getStructuringElement(MORPH_RECT, Size(4, 4));
erode(dst, dst, kernel3);
dilate(dst, dst, kernel0);
//morphologyEx(dst, dst, MORPH_OPEN, kernel3);//MORPH_OPEN 开运算
//imshow("膨胀(+开运算)后", dst);
vector<vector<Point> > contours; // Vector for storing contours
vector<Vec4i> hierarchy;
findContours( dst, contours, hierarchy, RETR_CCOMP, CHAIN_APPROX_SIMPLE ); // Find the contours in the image RETR_CCOMP
Rect boundRect; //定义普通正外接矩形集合
vector<RotatedRect> box(contours.size()); //定义最小外接矩形集合
Point2f rect[4];
size_t i;
for( i = 0; i< contours.size(); i++ ) // iterate through each contour.
{
double area = contourArea( contours[i] ); // Find the area of contour
if( area > largest_area )
{
largest_area = area;
largest_contour_index = i; //Store the index of largest contour
//boundRect[i] = boundingRect(Mat(contours[i]));
boundRect = boundingRect( contours[i] ); // 普通的外界矩形轮廓
box[i] = minAreaRect(contours[i]); //计算轮廓最小外接矩形
box[i].points(rect);//把最小外接矩形四个顶点复制给rect
}
}
//cout<<"每一帧中的最大面积"<
//rectangle(frame, Point(boundRect.x, boundRect.y), Point(boundRect.x + boundRect.width, boundRect.y + boundRect.height), Scalar(255, 255, 255), 1, 8);//绘制一般的外接矩形
for (int j = 0; j < 4; j++)
{
line(frame, rect[j], rect[(j + 1) % 4], Scalar(0, 0, 255), 2, 8); //绘制最小外接矩形每条边
}
drawContours( frame, contours,largest_contour_index, Scalar( 0, 255, 0 ), 2 ); // 用之前的索引largest_contour_index绘制最大轮廓,绿色边界
//确定末端中点坐标
if(length(rect[0], rect[3])<length(rect[0], rect[1])){//此时短边为03或12
if(length(pointO, midpoint(rect[0], rect[3]))<length(pointO, midpoint(rect[1], rect[2]))){
pointB = midpoint(rect[0], rect[3]);//中点坐标
}else{
pointB = midpoint(rect[1], rect[2]);
}
}else{//此时短边为01或23
if(length(pointO, midpoint(rect[0], rect[1]))<length(pointO, midpoint(rect[2], rect[3]))){
pointB = midpoint(rect[0], rect[1]);//中点坐标
}else{
pointB = midpoint(rect[2], rect[3]);
}
}
//Point2f pointB = midpoint(rect[0], rect[3]);//中点坐标
circle( frame, pointB, 4, Scalar(255, 0, 0), -1);
//distance1 = sqrtf( powf((x - pointB.x), 2) + powf((y - pointB.y), 2) );
distance1 = sqrtf( powf((601 - pointB.x), 2) + powf((192 - pointB.y), 2) );
putText(frame, "The test is start:", Point(20, 10),FONT_HERSHEY_COMPLEX,0.5,Scalar(0,0,255));
putText(frame, cv::format("Device end point: X = %.0f pixels, Y = %.0f pixels", pointB.x, pointB.y), Point(20, 30),FONT_HERSHEY_COMPLEX,0.5,Scalar(0,0,255));
putText(frame, cv::format("The deformation is %.4f mm",-(distance1 / g_dPixelsPerMetric-130)), Point(20, 50),FONT_HERSHEY_COMPLEX,0.5,Scalar(0,0,255));
//if(distance1/g_dPixelsPerMetric > 40)
if ((110 > (distance1 / g_dPixelsPerMetric)) & ((distance1 / g_dPixelsPerMetric) > 100)) {
putText(frame, cv::format("Attention: Not Safe!!"), Point(20, 70),FONT_HERSHEY_COMPLEX,0.5,Scalar(0,0,255));
}
//line(frame, pointA, pointB, Scalar(0, 0, 255), 1, 8, 0);
circle( frame, pointA, 4, Scalar(0, 255, 0), -1);//起始点
//cout << "The deformation is"<
}

