图片数据增强的方法——收藏
使用cv2,numpy,PIL模块实现图像数据的数据增强。
计算机视觉中的图像增强,是人为的为视觉不变性(语义不变)引入了先验知识。数据增强也基本上成了提高模型性能的最简单、直接的方法了。
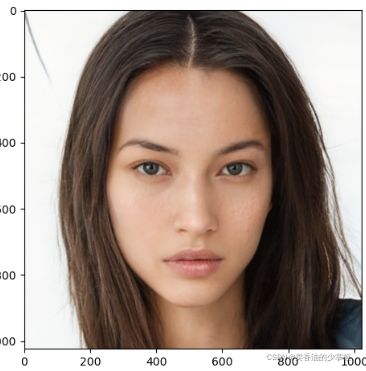
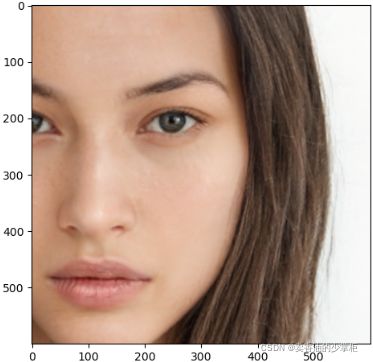
一、原图片:
二、数据增强代码:
导包:
import random
import cv2
import numpy as np
from PIL import Image
import matplotlib.pyplot as plt
读数据:
img = Image.open("5-8图库/5-8.png")
img = np.array(img)

# 展示图片
plt.imshow(img)
plt.show()
图像水平翻转:
def horizon_flip(img):
    '''
    图像水平翻转
    :param img:
    :return:水平翻转后的图像
    '''
    return img[:, ::-1]


# 展示图片
plt.imshow(horizon_flip(img))
plt.show()
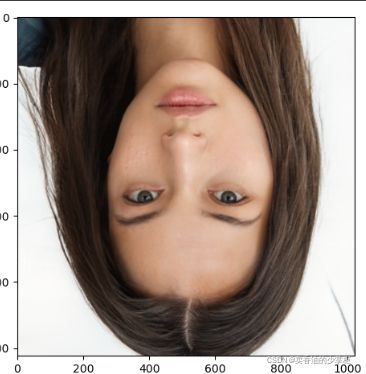
图像垂直翻转:
def vertical_flip(img):
    '''
    图像垂直翻转
    :param img:
    :return:
    '''
    return img[::-1]
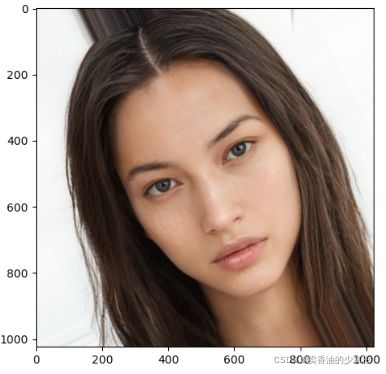
在一定角度范围内,图像随机旋转:
def rotate(img, limit_up=90, limit_down=-90):
    '''
    在一定角度范围内,图像随机旋转
    :param img:
    :param limit_up:旋转角度上限
    :param limit_down: 旋转角度下限
    :return: 旋转后的图像
    '''
    # 旋转矩阵
    rows, cols = img.shape[:2]
    center_coordinate = (int(cols / 2), int(rows / 2))
    angle = random.uniform(limit_down, limit_up)
    M = cv2.getRotationMatrix2D(center_coordinate, angle, 1)

    # 仿射变换
    out_size = (cols, rows)
    rotate_img = cv2.warpAffine(img, M, out_size, borderMode=cv2.BORDER_REPLICATE)

    return rotate_img
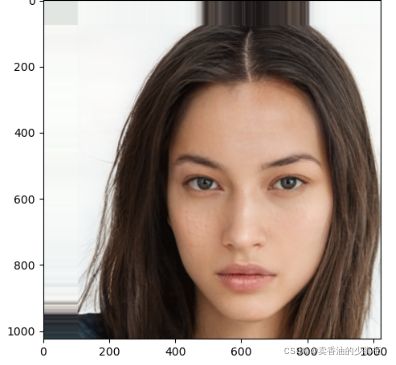
上下左右随机平移:
def shift(img, distance_down=-500, distance_up=500):
    '''
    利用仿射变换实现图像平移,平移距离∈[down, up]
    :param img: 原图
    :param distance_down:移动距离下限
    :param distance_up: 移动距离上限
    :return: 平移后的图像
    '''
    rows, cols = img.shape[:2]
    y_shift = random.uniform(distance_down, distance_up)
    x_shift = random.uniform(distance_down, distance_up)

    # 生成平移矩阵
    M = np.float32([[1, 0, x_shift], [0, 1, y_shift]])
    # 平移
    img_shift = cv2.warpAffine(img, M, (cols, rows), borderMode=cv2.BORDER_REPLICATE)

    return img_shift
固定尺寸随机进行裁剪:
def crop(img, crop_x=600, crop_y=600):
    '''
    读取部分图像,进行裁剪
    :param img:
    :param crop_x:裁剪x尺寸
    :param crop_y:裁剪y尺寸
    :return:
    '''
    rows, cols = img.shape[:2]
    # 偏移像素点
    x_offset = random.randint(0, cols - crop_x)
    y_offset = random.randint(0, rows - crop_y)

    # 读取部分图像
    img_part = img[y_offset:(y_offset+crop_y), x_offset:(x_offset+crop_x)]

    return img_part
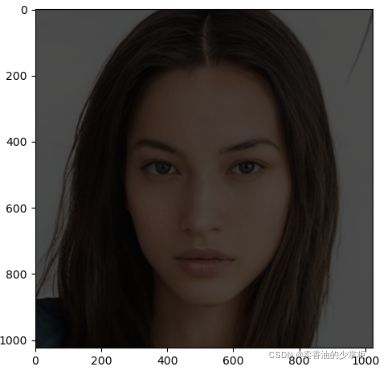
随机调整图像亮度、对比度调整:
def lighting_adjust(img, k_down=0, k_up=5, b_down=0, b_up=3):
    '''
    图像亮度、对比度调整
    :param img:
    :param k_down:对比度系数下限
    :param k_up:对比度系数上限
    :param b_down:亮度增值上限
    :param b_up:亮度增值下限
    :return:调整后的图像
    '''
    # 对比度调整系数
    slope = random.uniform(k_down, k_up)
    # 亮度调整系数
    bias = random.uniform(b_down, b_up)
    # 图像亮度和对比度调整
    img = img * slope + bias
    # 灰度值截断,防止超出255
    img = np.clip(img, 0, 255)

    return img.astype(np.uint8)
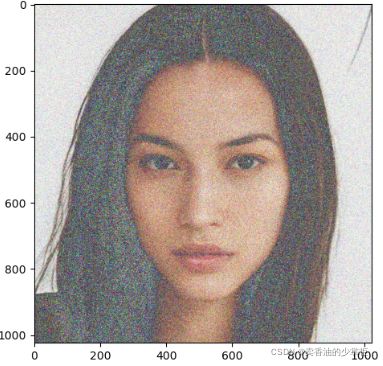
图像加高斯噪声:
def Gaussian_noise(img, mean=0, std=0.05):
    '''
    图像加高斯噪声
    :param img: 原图
    :param mean: 均值
    :param std: 标准差
    :return:
    '''
    image = np.array(img/255, dtype=float)
    noise = np.random.normal(mean, std ** 0.5, image.shape)
    out = image + noise
    if out.min() < 0:
        low_clip = -1.
    else:
        low_clip = 0.
    out = np.clip(out, low_clip, 1.0)
    out = np.uint8(out*255)
    return out
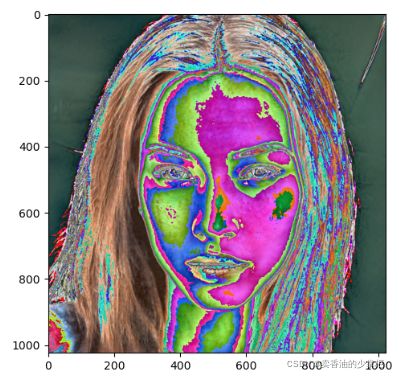
图像归一化:
def normalization(img, mean = [0.485, 0.456, 0.406], std= [0.229, 0.224, 0.225]):
    '''
    图像归一化,图像像素点从(0,255)->(0,1)
    :param img:
    :param mean:所有样本图像均值 默认数值来自imagenet统计
    :param std: 所有样本图像标准差
    :return:
    '''
    img = img.astype('f')
    img -= mean
    img /= std
    img = np.uint8(img)
    return img
案例来源与网络,图像时自己生成的,收藏下来以后用。
