树莓派4B安装opencv-python
简单记录下自己的配置过程:
1.更换为清华源,如下命令打开源配置文件
sudo gedit /etc/apt/sources.list注释原来的源,添加清华源
deb http://mirrors.tuna.tsinghua.edu.cn/raspbian/raspbian/ buster main non-free contrib
deb-src http://mirrors.tuna.tsinghua.edu.cn/raspbian/raspbian/ buster main non-free contrib
如下命令打开系统源配置文件
sudo gedit /etc/apt/sources.list.d/raspi.list注释原来的源,添加清华源
deb http://mirrors.tuna.tsinghua.edu.cn/raspberrypi/ buster main ui完毕后,执行如下两条命令
sudo apt-get update
sudo apt-get upgrade
2.博主树莓派上的版本是3.9
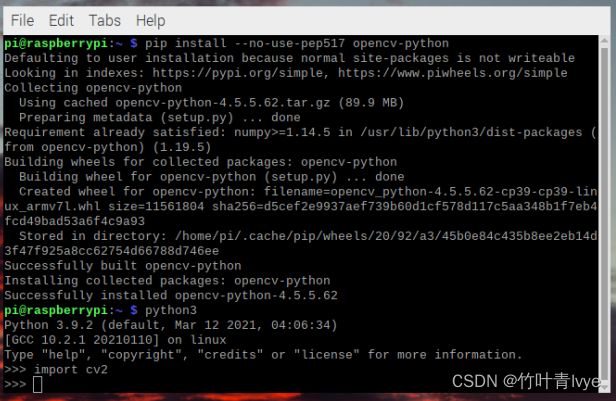
直接 pip install opencv-python不行,会在如下画面停留许久后失败
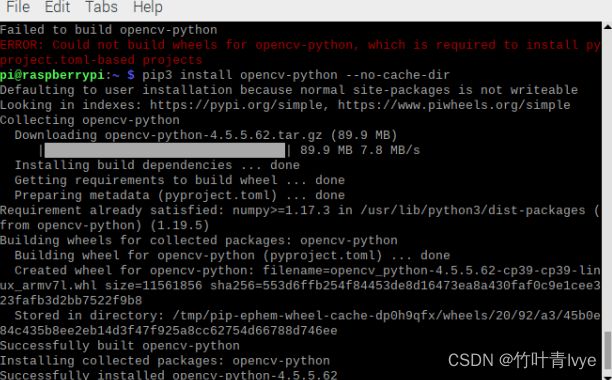
ERROR: Failed building wheel for opencv-python Failed to build opencv-python ERROR: Could not build wheels for opencv-python which use PEP 517 and cannot be installed directly
解决此问题可参看Stack Overflow上的回答
ERROR: Could not build wheels for opencv-python which > use PEP 517 and cannot be installed directly - Stack Overflow
这边我提炼如下,可先后执行如下命令语句:
sudo apt-get install build-essential
pip3 install --upgrade pip setuptools wheel
pip3 install cmake
pip3 install scikit-build
pip3 install cython

sudo apt-get install libatlas-base-dev
再执行如下命令安装
pip3 install opencv-python
注意build过程大概会持续2个小时以上时间,请耐心等待
但在使用时,在现实图片时又出现了如下报错
>> cv2.imshow("lena",f);
Traceback (most recent call last):
File "
cv2.error: OpenCV(4.5.5) /tmp/pip-install-po3pqguv/opencv-python_9bf18aadd40145edabad145996e3c152/opencv/modules/highgui/src/window.cpp:1268: error: (-2:Unspecified error) The function is not implemented. Rebuild the library with Windows, GTK+ 2.x or Cocoa support. If you are on Ubuntu or Debian, install libgtk2.0-dev and pkg-config, then re-run cmake or configure script in function 'cvShowImage'
后面有时间来解决此问题下。
更新:
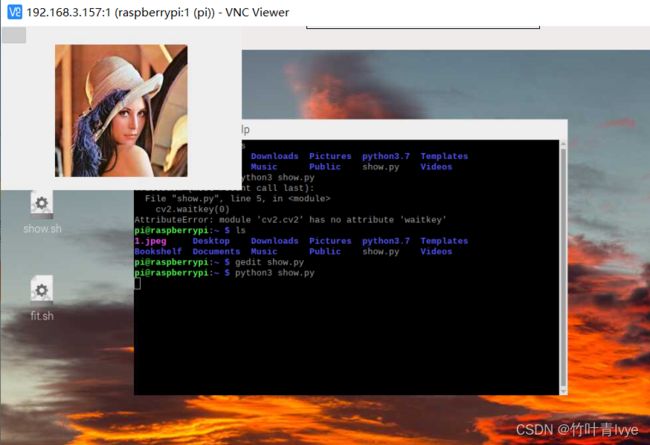
博主更换为python3.7的环境,再来安装opencv-python,成功了,且不像上面,import cv2库成功的同时,图片也show出来了。简单记录下:
1.参照博主前面博客树莓派4B上多版本python切换(一)_jiugeshao的专栏-CSDN博客来配置python3.7
2.在执行pip3 install opencv-python之前,上文中提到的预安装命令还是照常执行,额外再加入如下命令:
sudo apt-get install libjasper-dev
sudo apt-get install libilmbase-dev
sudo apt-get install libopenexr-dev

sudo aptitude install libgstreamer1.0-dev
sudo apt-get install libqtcore4
sudo apt-get install libqtgui4
sudo apt-get install libqt4-test
记得有些依赖库矛盾时候,可以用aptitude命令来安装。
3.验证环节:
新建一个show.py文件,代码如下:
import cv2

f=cv2.imread("1.jpeg")
cv2.imshow("lena",f)
cv2.waitKey(0)
除夕前的一篇博客,准备过年啦!! 2022.01.31 16点46


