OPENMV人脸识别+引脚高低
额,直接开始吧!
一、项目介绍
就是识别到人脸,之后引脚电平产生变化。使用LBP特征算法
二、项目准备
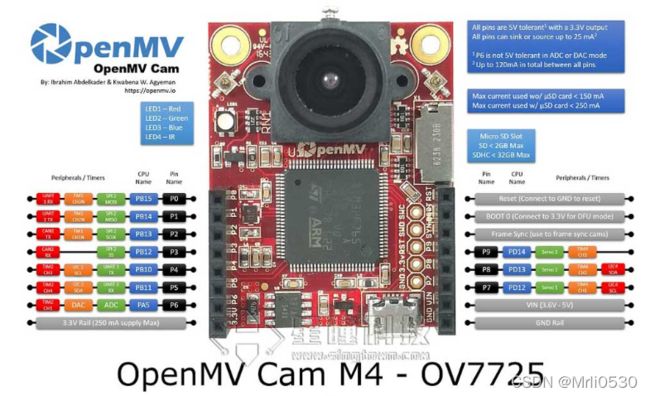
硬件:openmv
软件:openmv ide
三、流程
1.采集人脸图像
第一步:先插入内存卡到openmv
第二部:在openmv内创建文件夹,命名为singtown,然后在singtown文件夹中再新建n个名为s1,s2,s3…sn的子文件夹(想识别几个就创建几个)
第三步:使用下面这个脚本采集图片(num 值需要更改),这里也有视频
# Snapshot Example
#
# Note: You will need an SD card to run this example.
#
# You can use your OpenMV Cam to save image files.

import sensor, image, pyb

RED_LED_PIN = 1
BLUE_LED_PIN = 3

sensor.reset() # Initialize the camera sensor.
sensor.set_pixformat(sensor.GRAYSCALE) # or sensor.GRAYSCALE
sensor.set_framesize(sensor.B128X128) # or sensor.QQVGA (or others)
sensor.set_windowing((92,112))
sensor.skip_frames(10) # Let new settings take affect.
sensor.skip_frames(time = 2000)

num = 1 #设置被拍摄者序号,第一个人的图片保存到s1文件夹,第二个人的图片保存到s2文件夹,以此类推。每次更换拍摄者时,修改num值。

n = 20 #设置每个人拍摄图片数量。

#连续拍摄n张照片,每间隔3s拍摄一次。
while(n):
    #红灯亮
    pyb.LED(RED_LED_PIN).on()
    sensor.skip_frames(time = 3000) # Give the user time to get ready.等待3s,准备一下表情。

    #红灯灭,蓝灯亮
    pyb.LED(RED_LED_PIN).off()
    pyb.LED(BLUE_LED_PIN).on()

    #保存截取到的图片到SD卡
    print(n)
    sensor.snapshot().save("singtown/s%s/%s.pgm" % (num, n) ) # or "example.bmp" (or others)

    n -= 1

    pyb.LED(BLUE_LED_PIN).off()
    print("Done! Reset the camera to see the saved image.")
2.使用引脚高低电平
以使用P0口为例,
from pyb import Pin

p_out = Pin('P0', Pin.OUT_PP)#设置p_out为输出引脚
p_out.high()#设置p_out引脚为高
p_out.low()#设置p_out引脚为低
这样,识别到对用的人脸后,就OK了
三、整体程序
import sensor, time, image, pyb
p = pyb.Pin("P0", pyb.Pin.OUT_PP)
sensor.reset() # Initialize the camera sensor.
sensor.set_pixformat(sensor.GRAYSCALE) # or sensor.GRAYSCALE
sensor.set_framesize(sensor.B128X128) # or sensor.QQVGA (or others)
sensor.set_windowing((92,112))
sensor.skip_frames(10) # Let new settings take affect.
sensor.skip_frames(time = 5000) #等待5s
NUM_SUBJECTS = 4 #图像库中不同人数,一共6人
NUM_SUBJECTS_IMGS = 20 #每人有20张样本图片
img = sensor.snapshot()
d0 = img.find_lbp((0, 0, img.width(), img.height()))
img = None
pmin = 999999
num=0
def min(pmin, a, s):
    global num
    if a<pmin:
        pmin=a
        num=s
    return pmin
while(1):
  img = sensor.snapshot()
#img = image.Image("singtown/%s/1.pgm"%(SUB))
  d0 = img.find_lbp((0, 0, img.width(), img.height()))
  for s in range(1, NUM_SUBJECTS+1):
      dist = 0
      for i in range(2, NUM_SUBJECTS_IMGS+1):
          img = image.Image("singtown/s%d/%d.pgm"%(s, i))
          d1 = img.find_lbp((0, 0, img.width(), img.height()))
          #d1为第s文件夹中的第i张图片的lbp特征
          dist += image.match_descriptor(d0, d1)#计算d0 d1即样本图像与被检测人脸的特征差异度。
      #print("Average dist for subject %d: %d"%(s, dist/NUM_SUBJECTS_IMGS))
          pmin = min(pmin, dist/NUM_SUBJECTS_IMGS, s)#特征差异度越小,被检测人脸与此样本更相似更匹配。
      #print(pmin)

  print(num) # num为当前最匹配的人的编号。
  if num==1:
      print("linyuner")
      p.high()
      img = None
      pmin = 999999
      num=0
      sensor.skip_frames(time = 500) #等待5s
  if num==2:
      print("jialing")
      p.low()
      img = None
      pmin = 999999
      num=0
      sensor.skip_frames(time = 500) #等待5s
  if num==3:
      print("huangbo")
      img = None
      pmin = 999999
      num=0
      p.low()
      sensor.skip_frames(time = 500) #等待5s
  if num==4:
      print("mobuyi")
      img = None
      pmin = 999999
      num=0
      p.low()
      sensor.skip_frames(time = 500) #等待5s
  if num==0:
    img = sensor.snapshot()
#img = image.Image("singtown/%s/1.pgm"%(SUB))
    d0 = img.find_lbp((0, 0, img.width(), img.height()))
    sensor.skip_frames(time = 1500) #等待5s
结果测试通过,整体帧率较低,是openmv原因,控制下图片数量就会达最佳效果。