Ubuntu 20.04使用qemu搭建ARM64 Linux系统
1、安装所需依赖
$ sudo apt-get install debian-archive-keyring gcc-aarch64-linux-gnu bison flex bc build-essential libncurses* libssl-dev
$ sudo apt-get install qemu qemu-user-static binfmt-support debootstrap
2、使用debootstrap命令创建文件系统
使用debootstrap制作根文件系统会分成两个阶段。第一阶段是,使用debootstrap命令来下载软件包。
debootstrap命令基本格式:
$ sudo debootstrap --arch [平台] [发行版本代号] [构建目录] [镜像地址]
当前debootstrap支持的发行版本可以在
/usr/share/debootstrap/scripts查看。
在自己创建的工作目录下执行以下命令:
$ sudo su
$ debootstrap --arch=arm64 --foreign buster linux_rootfs http://mirrors.ustc.edu.cn/debian/
- –arch:指定要制作文件系统的处理器体系结构,比如arm64
- buster::指定Debian的版本。buster是Debian 10系统。
- linux_rootfs:本地目录,最后制作好的文件系统会在此目录。本实验使用“linux_rootfs”目录作为根文件系统目录。
- –foreign:只执行引导的初始解包阶段,仅仅下载和解压
- http://mirrors.ustc.edu.cn/debian/: 国内debian镜像源地址


第二阶段,需要安装软件包。
因为主机跑在x86架构上,而我们要制作的文件系统是跑在ARM64上,因此可以使用qemu-aarche64-static来模拟成arm64环境的执行环境。
$ cp /usr/bin/qemu-aarch64-static ./linux_rootfs/usr/bin/
下面使用debootstrap命令进行软件包的安装和配置
$ chroot linux_rootfs/ debootstrap/debootstrap --second-stage
显示“I:Base system installed successfully.”说明第二阶段完成。
使用chroot命令切换到刚才制作的根文件系统
$ chroot linux_rootfs/
配置root用户密码
# 先设置root用户的密码
$ passwd root
添加用户及设置密码
$ USER= xx  #设置你想要的用户名
$ useradd -G sudo -m -s /bin/bash $USER
$ passwd $USER
设置主机名
$ HOST= xxxxx  #设置你想要的主机名
$ echo $HOST > /etc/hostname
设置网络
$ echo "auto lo" > /etc/network/interfaces
$ echo "iface lo inet loopback" >> /etc/network/interfaces
$ echo "allow-hotplug enp0s1" > /etc/network/interfaces
$ echo "iface enp0s1 inet dhcp" >> /etc/network/interfaces
按照需求安装一些依赖
$ apt update
$ apt install net-tools
以上全部完成后,我们的根文件系统就制作好了,输入exit退出。
$ exit
3、制作ext4文件系统
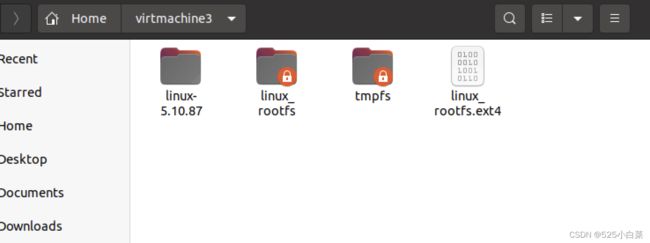
首先使用dd命令来创建一个image文件,bs=1M表示block大小,count=2048,表示该image大小为2GB,读者可以根据主机磁盘空间,适当调整该大小,建议不小于2GB。
$ dd if=/dev/zero of=linux_rootfs.ext4 bs=1M count=2048
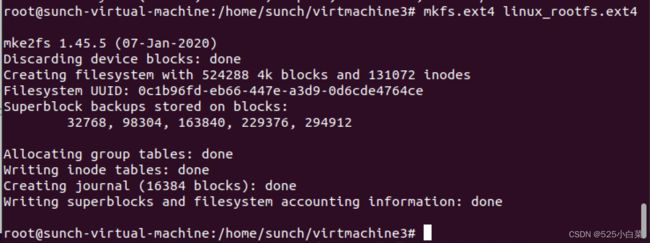
$ mkfs.ext4 linux_rootfs.ext4
$ mkdir -p tmpfs
$ mount -t ext4 linux_rootfs.ext4 tmpfs/ -o loop
$ cp -af linux_rootfs/* tmpfs/
$ umount tmpfs
$ chmod 777 linux_rootfs.ext4
4、编译Linux内核
在官网(https://mirrors.edge.kernel.org/pub/linux/kernel/v5.x/)下载Linux内核文件,我下载的版本是5.10.87,解压后执行以下命令:
$ cd linux-5.10.87/
$ export ARCH=arm64
$ export CROSS_COMPILE=aarch64-linux-gnu-
$ make defconfig
$ make -j4
编译成功会在linux-5.10.87目录下生成vmlinux,在arch/arm64/boot/目录下生成Image文件。
5、使用qemu运行我们刚刚制作的Debian系统
在工作目录下执行:
$ qemu-system-aarch64 -m 1024 -cpu cortex-a57 -M virt -nographic -smp 4 -kernel linux-5.10.87/arch/arm64/boot/Image -append "noinintrd sched_debug root=/dev/vda rootfstype=ext4 rw crashkernel=256M loglevel=8" -drive if=none,file=linux_rootfs.ext4,id=hd0 -device virtio-blk-device,drive=hd0
其中,“-drive if=none,file=myrootfs_arm64.ext4,id=hd0 -device virtio-blk-device,drive=hd0”添加根文件系统支持。

成功进入系统,我们使用root登录

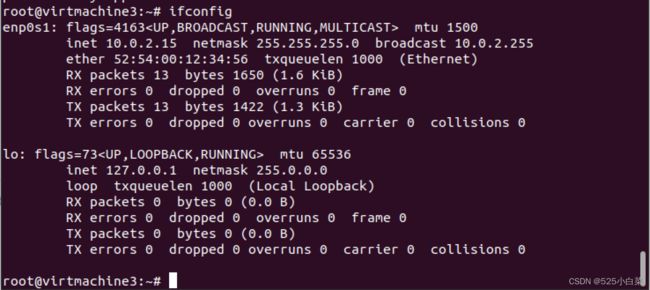
检查网络链接,正常:

使用apt可以正常安装一些软件:


参考链接:
1、debootstrap 制作arm64位根文件系统
2、debootstrap 制作根文件系统
3、ubuntu根文件系统构造
4、实验指导手册-奔跑吧Linux内核入门篇第二版


