Keras_Yolov3 实现人脸检测
目录
1. 实验环境的搭建
2. 人脸数据集的介绍及准备
3. 相关代码的修改及调整
4. 算法模型的fine-tuning
5. 模型检测结果
6. 图片的批量测试代码
一.实验环境的搭建
本次实验所需要的环境配置如下:
Python=3.5、tensorflow-gpu==1.4.0、Keras
环境的安装:
1. 创建虚拟环境(需安装anaconda)
conda create -n keras-yolo python=3.5
2. 启动虚拟环境,并且安装对应的实验环境
    source activate keras-yolo
    pip install tensorflow-gpu==1.4
    pip install keras
    pip install pillow
    pip install opencv-python
    pip install matplotlib
(为了加快package的安装速度,可在指令后面增加清华的source:
pip install ***** -i https://pypi.tuna.tsinghua.edu.cn/simple)
3. 将代码从github上下载下来保存至自己的project文件夹下
git clone https://github.com/qqwweee/keras-yolo3.git
4. 跑demo,测试环境是否搭建好
5. 从darknet官网下载yolov3.weights,将模型保存在keras-yolo3目录下
wget https://pjreddie.com/media/files/yolov3.weights
6. 模型转换
    cd ~/keras-yolo
    python convert.py -w yolov3.cfg yolov3.weights model_data/yolo_weights.h5
7. 测试demo,运行代码并按照提示输入图片路径及名字即可测试
python yolo_video.py --images

4. 若能成功测试,则表示基本环境搭建成功;若有问题,则按照相关err来解决问题;
环境安装可参考github中project的需求来;
项目地址:https://github.com/qqwweee/keras-yolo3
二. 人脸数据集的介绍及准备
人脸数据集的介绍:在本次试验中,实验所采用的数据集:WIDERFace
数据集下载链接为:http://mmlab.ie.cuhk.edu.hk/projects/WIDERFace/
数据的下载
1. 数据集的下载
本实验使用了:WIDER_train.zip、wider_face_split.zip
2. 数据集的预处理(格式转换)
将数据集的格式转换至VOC数据集格式:
参考博客https://blog.csdn.net/minstyrain/article/details/77986262
(若有侵权,将立即删除,感谢博主的分享)
3. 在本次试验中,从数据集中拿出了1w张照片来进行试验
三.相关代码的修改及训练
1. 预训练模型的转换
从darknet官网下载darknet53.conv.74模型至keras-yolo文件夹下;
模型下载好后,重命名模型:
darkent53.conv.74修改为darknet53.weights
然后利用代码进行.h5模型的转换:
    cd ~/keras-yolo
    python convert.py -w darknet53.cfg darknet53.weights model_data/darknet53_weights.h5
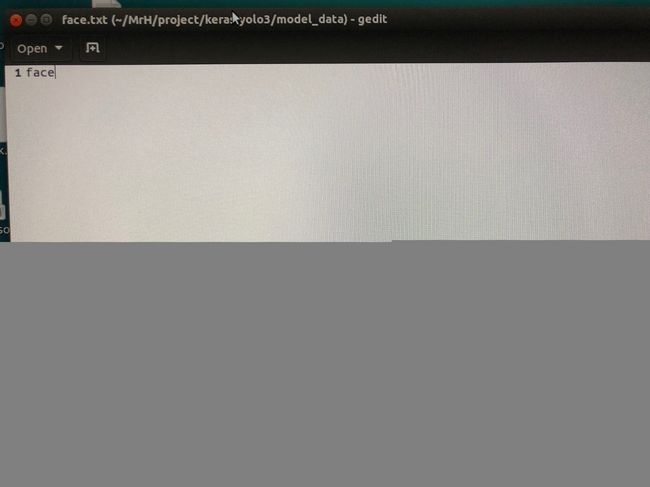
2. 在model_data文件夹下新建face.txt文件,内容如下:

3. 修改train.py代码
主要修改的地方是的数据的读取路径以及自己命名的face.txt文件;
修改部分的代码:
    annotation_path = 'path/to/your/train.txt'
    log_dir = 'logs/your/logs/name'
    classes_path = 'model_data/face.txt'
    anchors_path ='model_data/yolo_anchors.txt'
在实验中,训练共分为两个阶段,第一阶段的训练是为了使loss稳定。实验中,batch_size根据自己硬件的条件来设定;epoch的数量看自己数据情况而设定;
4. 开始训练
python train.py
四. 模型的检测结果
1. 修改yolo.py代码(训练后最终的模型保存在log文件夹内)
需要修改的内容为:
   "model_path": 'path/to/your/model.h5',
   "anchors_path": 'model_data/yolo_anchors.txt',
   "classes_path": 'model_data/face.txt',
2. 模型效果测试
输入指令:
python yolo_video.py –image
(启动后安装要求填写照片的路径及名字,example:***.jpg)
3. 测试效果图

五. 批量图片检测代码、保存检测结果图
#-*-coding: utf-8-*-
#Author: AIBC-MrH
'''
批量测试检测图片
'''

import os
from yolo import YOLO
from PIL import Image

def detect_img(yolo):
    pic_temp = []
    pic =os.listdir(test_dir)
    for name in pic:
        pic_temp.append(name)
    for i in range(len(pic_temp)):
        img = test_dir +'/' + pic_temp[i]
        image = Image.open(img)
        detect = yolo.detect_image(image)
        #detect.show()
        detect.save(target_dir + '/' + pic_temp[i])
    yolo.close_session()
    return detect

if __name__=='__main__':
    test_dir = './test_face'
    target_dir = './detect_results'
    if not os.path.exists(target_dir):
        os.mkdir(target_dir)

    detect_img(YOLO())

