SpringBootAdmin搭建教程十:微服务SpringCloud Alibaba Nacos注册中心整合SpringBootAdmin
上一篇中我们学习了使用微服务中的Zookeeper注册发现来整合SpringBootAdmin 进行监控等操作,这一篇我们来讲讲使用 SpringCloud Alibaba Nacos来整合。
Nacos介绍
Nacos 致力于帮助您发现、配置和管理微服务。Nacos 提供了一组简单易用的特性集,帮助您快速实现动态服务发现、服务配置、服务元数据及流量管理。
Nacos 帮助您更敏捷和容易地构建、交付和管理微服务平台。 Nacos 是构建以“服务”为中心的现代应用架构 (例如微服务范式、云原生范式) 的服务基础设施。
Nacos 官方文档: Nacos官方文档
Spring Cloud Alibaba开发文档: Spring Cloud Alibaba Nacos
请大家一定要先看文档,并且下载nacos,然后启动运行nacos服务。
启动等问题,大家自行百度,这里就不在说了,看nacos 官方文档就提供了。
安装成功后,启动nacos ,默认端口是 8848,访问:
http://localhost:8848/nacos/#/login 用户名/密码 nacos/nacos
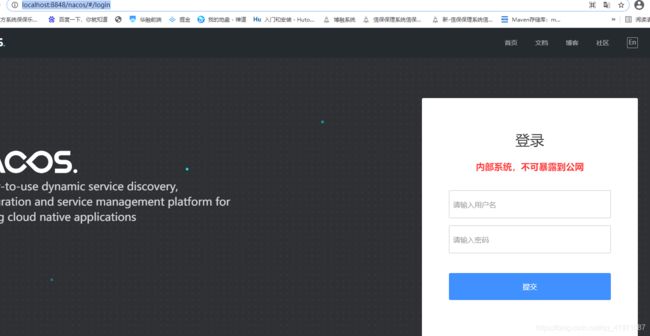
登录进去就算安装成功了。
Nacos整合
创建一个springboot项目,SpringBootAdminNacosDemo 用于整合nacos,加入依赖
    com.alibaba.cloud
    spring-cloud-starter-alibaba-nacos-discovery
完整的项目依赖如下:
pom.xml
    4.0.0

        org.springframework.boot
        spring-boot-starter-parent
        2.3.0.RELEASE


    com.example
    bootnacosdemo
    0.0.1-SNAPSHOT
    bootnacosdemo
    Demo project for Spring Boot

        1.8
        Hoxton.SR8
        2021.1


            org.springframework.boot
            spring-boot-starter


            de.codecentric
            spring-boot-admin-starter-server


                    io.projectreactor.netty
                    reactor-netty


            2.3.0


            io.projectreactor.netty
            reactor-netty
            0.9.10.RELEASE


            org.springframework.boot
            spring-boot-starter-web


            org.springframework.boot
            spring-boot-starter-security


            org.jolokia
            jolokia-core


            com.alibaba.cloud
            spring-cloud-starter-alibaba-nacos-discovery


            org.springframework.boot
            spring-boot-starter-test
            test


                org.springframework.cloud
                spring-cloud-dependencies
                ${spring.cloud.version}
                pom
                import


                com.alibaba.cloud
                spring-cloud-alibaba-dependencies
                ${spring.cloud.alibaba.version}
                pom
                import


                org.springframework.boot
                spring-boot-maven-plugin
yml配置
spring:
  application:
    name: naocs-example
  cloud:
   nacos:
      discovery:
        server-addr: 127.0.0.1:8848
        metadata:
          management.context-path: /foo
          health.path: /ping
          user.name: admin
          user.password: admin
  profiles:
    active:
      - secure
management:
  endpoints:
    web:
      exposure:
        include: "*"
      path-mapping:
        health: /ping
      base-path: /foo
  endpoint:
    health:
      show-details: ALWAYS
server:
  port: 8084
---
spring:
  profiles: insecure

---
spring:
  profiles: secure
  security:
    user:
      name: "admin"
      password: "admin"
启动类配置
启动类上面加入以下注解,开启nacos和adminservice
@EnableDiscoveryClient
@EnableAdminServer
完整代码:
/**
 * 开启 nacos注册发现,adminservice 启动配置。
 */
@SpringBootApplication
@EnableDiscoveryClient
@EnableAdminServer
public class BootnacosdemoApplication {

    public static void main(String[] args) {
        SpringApplication.run(BootnacosdemoApplication.class, args);
    }

    /**
     * 客户端 配置:
     */
    @Profile("insecure")
    @Configuration(proxyBeanMethods = false)
    public static class SecurityPermitAllConfig extends WebSecurityConfigurerAdapter {

        private final AdminServerProperties adminServer;

        public SecurityPermitAllConfig(AdminServerProperties adminServer) {
            this.adminServer = adminServer;
        }

        @Override
        protected void configure(HttpSecurity http) throws Exception {
            http.authorizeRequests((authorizeRequests) -> authorizeRequests.anyRequest().permitAll())
                    .csrf((csrf) -> csrf.csrfTokenRepository(CookieCsrfTokenRepository.withHttpOnlyFalse())
                            .ignoringRequestMatchers(
                                    new AntPathRequestMatcher(this.adminServer.path("/instances"),
                                            HttpMethod.POST.toString()),
                                    new AntPathRequestMatcher(this.adminServer.path("/instances/*"),
                                            HttpMethod.DELETE.toString()),
                                    new AntPathRequestMatcher(this.adminServer.path("/actuator/**"))));
        }

    }

    /**
     * 服务端 安全授权配置
     */
    @Profile("secure")
    @Configuration(proxyBeanMethods = false)
    public static class SecuritySecureConfig extends WebSecurityConfigurerAdapter {

        private final AdminServerProperties adminServer;

        private final SecurityProperties security;

        public SecuritySecureConfig(AdminServerProperties adminServer,SecurityProperties security) {
            this.adminServer = adminServer;
            this.security = security;
        }

        @Override
        protected void configure(HttpSecurity http) throws Exception {
            SavedRequestAwareAuthenticationSuccessHandler successHandler = new SavedRequestAwareAuthenticationSuccessHandler();
            successHandler.setTargetUrlParameter("redirectTo");
            successHandler.setDefaultTargetUrl(this.adminServer.path("/"));

            http.authorizeRequests((authorizeRequests) -> authorizeRequests
                    .antMatchers(this.adminServer.path("/assets/**")).permitAll()
                    .antMatchers(this.adminServer.path("/login")).permitAll().anyRequest().authenticated())
                    .formLogin((formLogin) -> formLogin.loginPage(this.adminServer.path("/login"))
                            .successHandler(successHandler))
                    .logout((logout) -> logout.logoutUrl(this.adminServer.path("/logout")))
                    .httpBasic(Customizer.withDefaults())
                    .csrf((csrf) -> csrf.csrfTokenRepository(CookieCsrfTokenRepository.withHttpOnlyFalse())
                            .ignoringRequestMatchers(
                                    new AntPathRequestMatcher(this.adminServer.path("/instances"),
                                            HttpMethod.POST.toString()),
                                    new AntPathRequestMatcher(this.adminServer.path("/instances/*"),
                                            HttpMethod.DELETE.toString()),
                                    new AntPathRequestMatcher(this.adminServer.path("/actuator/**"))));
        }

        /**
         * 记住我功能配置,当点击记住我时候,必须有以下配置,否则无法登录成功。
         * @param auth
         * @throws Exception
         */
        @Override
        protected void configure(AuthenticationManagerBuilder auth) throws Exception {
            auth.inMemoryAuthentication().withUser(security.getUser().getName())
                    .password("{noop}" + security.getUser().getPassword()).roles("USER");
        }

    }


}
配置成功后,启动项目,然后查看nacos中是否注册进去。

注册进去了,说明项目配置没有问题,接下来访问 SpringBootAdmin Service 端
访问: http://localhost:8084/login 用户名/密码 admin/admin
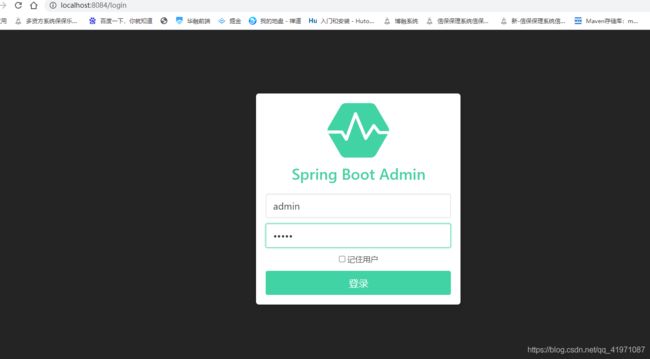

如果第一次登录进来,这里可能是红的,说明还在连接当中,请等待一下就好了。
查看应用实例.

说名nacos 整合成功了。
其他的配置也是一样的,比如日志配置,邮箱配置,记住登录等,在前面已经有了,自己可以去试着去玩玩。不知道的,请看前面的教程。
完整实例代码,GitHub: SpringBootAmdinDemo
有问题下方讨论,一起学习。