Mr. Cappuccino的第48杯咖啡——冒泡APP(升级版)之基于Docker部署企业级Maven私服
冒泡APP(升级版)之基于Docker部署企业级Maven私服
-
-
- 基于Docker安装Nexus
- 登录Maven私服
- 配置Maven仓库
- 配置settings.xml和pom.xml
- 项目实践及常见问题
-
基于Docker安装Nexus
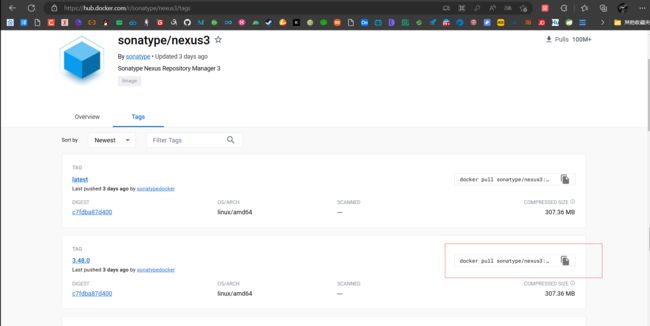
查看sonatype/nexus镜像版本
下载指定版本的镜像
docker pull sonatype/nexus3:3.48.0
将容器目录(/var/nexus-data)挂载到主机目录(/root/nexus-data)
docker run -d \
	-p 8849:8081 --name nexus \
	-v /root/nexus-data:/var/nexus-data \
	--restart=always sonatype/nexus3:3.48.0
查看正在运行的容器并根据容器ID查看正在运行的容器的日志
docker ps
docker attach 容器id
注意:docker attach [options]命令在使用Ctrl+C退出容器时,还会将容器停止运行,如果希望退出容器时不停止运行则需要加上–sig-proxy这个参数
docker attach --sig-proxy=false 容器id
关闭防火墙
systemctl disable firewalld
登录Maven私服
访问Maven私服主页
查看Maven私服默认的账号密码
docker ps
docker exec -it 容器id bash
cat /nexus-data/admin.password
exit
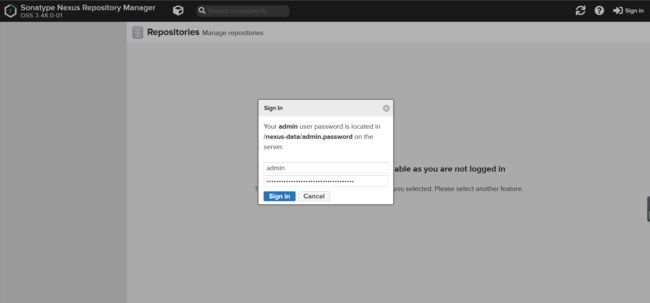
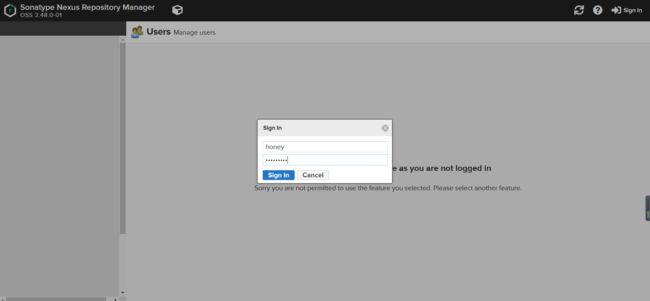
登录Maven私服(默认账号为admin)
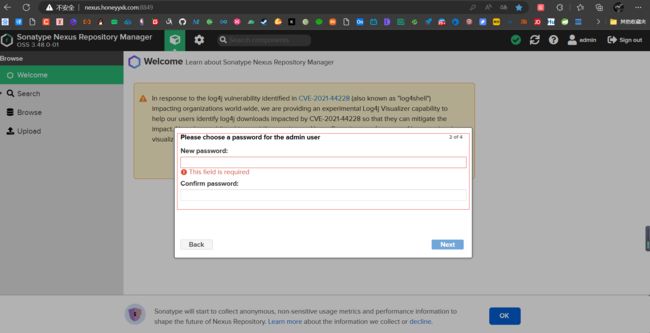
设置新的密码
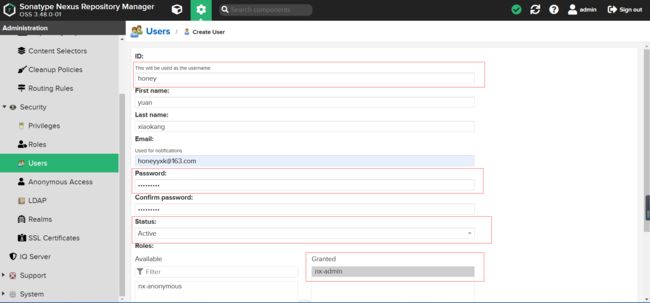
创建新用户
登录新用户的账号
配置Maven仓库
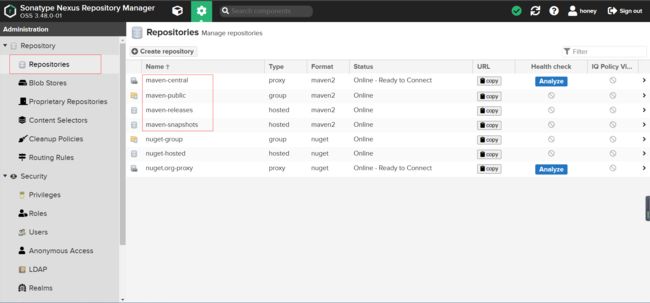
Maven默认仓库
默认仓库说明
maven-central:Maven中央库,默认从https://repo1.maven.org/maven2/拉取Jar包;
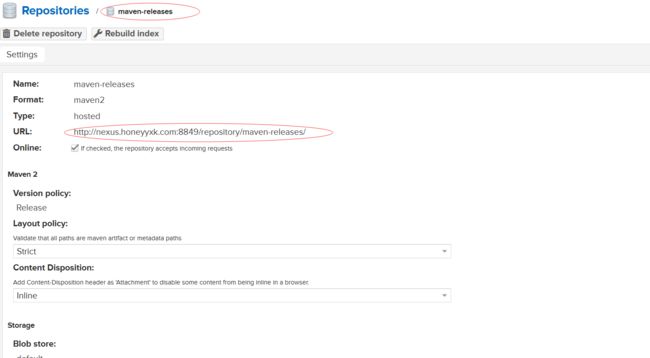
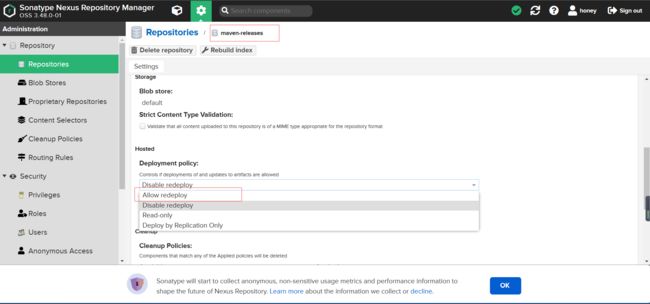
maven-releases:私库发行版Jar,初次安装请将Deployment policy设置为Allow redeploy;
maven-snapshots:私库快照(调试版本)Jar;
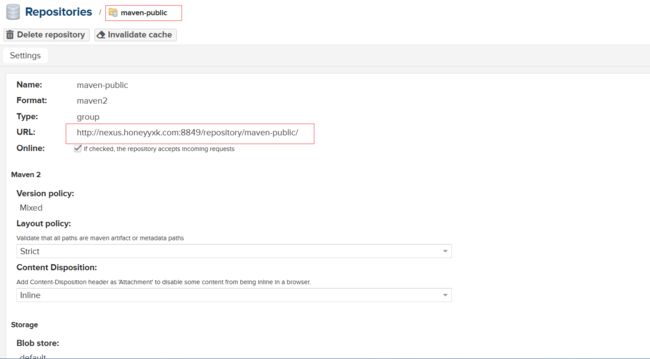
maven-public:仓库分组,把上面三个仓库组合在一起对外提供服务,在本地Maven基础配置settings.xml或项目pom.xml中使用;
仓库类型说明
group:这是一个仓库聚合的概念,用户仓库地址选择Group的地址,即可访问Group中配置的,用于方便开发人员自己设定的仓库。maven-public 就是一个Group类型的仓库,内部设置了多个仓库,访问顺序取决于配置顺序,3.x 默认为Releases、Snapshots、Central,当然你也可以自己设置;
hosted:私有仓库,内部项目的发布仓库,专门用来存储我们自己生成的Jar文件;
snapshots:本地项目的快照仓库;
releases: 本地项目发布的正式版本;
proxy:代理类型,从远程中央仓库中寻找数据的仓库(可以点击对应仓库的Configuration页签下Remote Storage属性的值即被代理的远程仓库的路径),如可配置阿里云maven仓库;
central:中央仓库;
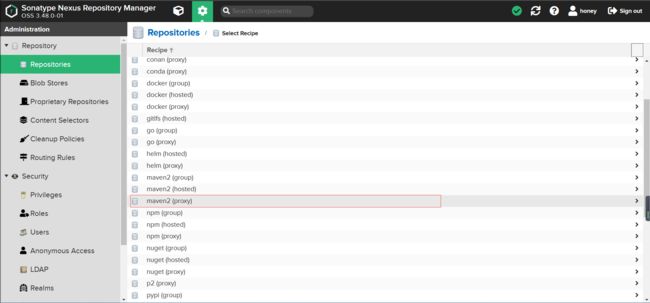
创建阿里云代理仓库
http://maven.aliyun.com/nexus/content/groups/public/
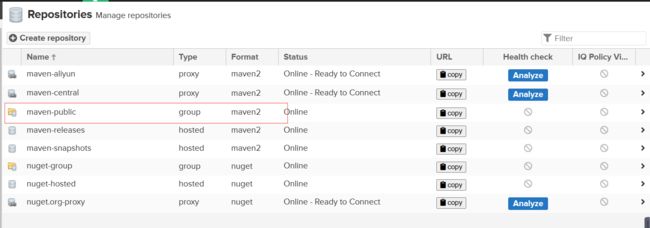
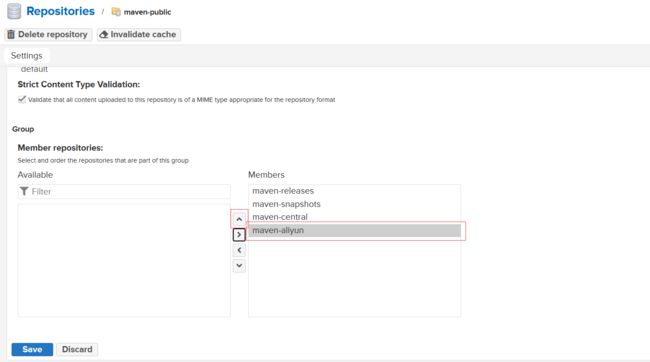
在maven-public中添加代理仓库
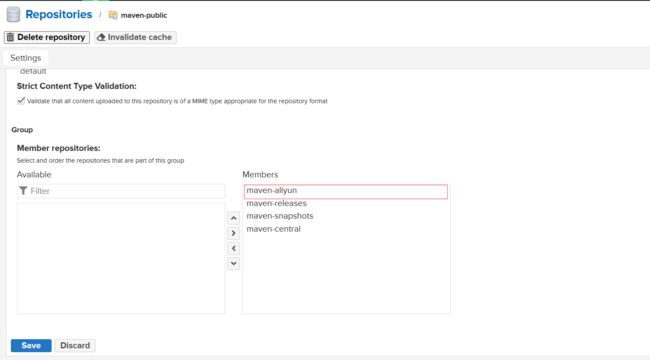
调整配置的顺序
配置settings.xml和pom.xml
配置settings.xml文件
<settings xmlns="http://maven.apache.org/SETTINGS/1.0.0"
          xmlns:xsi="http://www.w3.org/2001/XMLSchema-instance"
          xsi:schemaLocation="http://maven.apache.org/SETTINGS/1.0.0 http://maven.apache.org/xsd/settings-1.0.0.xsd">

  <localRepository>D:\bubble_jarlocalRepository>

  <pluginGroups>pluginGroups>

  <proxies>proxies>

  <servers>
	<server>
      <id>bubbleid>
      <username>honeyusername>
      <password>honey@163password>
    server>
  servers>

  <mirrors>
	<mirror>
		<id>nexusid>
		<name>internal nexus repositoryname>
		<url>http://nexus.honeyyxk.com:8849/repository/maven-public/url>
		<mirrorOf>*mirrorOf>
	mirror>
  mirrors>

  <profiles>
	  <profile>

		<id>bubbleid>
		<properties>
				<downloadSources>truedownloadSources>
				<downloadJavadocs>truedownloadJavadocs>
		properties>
		<repositories>
		  <repository>

			<id>nexusid>

			<url>http://nexus.honeyyxk.com:8849/repository/maven-public/url>

			<releases>
			  <enabled>trueenabled>
			releases>

			<snapshots>
			  <enabled>trueenabled>
			snapshots>
		  repository>
		repositories>
		<pluginRepositories>

			<pluginRepository>

				<id>Bubbleid>
				<name>Bubble Repositoriesname>
				<url>http://nexus.honeyyxk.com:8849/repository/maven-public/url>
			pluginRepository>
		pluginRepositories>
	  profile>
  profiles>

  <activeProfiles>
    <activeProfile>bubbleactiveProfile>
  activeProfiles>

settings>
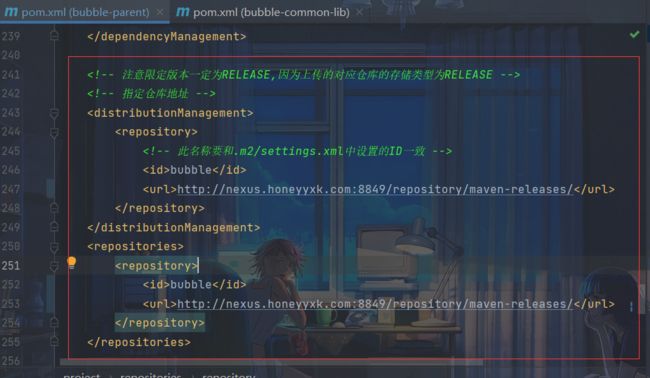
配置pom.xml文件
<distributionManagement>
    <repository>

        <id>bubbleid>
        <url>http://nexus.honeyyxk.com:8849/repository/maven-releases/url>
    repository>
distributionManagement>
<repositories>
    <repository>
        <id>bubbleid>
        <url>http://nexus.honeyyxk.com:8849/repository/maven-releases/url>
    repository>
repositories>
项目实践及常见问题
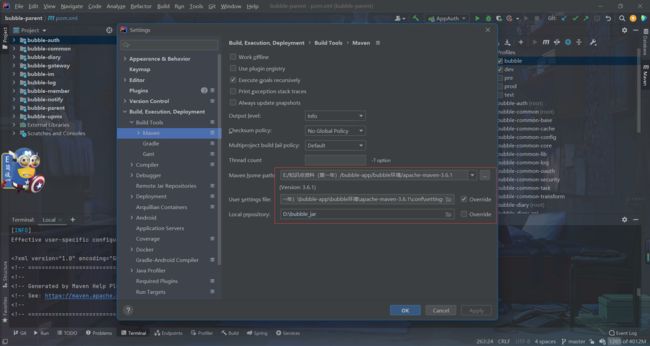
在IDE中配置Maven环境
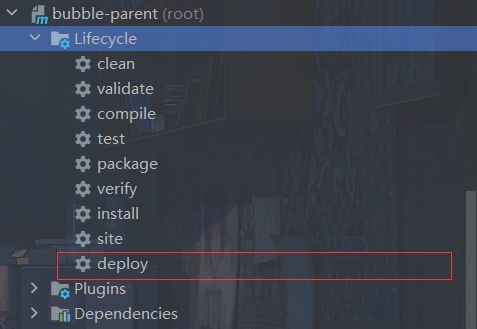
将所有的模块打包上传到Maven私服
如果报以下错误,说明仓库中已经存在相同版本的Jar包,宿主仓库默认不允许重复部署相同的Jar包,只需要将宿主仓库的 Deployment Policy 改为 “Allow Redeploy ” 即可解决。
Failed to execute goal org.apache.maven.plugins:maven-deploy-plugin:2.7:deploy (default-deploy) on project bubble-parent: Failed to deploy artifacts: Could not transfer artifact com.bubble:bubble-parent:pom:1.0-RELEASE from/to bubble (http://nexus.honeyyxk.com:8849/repository/maven-releases/): Failed to transfer file http://nexus.honeyyxk.com:8849/repository/maven-releases/com/bubble/bubble-parent/1.0-RELEASE/bubble-parent-1.0-RELEASE.pom with status code 400
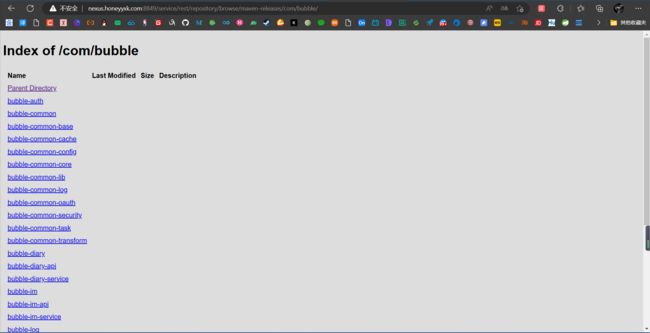
最后Jar包全都成功上传到私服了
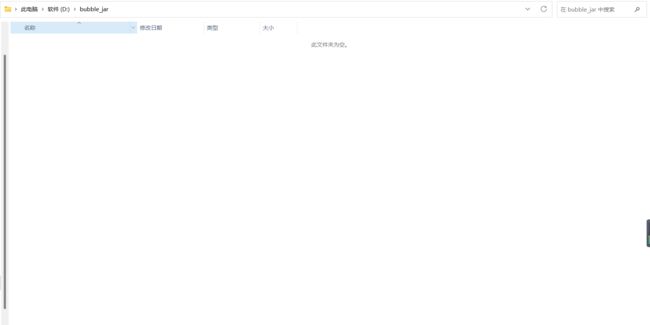
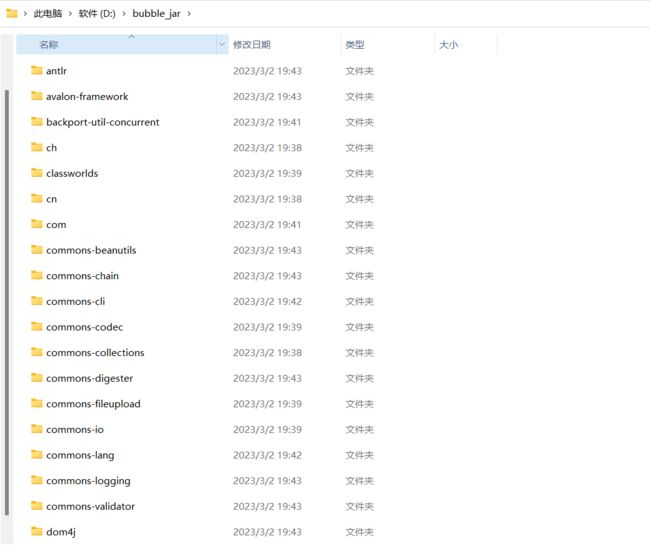
清空本地Maven仓库
刷新Maven依赖,如果报以下错误,则记得检查账号密码是否配置有误
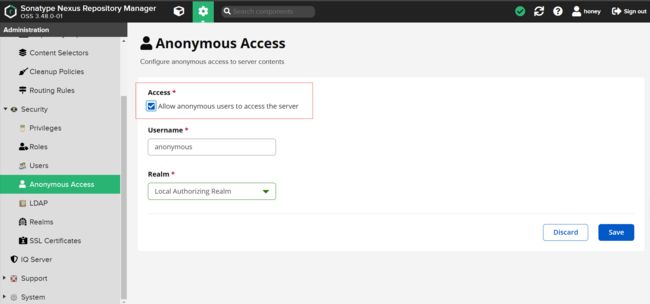
Could not transfer artifact org.springframework.boot:spring-boot-dependencies:pom:2.4.2 from/to nexus (http://nexus.honeyyxk.com:8849/repository/maven-public/): Not authorized
我这里是由于不允许匿名访问所导致,勾选允许匿名访问即可
如果项目能正常编译了,但Maven还是报错(有红色波浪线)的话,则可以重启一下IDE,重启完IDE后就没有红色波浪线了。
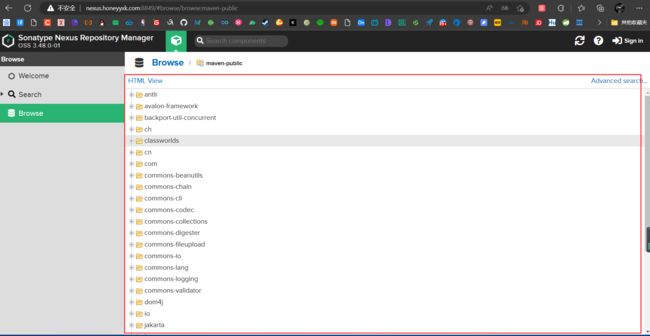
现在Maven私服和本地仓库中都有项目所依赖的Jar包啦
到这里基本上就已经大功告成了。
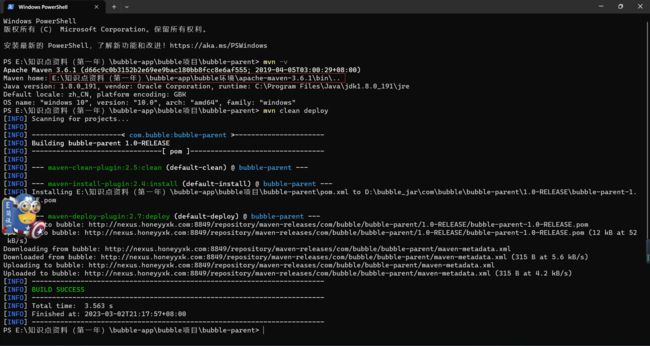
遇到了一点小问题:虽然可以使用IDE的Maven进行deploy,但是在IDE命令栏使用mvn clean deploy这个命令时,却会报错。
这是因为IDE命令栏生效的settings.xml配置不是IDE中配置的settings.xml,可以使用以下命令查看。
mvn help:effective-settings
mvn -X
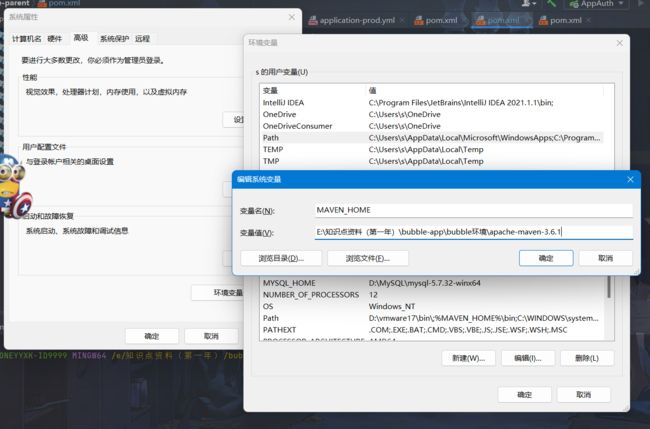
遇到这个问题,我们可以修改环境变量来解决
配置的环境变量路径最好不要有中文字符,因为我这里只是临时调整,所以就懒得换了。如果配置的环境变量没有生效,可以重启IDE试一试,或者重新打开CMD验证一下。
