VUE3实战一之项目搭建
VUE3实战一之项目搭建
- 1. 项目初始化
-
- 1.1. 环境要求
- 1.2. 创建VUE项目-基于vite
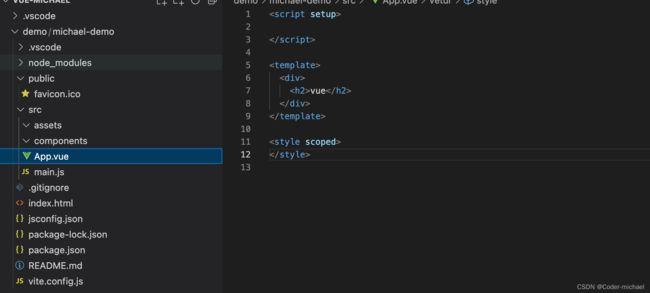
- 1.3. 项目初始化
- 2. 项目配置
-
- 2.1. 基本配置修改
-
- icon
- Title
- 配置jsconfig.json
- 2.2. 项目目录结构划分
-
- 删除自带的项目
- 按照常用的目录划分
- 2.3. css样式重置
-
- reset.css
- common.css
- index.css
- 3. 路由配置
-
- 3.1. router/index.js
- 3.2. 路由的view页面开发
- 3.3. main.js中只用路由
- 3.4. 视图中使用路由占位
- 3.5. 路由跳转
1. 项目初始化
1.1. 环境要求
node -v
v16.17.0
npm -v
8.15.0
1.2. 创建VUE项目-基于vite
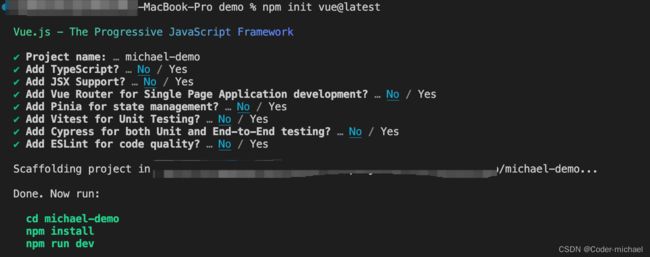
npm init vue@latest
需要在初始化按照的模块可以按需按照,本次demo只取最简项目
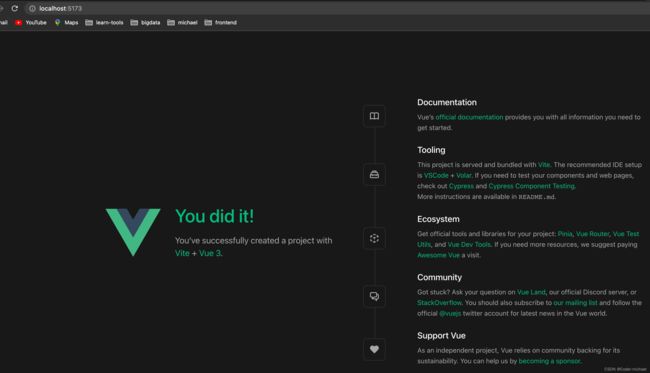
1.3. 项目初始化
cd michael-demo
npm install # install needed modules
npm run dev
2. 项目配置
2.1. 基本配置修改
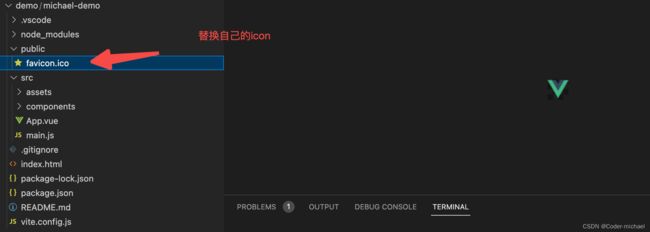
icon
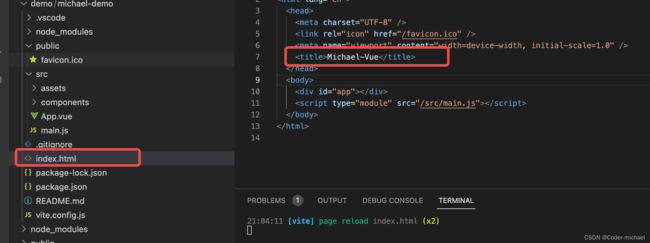
Title
配置jsconfig.json
{
  "compilerOptions": {
    // "target": "es5",
    "module": "esnext",
    "baseUrl": "./",
    "moduleResolution": "node",
    "paths": {
      "@/*": [
        "src/*"
      ]
    },
    "lib": [
      "esnext",
      "dom",
      "dom.iterable",
      "scripthost"
    ]
  },
  "vueCompilerOptions": {
    "experimentalDisableTemplateSupport": true
  }
}
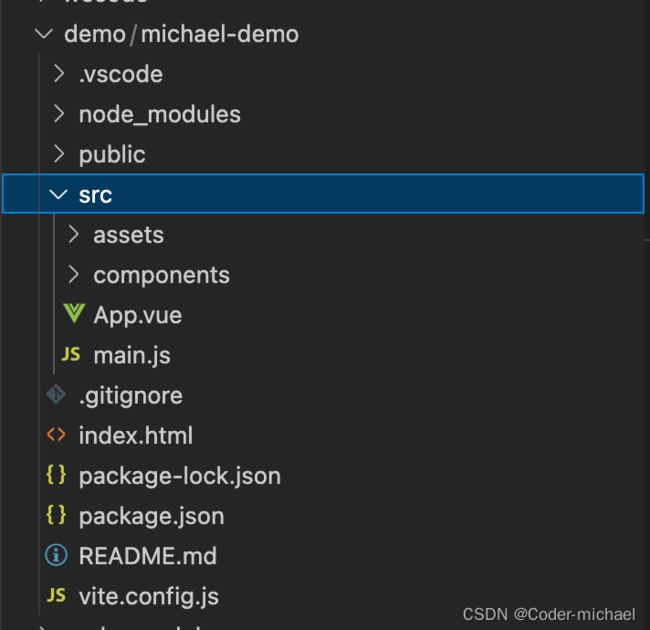
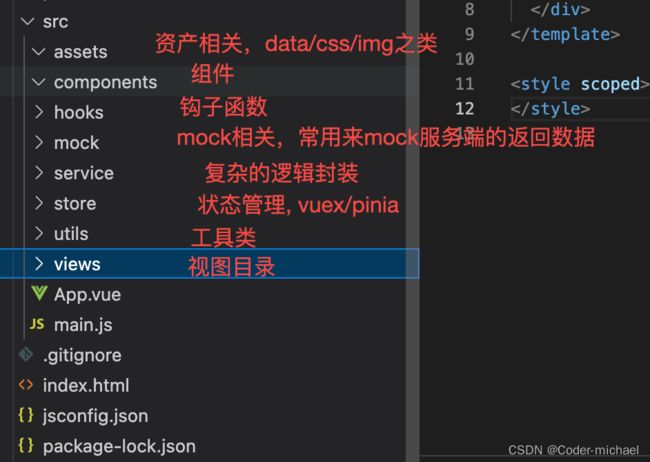
2.2. 项目目录结构划分
删除自带的项目
按照常用的目录划分
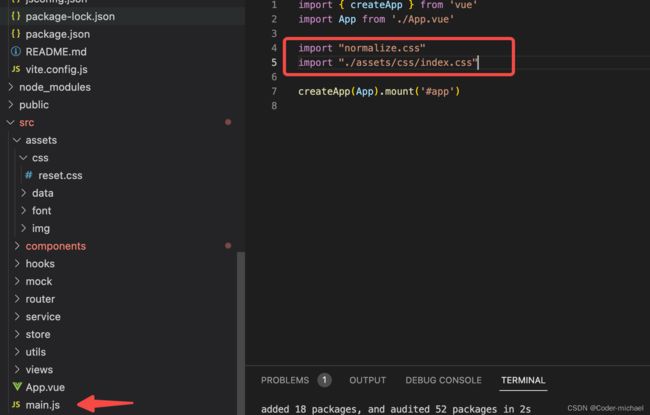
2.3. css样式重置
npm install normaliza
reset.css
body, h1, h2, h3, h4, ul, li {
    padding: 0;
    margin: 0;
}

ul, li {
    list-style: none;
}

a {
    text-decoration: none;
    color: #333;
}

img {
    vertical-align: top;
}
common.css
:root {
    --primary-color: #ff9854;

    /* 全局修改: 任何地方只要用到-van-tabbar-item-icon-size都会被修改掉 */
    /* --van-tabbar-item-icon-size: 30px !important; */
  }

  body {
    font-size: 14px;
  }
index.css
@import "./common.css";
@import "./reset.css";
3. 路由配置
3.1. router/index.js
import { createRouter, createWebHashHistory } from 'vue-router'

const router = createRouter({
  history: createWebHashHistory(),
  // 映射关系: path -> component
  routes: [
    {
      path: "/",
      redirect: "/home"
    },
    {
      path: "/home",
      component: () => import("@/views/home/home.vue")
    },
    {
      path: "/favor",
      component: () => import("@/views/favor/favor.vue")
    },
    {
      path: "/order",
      component: () => import("@/views/order/order.vue")
    },
    {
      path: "/message",
      component: () => import("@/views/message/message.vue")
    }
  ]
})

export default router
3.2. 路由的view页面开发
<template>
  <div class="favor">
    <h2>favor</h2>
  </div>
</template>

<script setup>

</script>

<style lang="less" scoped>

</style>
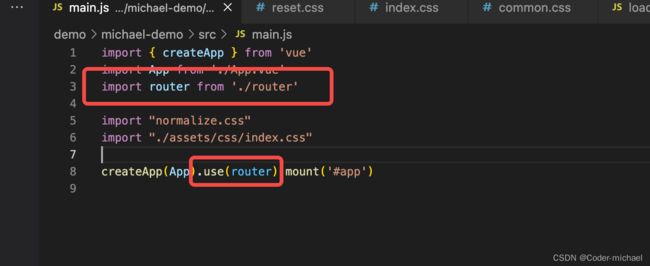
3.3. main.js中只用路由
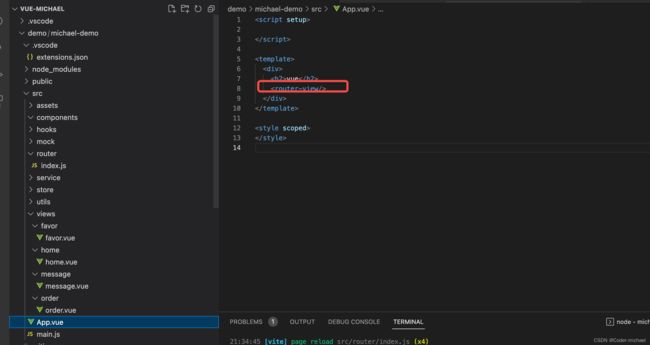
3.4. 视图中使用路由占位
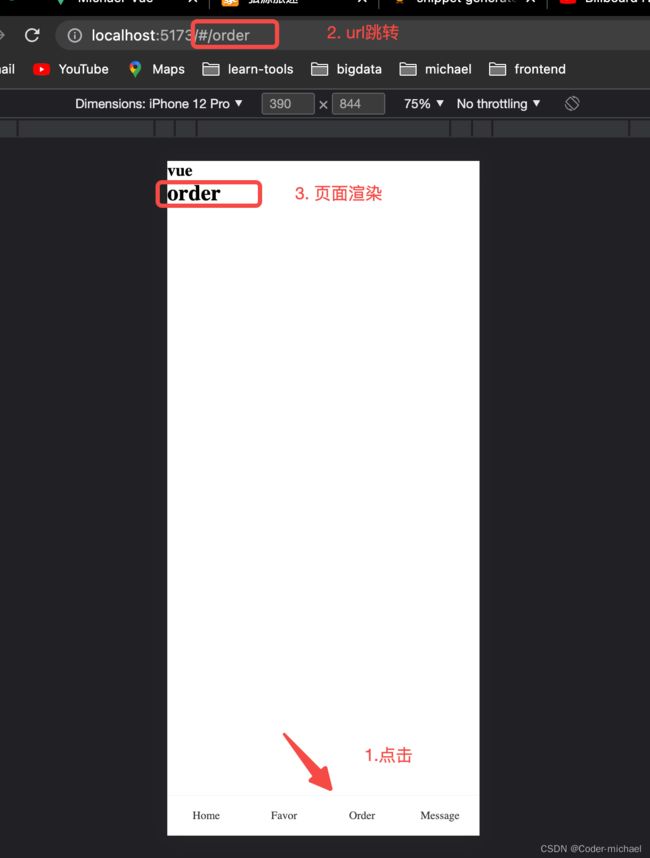
3.5. 路由跳转
<script setup>

</script>

<template>
  <div>
    <h2>vue</h2>
    <router-view/>
  </div>
  <div class="app">
    <div class="router-link">
      <router-link to="/home">Home</router-link>
    </div>
    <div class="router-link">
      <router-link to="/favor">Favor</router-link>
    </div>
    <div class="router-link">
      <router-link to="/order">Order</router-link>
    </div>
    <div class="router-link">
      <router-link to="/message">Message</router-link>
    </div>
  </div>
</template>

<style lang="less" scoped>
.app {
  position: fixed;
  bottom: 0;
  left: 0;
  right: 0;
  height: 50px;
  display: flex;

  border-top: 1px solid #f3f3f3;

  .router-link {
    flex: 1;
    display: flex;
    flex-direction: column;
    justify-content: center;
    align-items: center;
  }

}
</style>
