【拜小白opencv】1图像简单显示与保存
博主力求用最简单的语言将此部分内容讲解清楚,但由于博主同样是刚刚接触OpenCV,或许表达上有些错误,还望读者能够指教探讨,大家共同进步。
博主机器配置为:VS2017+OpenCV-3.2.0+Win10-64bit。
欢迎转发,同时还望注明出处,谢谢! 如果本人写的能给读者带来一点点的帮助,我就很开心了。
Mat类简单介绍
Mat类可以用来保存图像以及其他矩阵数据的数据结构,默认情况下其尺寸为0。更详细的将会在以后的文章中继续介绍。
读入图像:imread()函数
Mat imread( const String& filename, int flags = IMREAD_COLOR );
第一个参数:放入打算读入的图像的路径。
这里有三点要值得注意的地方,①要用” ”双引号(英文下)将路径括起来。②路径见要用两个斜线\\分割。③要记得图像格式别忘记写。
![]()
上图中,第一种写法,即图像在当前项目文件夹中;
第二张为:自定义图像的路径。
第二个参数:默认值是1,表示的是载入三通道彩色图像。以下给出的opencv里关于此参数另一些值及其意义。
enum ImreadModes {IMREAD_UNCHANGED = -1, //!< If set, return the loaded image as is (with alpha channel, otherwise it gets cropped).
IMREAD_GRAYSCALE = 0, //!< If set, always convert image to the single channel grayscale image.
IMREAD_COLOR = 1, //!< If set, always convert image to the 3 channel BGR color image.
IMREAD_ANYDEPTH = 2, //!< If set, return 16-bit/32-bit image when the input has the corresponding depth, otherwise convert it to 8-bit.
IMREAD_ANYCOLOR = 4, //!< If set, the image is read in any possible color format.
IMREAD_LOAD_GDAL = 8, //!< If set, use the gdal driver for loading the image.
IMREAD_REDUCED_GRAYSCALE_2 = 16, //!< If set, always convert image to the single channel grayscale image and the image size reduced 1/2.
IMREAD_REDUCED_COLOR_2 = 17, //!< If set, always convert image to the 3 channel BGR color image and the image size reduced 1/2.
IMREAD_REDUCED_GRAYSCALE_4 = 32, //!< If set, always convert image to the single channel grayscale image and the image size reduced 1/4.
IMREAD_REDUCED_COLOR_4 = 33, //!< If set, always convert image to the 3 channel BGR color image and the image size reduced 1/4.
IMREAD_REDUCED_GRAYSCALE_8 = 64, //!< If set, always convert image to the single channel grayscale image and the image size reduced 1/8.
IMREAD_REDUCED_COLOR_8 = 65, //!< If set, always convert image to the 3 channel BGR color image and the image size reduced 1/8.
IMREAD_IGNORE_ORIENTATION = 128 //!< If set, do not rotate the image according to EXIF's orientation flag.
};
显示图像:imshow()函数
void imshow(const String& winname, InputArray mat);
第一个参数:显示窗口名称。
第二个参数:将要显示的图像的名称。
保存图像:imwrite()函数
bool imwrite( const String& filename, InputArray img, const std::vector& params = std::vector());
第一个参数:将要另保存图像的名称,可以自己定义名称。
第二个参数:你要要保存的图像名称,是目前已经存在的图像。
第三个参数:来设置对于图像格式的参数,一般省略,不写。
具体代码
//=============================================
//功能:图像显示与保存
//2017年7月5日11:57:39
//=============================================

#include


#include


#include


#include


using namespace std;
using namespace cv;

int main()
{
	//【1】读取原始图像
	Mat srcImage;
	srcImage = imread("dog.jpg", IMREAD_COLOR);//第一个参数为要读入的图像;第二个参数默认值为1,即IMREAD_COLOR,这个参数可以省略不写;
	//【2】检查是否读取图像成功
	if (srcImage.empty())
	{
		cout << "读取图像有误,请重新输入正确路径!\n";
		return -1;
	}
	//【3】创建具有图像名称的窗口
	namedWindow("原始图", WINDOW_AUTOSIZE);
	//【4】在窗口中显示图片
	imshow("原始图", srcImage);
	//【5】保存图像
	imwrite("保存的图像.jpg", srcImage);
	//【6】保持等待状态
	waitKey();//括号里可以填任意正整数,意味着,图像显示的毫秒时间
	return 0;
}
显示结果
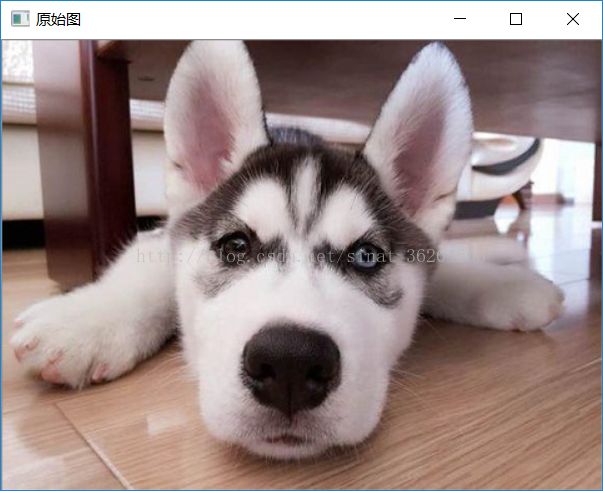
运行代码,显示出图像,同时程序文件夹中也会有刚刚另保存的图像。