SpringCloud微服务架构编码构建(微服务提供消费者订单模块)
目录
一、微服务提供消费者订单模块
1.新建模块cloud-consumer-order80
2.pom文件
3.实体类(CommonResult &Payment )
4.控制层
⚪RestTemplate
⚪创建配置类
5.application.yml
6.主启动类 OrderMain80
7.测试
⭐验证插入
使用@RequestBody注解
二、工程重构(实现一处修改处处使用!)
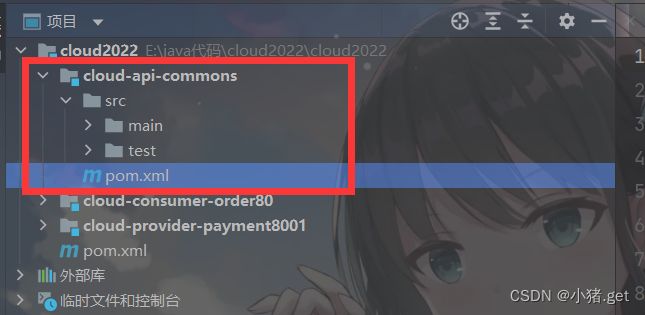
1.新建项目cloud-api-commons
2.修改pom
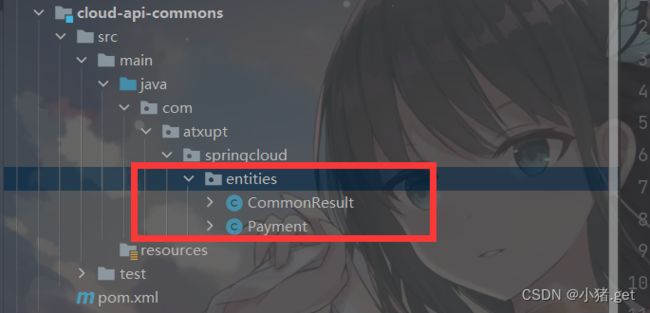
3.将 entities 包里面的实体类放到这个子模块中
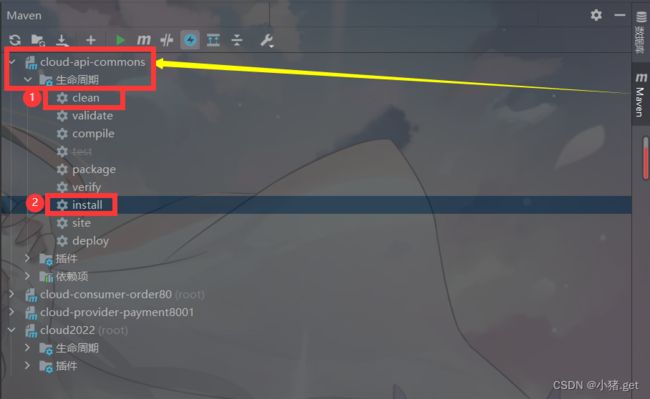
4.执行maven的clean和install
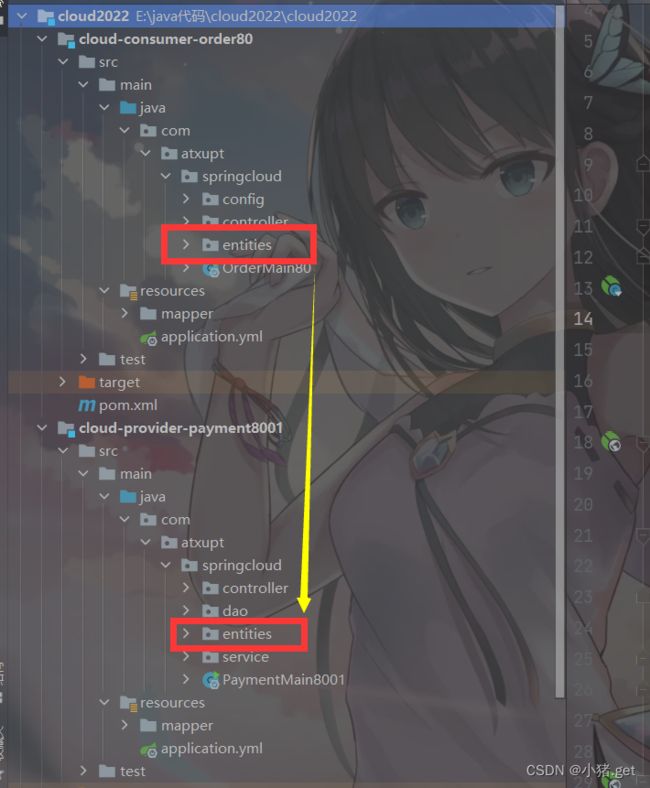
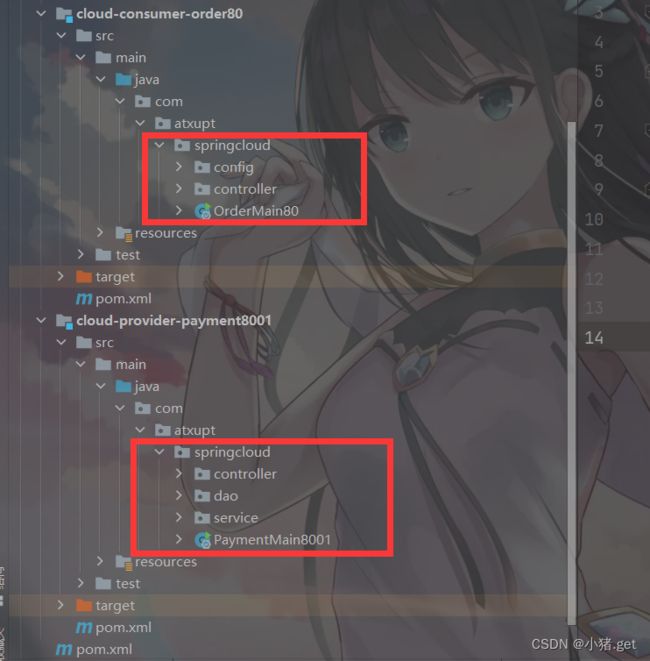
5. 将 提供者 和 消费者 两个项目中的 entities 包删除,并删除掉加入到 cloud-api-commons 模块的 依赖配置。
一、微服务提供消费者订单模块
1.新建模块cloud-consumer-order80
消费者现在只模拟调用提供者的Controller方法,没有持久层配置,只有Controller和实体类
当然也要配置主启动类和启动端口
2.pom文件
        cloud2022
        com.atxupt.springcloud
        1.0-SNAPSHOT

    4.0.0

    cloud-consumer-order80


        8
        8


            org.springframework.boot
            spring-boot-starter-web


            org.springframework.boot
            spring-boot-starter-actuator


            org.apache.maven.plugins
            maven-project-info-reports-plugin
            3.4.0


            org.springframework.boot
            spring-boot-dependencies
            2.2.2.RELEASE
            pom
            import


            org.springframework.cloud
            spring-cloud-dependencies
            Hoxton.SR1
            pom
            import


            com.alibaba.cloud
            spring-cloud-alibaba-dependencies
            2.2.8.RELEASE
            pom
            import


            mysql
            mysql-connector-java
            ${mysql.version}
            runtime


            com.alibaba
            druid
            1.1.10


            org.mybatis.spring.boot
            mybatis-spring-boot-starter
            2.2.0


            com.alibaba
            druid-spring-boot-starter
            1.2.1


            junit
            junit
            ${junit.version}


            log4j
            log4j
            ${log4j.version}


            org.projectlombok
            lombok


            org.springframework.cloud
            spring-cloud-config-server


            org.springframework.boot
            spring-boot-starter-jdbc


            mysql
            mysql-connector-java
            8.0.16
3.实体类(CommonResult &Payment )
@Data
@AllArgsConstructor
@NoArgsConstructor
public class CommonResult {
    //404 not_found
    private Integer code;  //404
    private String  message;  //not found
    private T       data;

    public CommonResult(Integer code,String message){
        this(code,message,null);
    }
}
@Data
@AllArgsConstructor //全参
@NoArgsConstructor //空参
public class Payment {
private long id; //long:数据库中id的数据类型为bigint
private String serial;
}4.控制层
@RestController
@Slf4j
public class OrderController {
    public static final String PAYMENT_URL = "http://localhost:8001";


    @Resource
    private RestTemplate restTemplate;

    @GetMapping("/consumer/payment/create")
    public CommonResult create(Payment payment){
        return restTemplate.postForObject(PAYMENT_URL+"/payment/create",payment,CommonResult.class);

    }

    @GetMapping("/consumer/payment/get/{id}")
    public CommonResult getPayment(@PathVariable("id") Long id){
        return restTemplate.getForObject(PAYMENT_URL+"/payment/get/"+id,CommonResult.class);
    }
}
⚪RestTemplate
- spring框架提供的RestTemplate类可用于在应用中调用rest服务,它简化了与http服务的通信方式,统一了RESTful的标准,封装了http链接, 我们只需要传入url及返回值类型即可。
- RestTemplate提供了多种便捷访问远程HTTP服务的方法
- 相较于之前常用的HttpClient,RestTemplate是一种更优雅的调用RESTful服务的方式。
⚪创建配置类
@Configuration
public class ApplicationContextConfig {
    @Bean
    public RestTemplate getRestTemplate(){
        return new RestTemplate();
    }
}
5.application.yml
server:
  port: 80

spring:
  application:
    name: cloud-payment-service
  datasource:
    driver-class-name: com.mysql.cj.jdbc.Driver
    #数据库url
    url: jdbc:mysql://localhost:3306/springcloud?useUnicode=true&characterEncoding=utf8&allowMultiQueries=true&serverTimezone=GMT%2B8&useSSL=false
    # 数据库访问账户
    username: root
    # 数据库访问密码
    password: 123456
6.主启动类 OrderMain80
@SpringBootApplication
public class OrderMain80 {
    public static void main(String[] args) {
        SpringApplication.run(OrderMain80.class,args);
    }
}
7.测试
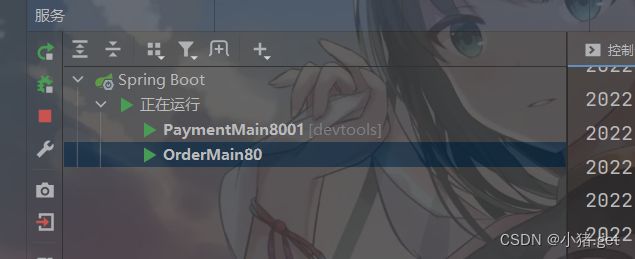
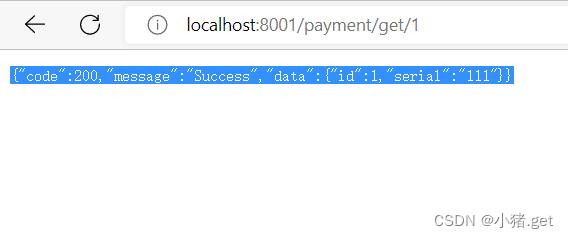
同时启动两个项目
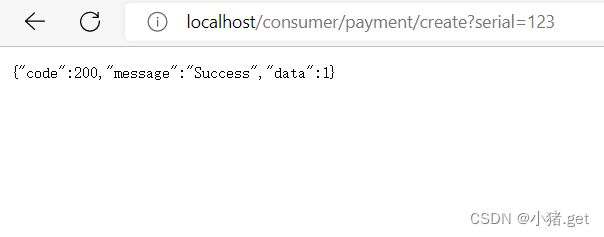
(不需要加端口号就可以进行访问)
⭐验证插入
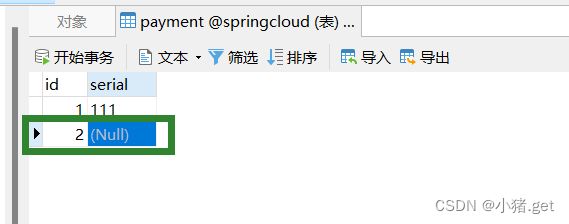
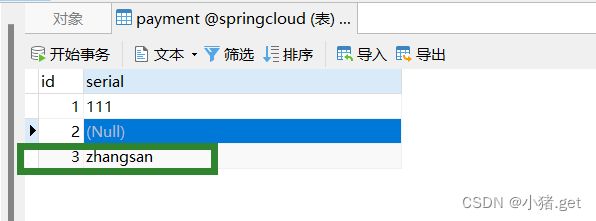
显示插入成功,但是在数据库中查看会发现内容为null
使用@RequestBody注解
再次插入数据
成功插入!
在浏览器中也可以成功查询
二、工程重构(实现一处修改处处使用!)
将相同的部分进行提取
1.新建项目cloud-api-commons
2.修改pom
需要引入的依赖
        org.springframework.boot
        spring-boot-devtools


        org.projectlombok
        lombok
        true


        cn.hutool
        hutool-all
        5.8.0
3.将 entities 包里面的实体类放到这个子模块中
4.执行maven的clean和install
5. 将 提供者 和 消费者 两个项目中的 entities 包删除,并删除掉加入到 cloud-api-commons 模块的 依赖配置。
6.将 打包到 maven 仓库的 cloud-api-commons 模块,引入到8001和80的 pom 文件中,
    com.atxupt.springcloud
    cloud-api-commons
    1.0-SNAPSHOT

