Centos7部署LNMP
搭建云服务器时可参考本文
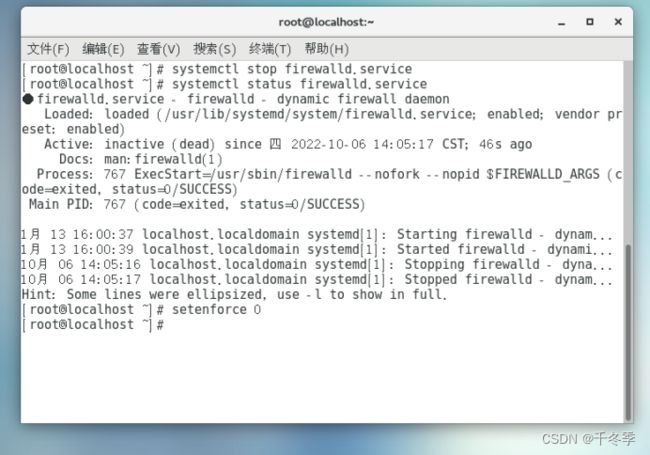
一、准备环境
1、关闭防火墙和selinux。
systemctl stop firewalldsentenforce 0
二、安装nginx
1、需要将nginx的软件源添加到centos 7 系统中:
yum localinstall http://nginx.org/packages/centos/7/noarch/RPMS/nginx-release-centos-7-0.el7.ngx.noarch.rpm
2、安装nginx。
yum -y install nginx
3、启动nginx服务并加入开机启动项,nginx -v查看一下版本。访问一下本地ip,查看是否安装 成功。
systemctl start nginx && systemctl enable nginx
nginx -v

三、安装Mysql
1、运行以下命令更新YUM源。
rpm -Uvh http://dev.mysql.com/get/mysql57-community-release-el7-9.noarch.rpm 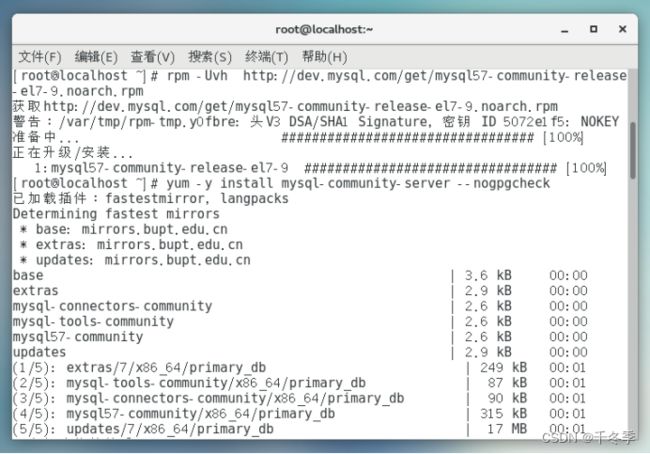
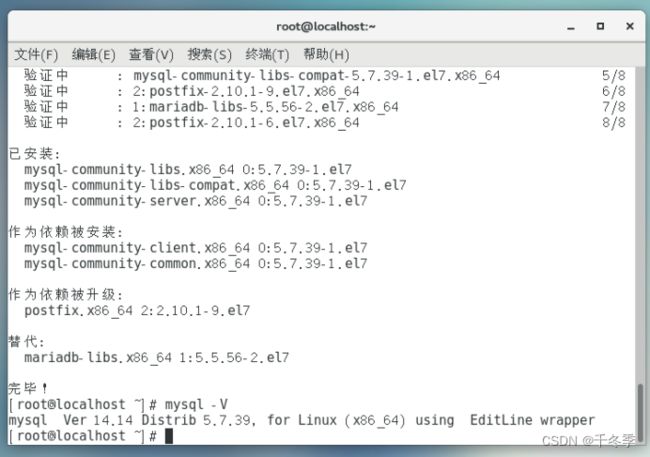
2、运行以下命令安装MySQL,并查看版本、状态
yum -y install mysql-community-server --nogpgcheck
mysql -v
systemctl start mysqld
systemctl status mysqld
systemctl enable mysqld

四、安装PHP
1、更新YUM源。运行以下命令添加EPEL源。
yum install \
https://repo.ius.io/ius-release-el7.rpm \
https://dl.fedoraproject.org/pub/epel/epel-release-latest-7.noarch.rpm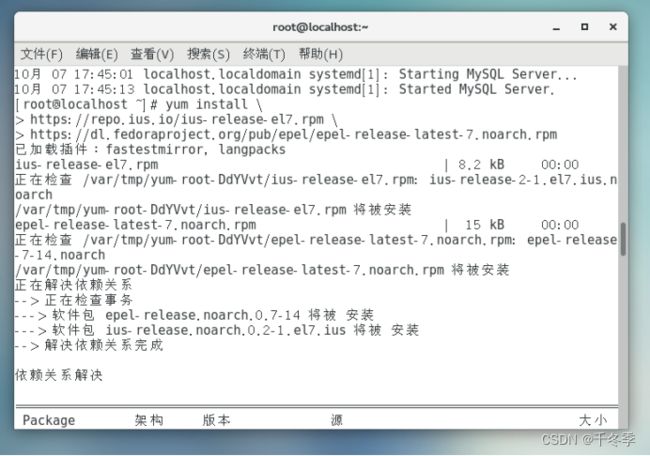
2、 运行以下命令添加Webtatic源
rpm -Uvh https://mirror.webtatic.com/yum/el7/webtatic-release.rpm
3、运行以下命令安装PHP。
yum -y install php70w-devel php70w.x86_64 php70w-cli.x86_64 php70w-common.x86_64 php70w-gd.x86_64 php70w-ldap.x86_64 php70w-mbstring.x86_64 php70w-mcrypt.x86_64 php70w-pdo.x86_64 php70w-mysqlnd php70w-fpm php70w-opcache php70w-pecl-redis php70w-pecl-mongodb
4、查看php版本
php -v
五、配置nginx
1、首先备份一下文件(可以找一下config文件,cat查看一下,是不是server开头的config文件)
cp /etc/nginx/conf.d/default.conf /etc/nginx/conf.d/default.conf.beifen
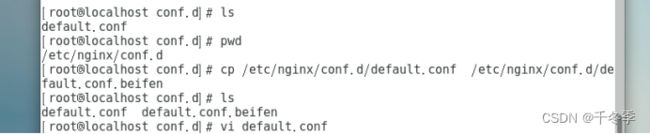
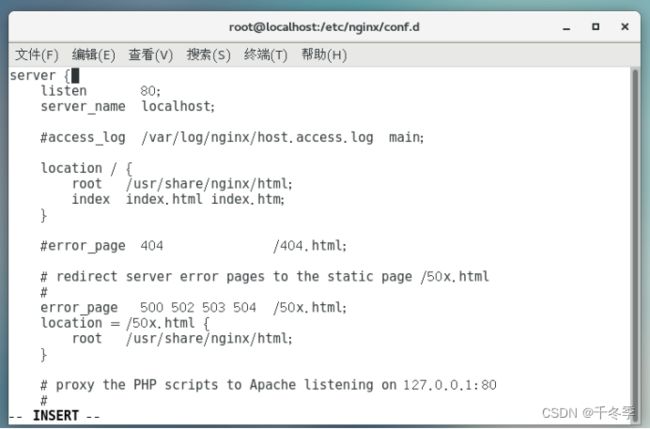
2、修改Nginx配置文件,添加Nginx对PHP的支持。注意要把#(注释)删掉才可以。(也可以直接复制进去)不要忘记保存(:wq)
vim /etc/nginx/conf.d/default.conf location / {
index index.php index.html index.htm;
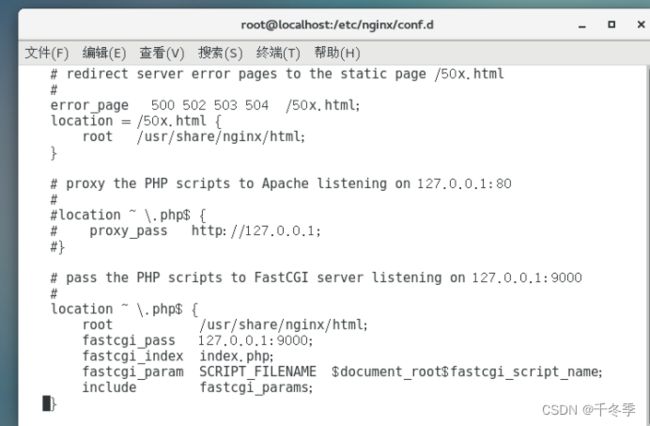
} #添加下列信息,配置Nginx通过fastcgi方式处理您的PHP请求。
location ~ .php$ {
root /usr/share/nginx/html; #将/usr/share/nginx/html替换为您的网站根目录,本文使用/usr/share/nginx/html作为网站根目录。
fastcgi_pass 127.0.0.1:9000; #Nginx通过本机的9000端口将PHP请求转发给PHP-FPM进行处理。
fastcgi_index index.php;
fastcgi_param SCRIPT_FILENAME $document_root$fastcgi_script_name;
include fastcgi_params; #Nginx调用fastcgi接口处理PHP请求。
}
3、启动nginx服务,并设置开机自启
systemctl start nginx
systemctl enable nginx
六、配置Mysql
1、查看/var/log/mysqld.log文件,获取并记录root用户的初始密码。
grep 'temporary password' /var/log/mysqld.log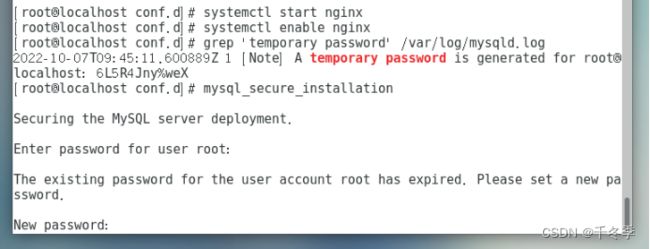
2、运行以下命令配置MySQL的安全性。
mysql_secure_installation首先输入刚才获取的初试密码,再设置一个新密码(Aa@123456),并确认密码。完成后需要再次验证两次密码。之后会询问是否删除匿名用户,是否禁止root用户远程登陆,以及是否删除test库以及用户对test库的访问权限,是否重新加载授权表。(这里我全选y)
The existing password for the user account root has expired. Please set a new password.

New password: #输入新密码。长度为8至30个字符,必须同时包含大小写英文字母、数字和特殊符号。特殊符号包含()` ~!@#$%^&*-+=|{}[]:;‘<>,.?/

Re-enter new password: #确认新密码。
The 'validate_password' plugin is installed on the server.
The subsequent steps will run with the existing configuration
of the plugin.
Using existing password for root.

Estimated strength of the password: 100 #返回结果包含您设置的密码强度。
Change the password for root ? ((Press y|Y for Yes, any other key for No) :Y #您需要输入Y以确认使用新密码。

#新密码设置完成后,需要再次验证新密码。
New password:#再次输入新密码。

Re-enter new password:#再次确认新密码。

Estimated strength of the password: 100
Do you wish to continue with the password provided?(Press y|Y for Yes, any other key for No) :Y #您需要输入Y,再次确认使用新密码。


![]()
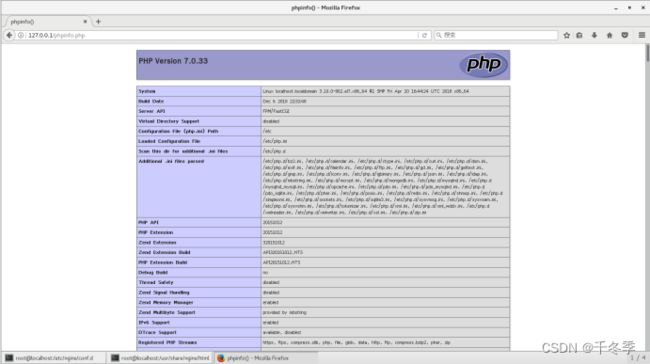
七、配置PHP
1、新建phpinfo.php文件。要在网站根目录下创建(/usr/share/nginx/html)<网站根目录>是您在nginx.conf配置文件中location ~ .php$大括号内,配置的root参数值。
vim <网站根目录>/phpinfo.php因此需要运行以下命令新建phpinfo.php文件:
vim /usr/share/nginx/html/phpinfo.php输入下列内容,函数phpinfo()会展示PHP的所有配置信息。

2、 启动PHP-FPM。设置PHP-FPM开机自启动。
systemctl start php-fpm
systemctl enable php-fpm
八、访问phpinfo.php,搭建成功。