五-1、elasticsearch集群搭建(ES集群搭建)
目录
- 一、下载Elasticsearch
-
- 1.选择你要下载的Elasticsearch版本
- 二、采用通用搭建集群的方法
- 三、配置三台es
-
- 1.上传压缩包到任意一台虚拟机中
- 2.解压并修改配置文件(配置单台es)
- 3.配置三台es集群
- 4.设置后台启动和开机自启(可选)
一、下载Elasticsearch
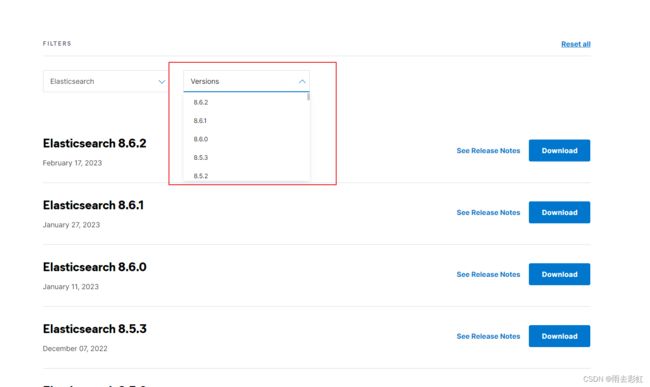
1.选择你要下载的Elasticsearch版本
二、采用通用搭建集群的方法
集群搭建方法
三、配置三台es
1.上传压缩包到任意一台虚拟机中
上传方式有两种
第一种:使用xftp上传
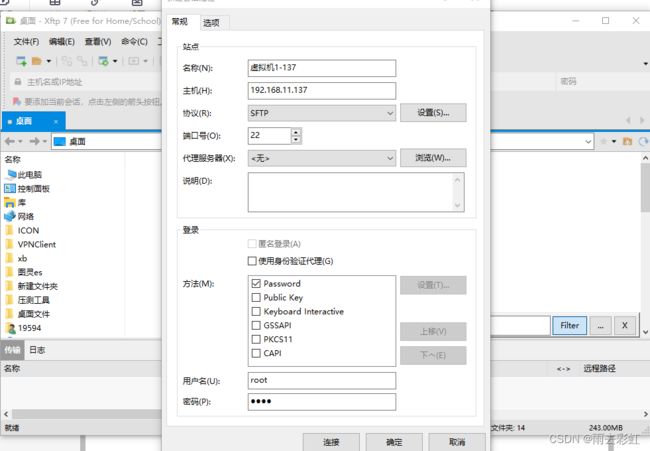
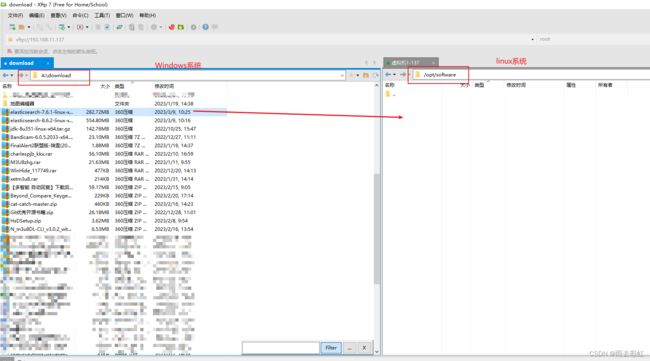
直接拖动过去就可以了。
第二种:使用lrzsz
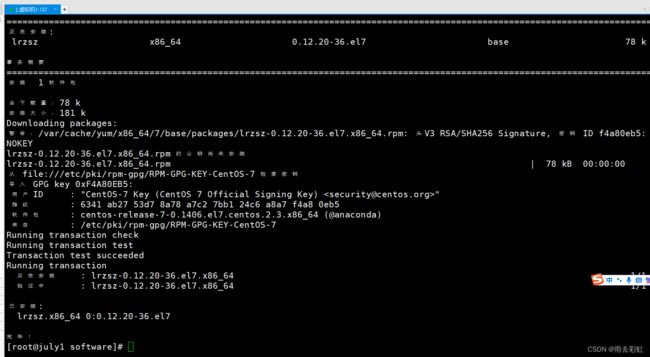
先安装
yum -y install lrzsz
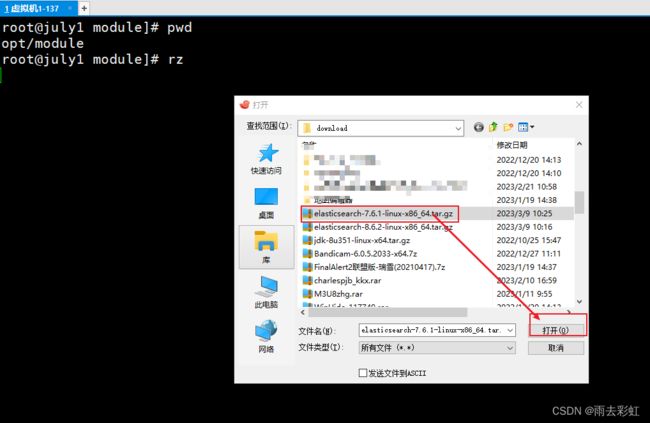
切换到要上传的位置
cd /opt/module
输入命令
rz
等待上传完成即可
2.解压并修改配置文件(配置单台es)
①解压到指定目录下
tar -zxvf elasticsearch-7.6.1-linux-x86_64.tar.gz -C /opt/software/
②修改/config下的elasticsearch.yml
cd /opt/software/elasticsearch-7.6.1/config/
vim elasticsearch.yml
加入如下配置
cluster.name: elasticsearch
node.name: node-1
network.host: 192.168.11.137 #虚拟机的IP地址
http.port: 9200
cluster.initial_master_nodes: ["node-1"]
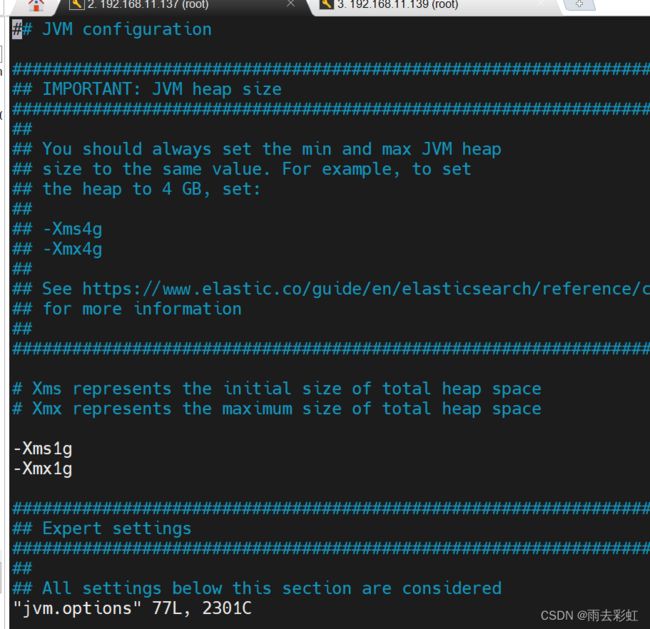
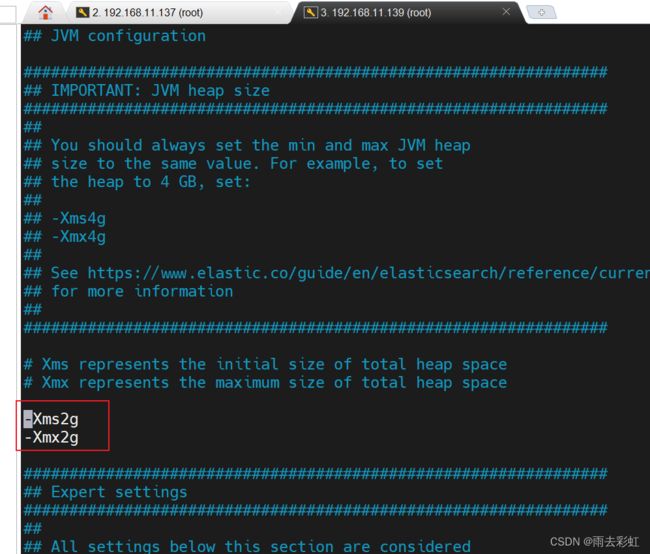
vim jvm.options
-Xms2g
-Xmx2g
③修改系统的配置文件
修改/etc/security/limits.conf
末尾追加
vim /etc/security/limits.conf
july soft nofile 65536
july hard nofile 65536
修改/etc/security/limits.d/20-nproc.conf
vim /etc/security/limits.d/20-nproc.conf
july soft nofile 65536
july hard nofile 65536
* hard nproc 4096
修改/etc/sysctl.conf
vim /etc/sysctl.conf
追加内容
vm.max_map_count=655360
sysctl -p
④启动es
cd /opt/software/elasticsearch-7.6.1
bin/elasticsearch
如果出现如下报错

检查你当前的用户是不是root用户
如果是请执行
su july
检查es这个文件夹是不是july所有者
cd /opt/software
ll
我都是root

修改为july用户(要在root用户下执行该操作)
chown -R july:july /opt/software/elasticsearch-7.6.1
修改完成后在elasticsearch-7.6.1目录下再次执行
bin/elasticsearch
测试是否启动成
浏览器访问地址,你的虚拟机地址加端口号
http://192.168.11.137:9200/
3.配置三台es集群
首先在第一台的基础上
修改es配置文件
cd /opt/software/elasticsearch-7.6.1/config/
vim elasticsearch.yml
原来配置的
#集群名称
cluster.name: cluster-es
#节点名称,每个节点的名称不能重复
node.name: node-1
#ip地址,每个节点的地址不能重复
network.host: july1
#是不是有资格主节点
node.master: true
node.data: true
http.port: 9200
# head 插件需要这打开这两个配置
http.cors.allow-origin: "*"
http.cors.enabled: true
http.max_content_length: 200mb
#es7.x 之后新增的配置,初始化一个新的集群时需要此配置来选举 master
cluster.initial_master_nodes: ["node-1"]
#es7.x 之后新增的配置,节点发现
discovery.seed_hosts: ["july1:9300","july2:9300","july3:9300"]
gateway.recover_after_nodes: 2
network.tcp.keep_alive: true
network.tcp.no_delay: true
transport.tcp.compress: true
#集群内同时启动的数据任务个数,默认是 2个
cluster.routing.allocation.cluster_concurrent_rebalance: 16
#添加或删除节点及负载均衡时并发恢复的线程个数,默认 4个
cluster.routing.allocation.node_concurrent_recoveries: 16
#初始化数据恢复时,并发恢复线程的个数,默认 4个
cluster.routing.allocation.node_initial_primaries_recoveries: 16
使用分发脚本,把es这个文件夹分发到其他虚拟机
xsync /opt/software/
分发完成之后需要删除/data/目录下删除nodes文件!!!!这一点非常重要,不然后后续启动的时候发现不到其他节点信息,三台都要删除!!!
cd /opt/software/elasticsearch-7.6.1/data
rm -rf nodes/
使用分发脚本把修改系统文件的那些内容分发到其他虚拟机(如果在july用户下不行,切换到root进行分发)
xsync /etc/security/limits.conf
xsync /etc/security/limits.d/20-nproc.conf
xsync /etc/sysctl.conf
然后同步修改其他几台虚拟机
只需要把特定名称和ip地址修改成对应虚拟机名称即可
#集群名称
cluster.name: cluster-es
#节点名称,每个节点的名称不能重复
node.name: node-2
#ip地址,每个节点的地址不能重复
network.host: july2
#是不是有资格主节点
node.master: true
node.data: true
http.port: 9200
# head 插件需要这打开这两个配置
http.cors.allow-origin: "*"
http.cors.enabled: true
http.max_content_length: 200mb
#es7.x 之后新增的配置,初始化一个新的集群时需要此配置来选举 master
cluster.initial_master_nodes: ["node-2"]
#es7.x 之后新增的配置,节点发现
discovery.seed_hosts: ["july1:9300","july2:9300","july3:9300"]
gateway.recover_after_nodes: 2
network.tcp.keep_alive: true
network.tcp.no_delay: true
transport.tcp.compress: true
#集群内同时启动的数据任务个数,默认是 2个
cluster.routing.allocation.cluster_concurrent_rebalance: 16
#添加或删除节点及负载均衡时并发恢复的线程个数,默认 4个
cluster.routing.allocation.node_concurrent_recoveries: 16
#初始化数据恢复时,并发恢复线程的个数,默认 4个
cluster.routing.allocation.node_initial_primaries_recoveries: 16
#集群名称
cluster.name: cluster-es
#节点名称,每个节点的名称不能重复
node.name: node-3
#ip地址,每个节点的地址不能重复
network.host: july3
#是不是有资格主节点
node.master: true
node.data: true
http.port: 9200
# head 插件需要这打开这两个配置
http.cors.allow-origin: "*"
http.cors.enabled: true
http.max_content_length: 200mb
#es7.x 之后新增的配置,初始化一个新的集群时需要此配置来选举 master
cluster.initial_master_nodes: ["node-3"]
#es7.x 之后新增的配置,节点发现
discovery.seed_hosts: ["july1:9300","july2:9300","july3:9300"]
gateway.recover_after_nodes: 2
network.tcp.keep_alive: true
network.tcp.no_delay: true
transport.tcp.compress: true
#集群内同时启动的数据任务个数,默认是 2个
cluster.routing.allocation.cluster_concurrent_rebalance: 16
#添加或删除节点及负载均衡时并发恢复的线程个数,默认 4个
cluster.routing.allocation.node_concurrent_recoveries: 16
#初始化数据恢复时,并发恢复线程的个数,默认 4个
cluster.routing.allocation.node_initial_primaries_recoveries: 16
分别启动每台虚拟机,每台执行如下命令
bin/elasticsearch
其余两台启动报错

从报错可以看出
vm.max_map_count = 65530这个还是配置小了
修改配置为(在root用户下修改,然后在july用户下再次启动即可)
vm.max_map_count = 262144
重新加载
sysctl -p
http://192.168.11.137:9200/_cat/nodes
4.设置后台启动和开机自启(可选)
root用户下
cd /etc/init.d
vim elasticsearch
因为脚本需要使用非root用户,所以指定为july用户。还有es安装的地址
前三行内容

#!/bin/sh
# chkconfig: - 85 15
#description: elasticsearch
export ES_HOME=/opt/software/elasticsearch-7.6.1
case "$1" in
start)
    su july<<!
    cd $ES_HOME
    ./bin/elasticsearch -d -p pid
!
    echo "elasticsearch startup"
    ;;
stop)
    kill -9 `cat $ES_HOME/pid`
    echo "elasticsearch stopped"
    ;;
restart)
    kill -9 `cat $ES_HOME/pid`
    echo "elasticsearch stopped"
    su july<<!
    cd $ES_HOME
    ./bin/elasticsearch -d -p pid
!
    echo "elasticsearch startup"
    ;;
*)
    echo "start|stop|restart"
    ;;
esac
exit $?
①设置可执行
chmod 777 elasticsearch
配置开机启动相关
②添加系统服务
chkconfig --add elasticsearch
③启动服务
systemctl start elasticsearch
④设置开机自启
chkconfig elasticsearch on
systemctl enable elasticsearch
root用户下分发脚本到其他两台虚拟机,然后执行①-④步即可
xsync elasticsearch
