《Spring》第一篇 IDEA导入Spring源码
目录
-
- 一. 下载源码
- 二. gradle
-
- 1. gradle 下载
- 2. 环境变量的配置
-
- 配置 GRADLE_HOME
- 配置 GRADLE_USER_HOME
- 三. Spring源码的配置文件修改
-
- settings.gradle 文件
- build.gradle 文件
- 四. Spring源码的预编译
- 五. Spring源码导入Idea
-
- 1. 导入步骤
- 2. 关闭spring-aspects项目
- 3. Idea配置geadle
- 六. 模拟测试
想要研究Spring源码,那必须知道如何下载并导入IDEA。 文本记录自己在Windows操作系统下导入源码的过程,避免大家走弯路
一. 下载源码
spring-framework源码是发布在github上的
Github源码下载地址: https://github.com/spring-projects/spring-framework

二. gradle
1. gradle 下载
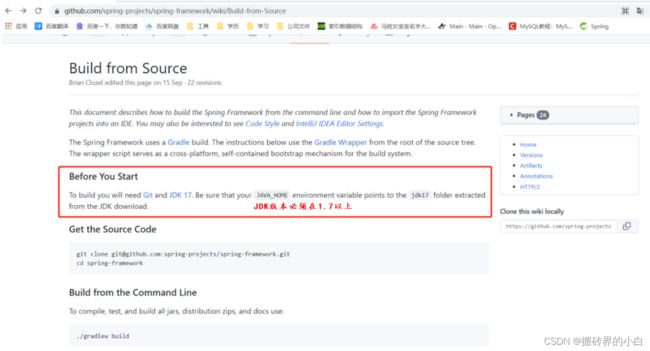
首先需要gradle的版本, 在spring源码中的目录gradle -> wrapper -> gradle-wrapper.properties文件中可以看到当前源码对应的gradle版本

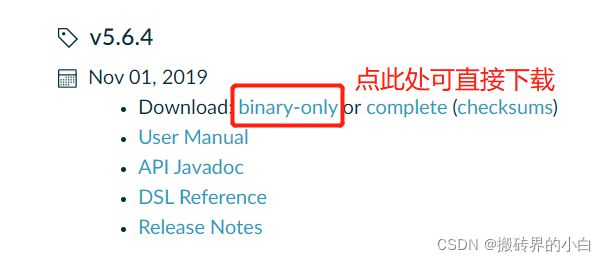
gradle下载地址
2. 环境变量的配置
配置 GRADLE_HOME


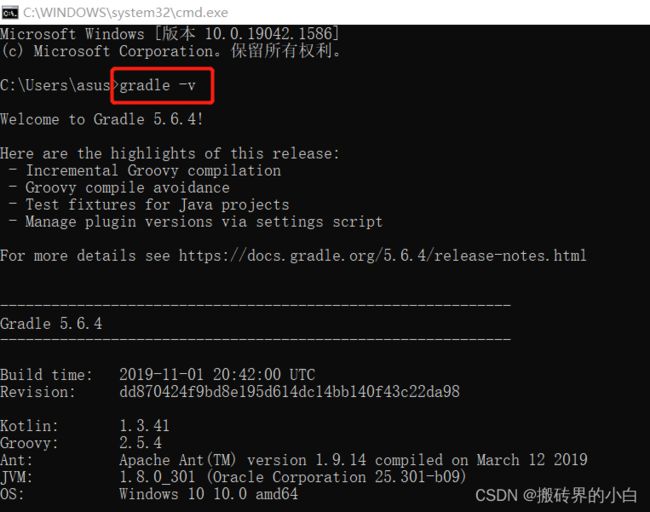
测试一下gradle环境变量是否配置成功, 打开cmd, 输入gradle -v命令,出现以下界面,表示配置成功
配置 GRADLE_USER_HOME
三. Spring源码的配置文件修改
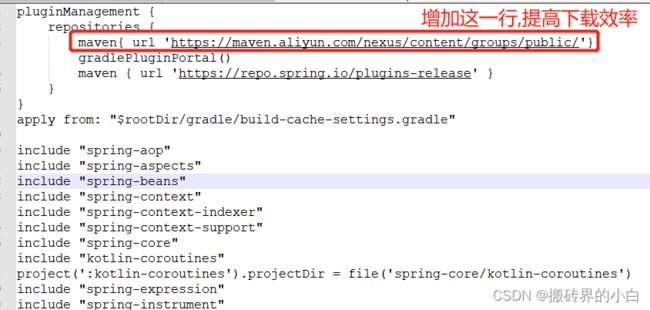
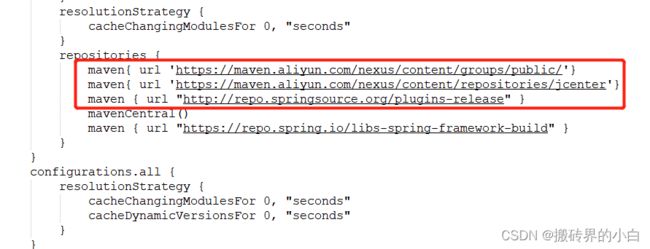
在将Spring源码导入Idea时, 为了加快gradle下载依赖包的效率, 在以下配置文件中添加配置
settings.gradle 文件
maven{ url 'https://maven.aliyun.com/nexus/content/groups/public/'}
build.gradle 文件
四. Spring源码的预编译
在Spring源码的目录上,有两个文件,import-into-eclipse.md 和import-into-idea.md 。因为是需要导入Idea开发工具中,所以就可以依照import-into-idea.md文件指示的步骤完成源码导入
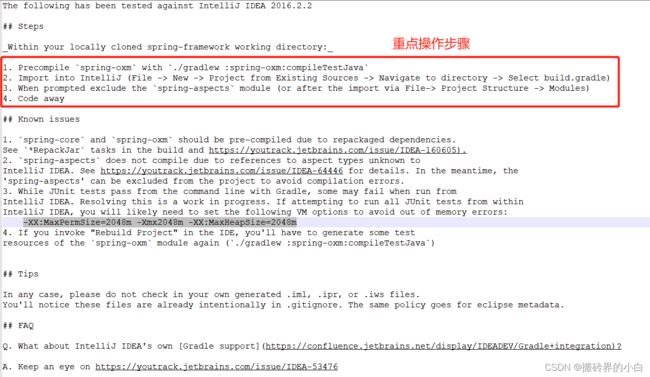
从这个文件描述可知,在源码导入Idea之前,打开cmd,进入到源码的目录中, 先执行gradlew :spring-oxm:compileTestJava,
完成预编译

五. Spring源码导入Idea
参见导入Idea手册: import-into-idea.md
1. 导入步骤
Import into IntelliJ (File -> New -> Project from Existing Sources -> Navigate to directory -> Select build.gradle)
刚开始时,源码项目会去下载gradle所需要的jar包, 由于之前配置了阿里云,所以下载的效率大大提高
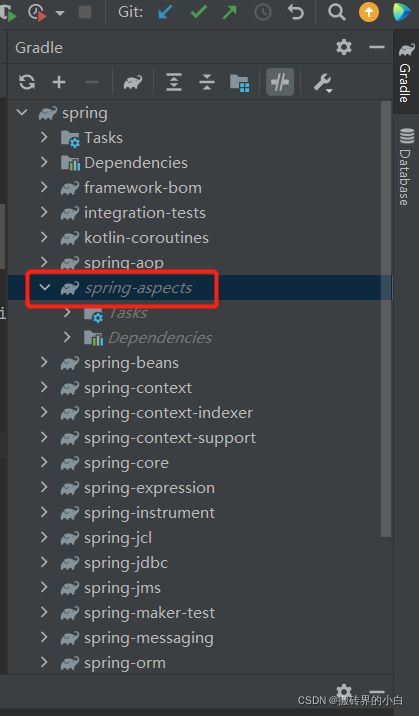
2. 关闭spring-aspects项目
When prompted exclude the spring-aspects module (or after the import via File-> Project Structure -> Modules)
右击项目名, 然后选择ignore Gradle Project选项来暂时屏蔽spring-aspects项目
3. Idea配置geadle
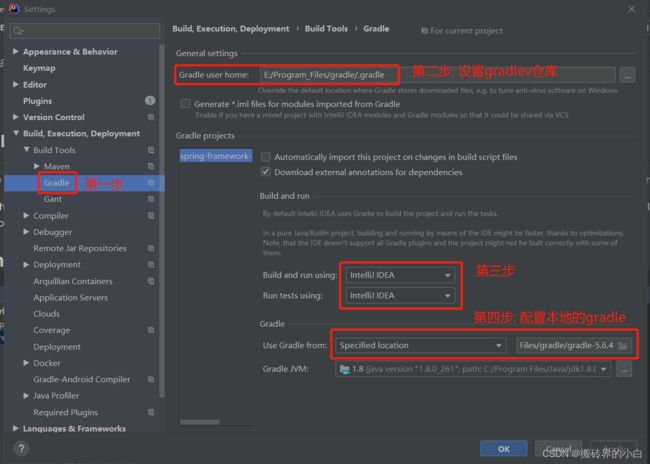
配置好之后,再次build源码项目. 下面是成功的界面
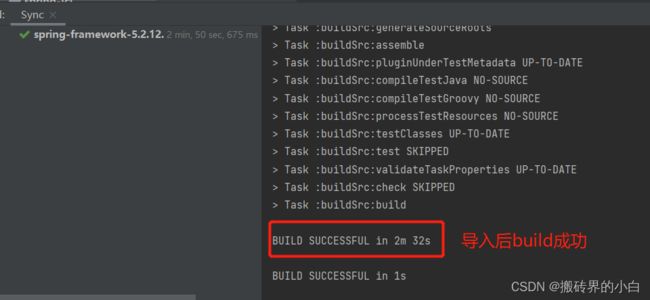
在import-into-idea.md导入手册中有下面这一句话:
spring-core and spring-oxm should be pre-compiled due to repackaged dependencies.
所以按照顺序依次build
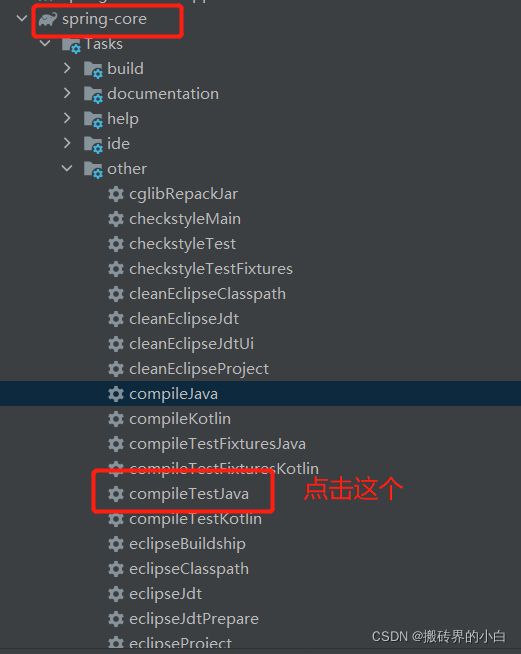

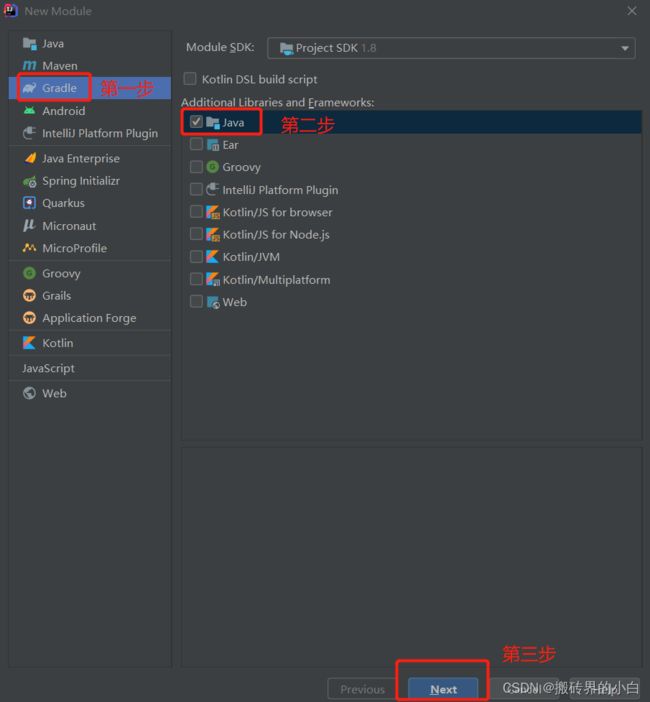
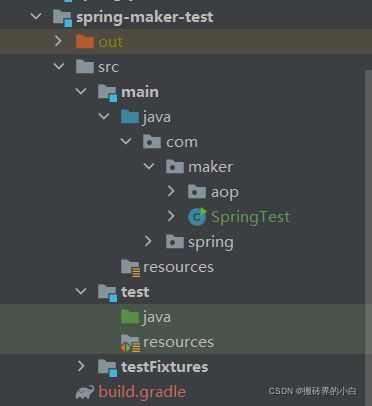
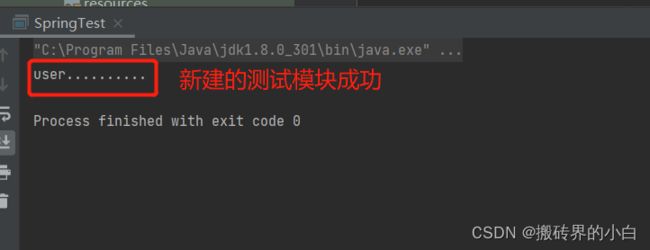
六. 模拟测试
@Component
public class UserService {
	public void user(){
		System.out.println("user..........");
	}
}

@Configuration
@ComponentScan("com.maker.aop")
public class SpringTest {
	public static void main(String[] args) {
		AnnotationConfigApplicationContext context = new AnnotationConfigApplicationContext(SpringTest.class);
		UserService userService = context.getBean("userService", UserService.class);
		userService.user();
	}
}


