【运维知识进阶篇】用阿里云部署kod可道云网盘项目(HTTPS证书+负载均衡+两台web)
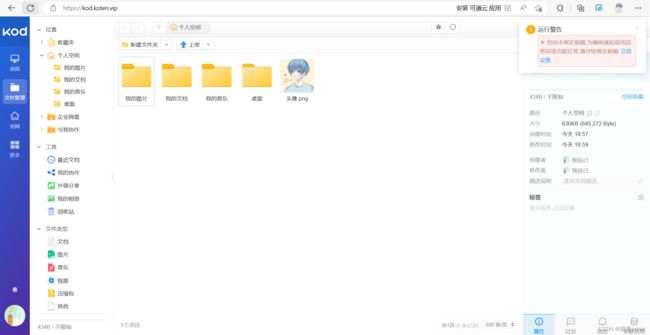
这篇文章给大家介绍下如何用部署kod可道云网盘项目,首先用阿里云搭建一个小型架构,包括七层负载,两台web,https证书,然后在web上构建kod网盘。
部署流程
1、Web01购买创建
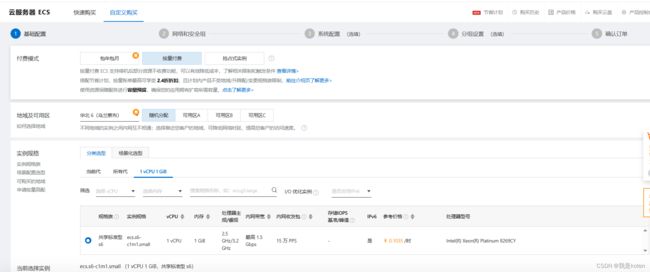
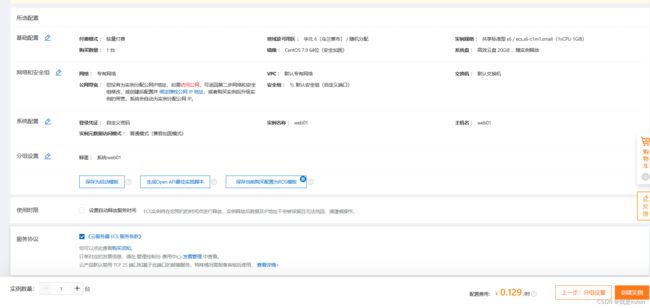
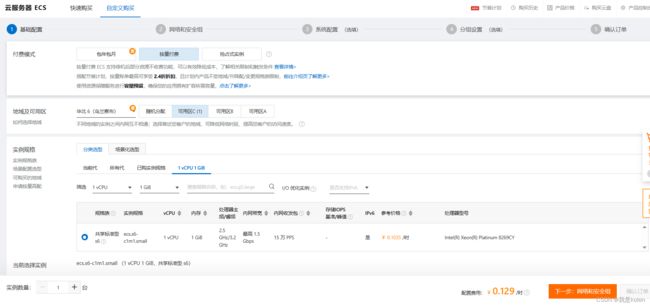
首先购买一台ECS,自定义购买,我们选择按量付费,选华北6乌兰察布,便宜些,随机可用区,1cpu1g的。
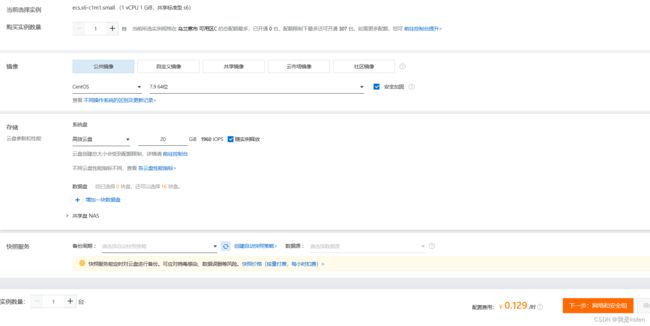
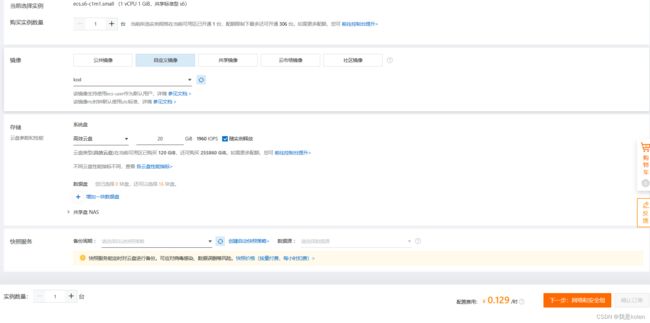
镜像选择CentOS,版本选7.9,系统盘类型选高效云盘,20G ,便宜,企业中肯定是按需求选,选好后下一步即可,注意账户中不得少于100元。
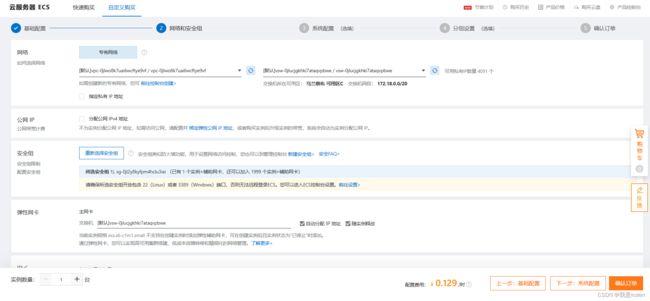
公网IP选择不分配公网,因为我们有负载均衡,负载均衡能通过公网访问即可,下面开通的协议端口可以都勾选上,继续下一步。
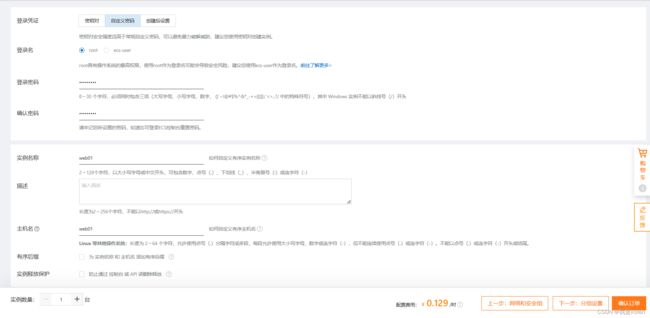
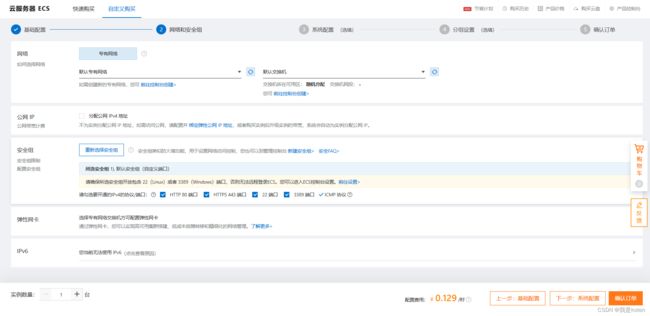 密码这边我们选择自定义密码,实例名称和主机名称一致,填写web01,继续下一步。
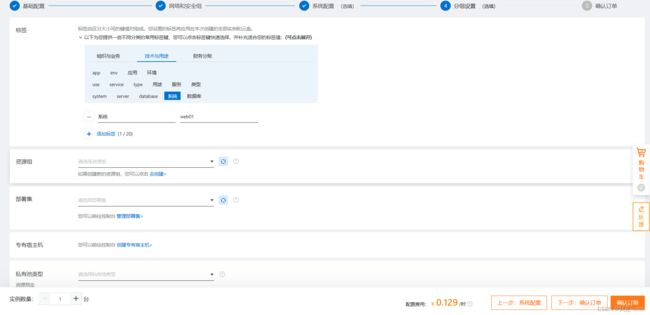
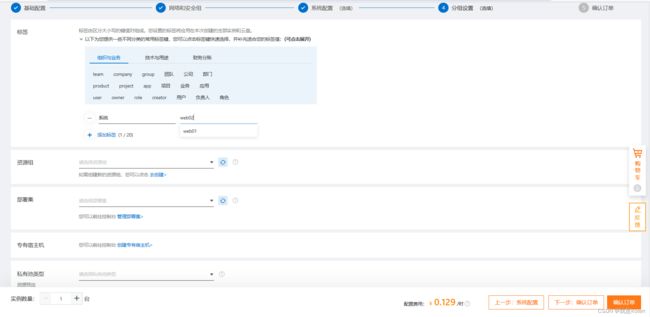
可以加标签,选择安全组啥的,不弄也行,直接下一步,确认订单。
提示创建成功,点击管理控制台,就可以看到创建的实例了。
2、给web01添加磁盘
点击ECS云盘的管理控制台,创建云盘,挂载到ECS实例,选择与web01同地区的乌兰察布,选择,我们的web01实例,云盘付费选择按量付费,同样是高效云盘即可,40G,确认订单。
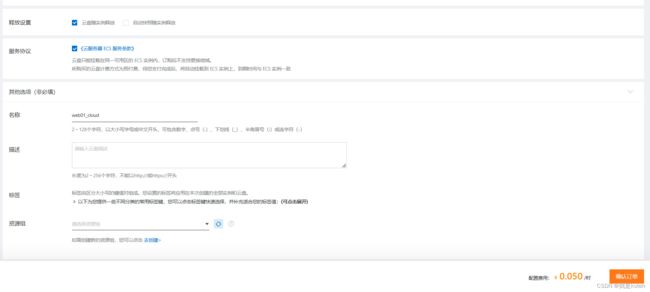
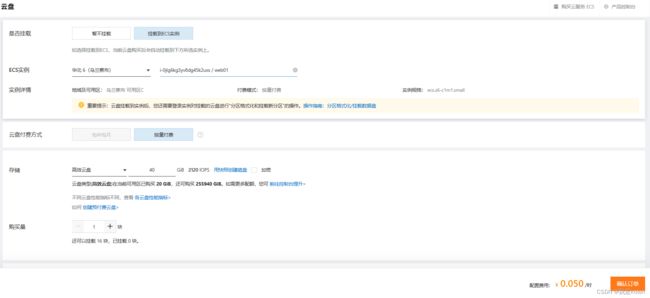 下滑选择随实例释放,勾选服务协议,名称修改一下,点击确认订单,确认创建,稍等一会会提示云盘创建完毕。
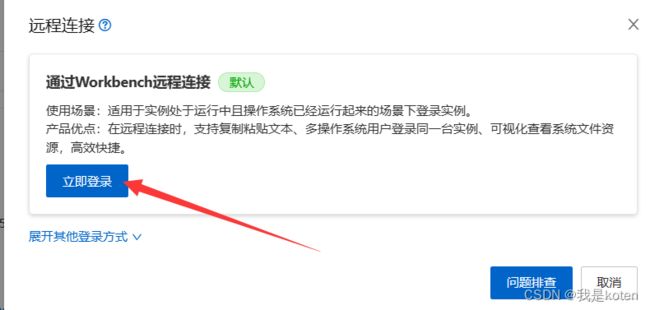
 我们可以通过阿里云去管理我们的服务器,点击实例控制台,右边的远程连接
使用默认方式立即登录即可。
输入密码登录进去后,我们可以df -h,去查看下挂载信息,没有查到,不要慌,其实已经在我们的web01中了,我们手动挂载下。
[root@web01 ~]# yum -y install ntfsprogs
[root@web01 ~]# mkfs.ext4 /dev/vdb
mke2fs 1.42.9 (28-Dec-2013)
Filesystem label=
OS type: Linux
Block size=4096 (log=2)
Fragment size=4096 (log=2)
Stride=0 blocks, Stripe width=0 blocks
2621440 inodes, 10485760 blocks
524288 blocks (5.00%) reserved for the super user
First data block=0
Maximum filesystem blocks=2157969408
320 block groups
32768 blocks per group, 32768 fragments per group
8192 inodes per group
Superblock backups stored on blocks:
        32768, 98304, 163840, 229376, 294912, 819200, 884736, 1605632, 2654208,
        4096000, 7962624

Allocating group tables: done
Writing inode tables: done
Creating journal (32768 blocks): done
Writing superblocks and filesystem accounting information: done
[root@web01 ~]# mount /dev/vdb /mnt
[root@web01 ~]# df -h
Filesystem      Size  Used Avail Use% Mounted on
devtmpfs        461M     0  461M   0% /dev
tmpfs           471M     0  471M   0% /dev/shm
tmpfs           471M  488K  471M   1% /run
tmpfs           471M     0  471M   0% /sys/fs/cgroup
/dev/vda1        20G  2.3G   17G  13% /
tmpfs            95M     0   95M   0% /run/user/0
/dev/vdb         40G   49M   38G   1% /mnt
3、扩容数据盘至100G
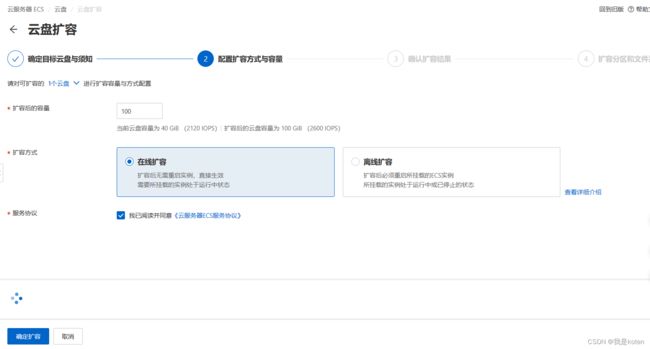
在云盘管理控制台这里,选择扩容。
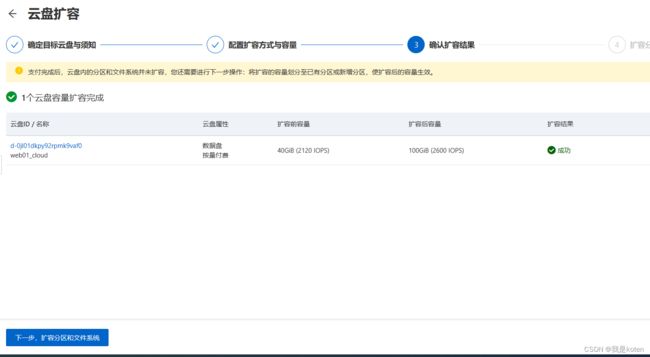
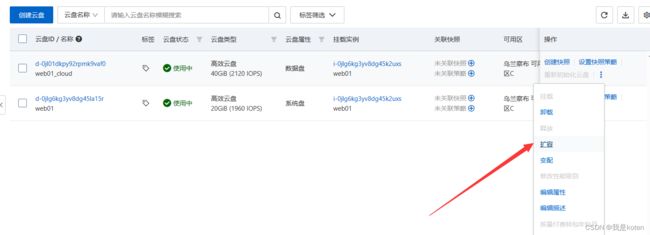 已知晓并备份,继续扩容,我们输入100G,选择在线扩容。
下一步
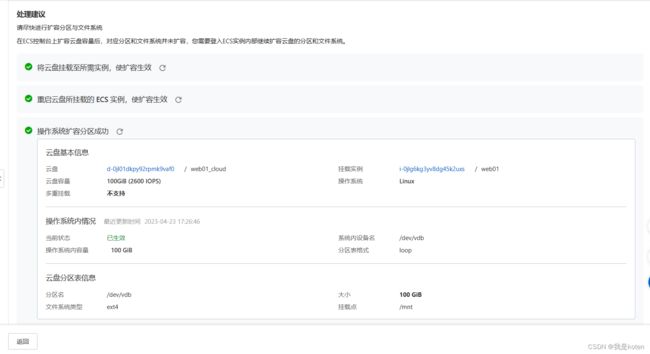 我们远程连接服务器,再手动操作下,取消挂载,创建文件系统,再重新挂载下。
[root@web01 ~]# umount /mnt
[root@web01 ~]# mkfs.ext4 /dev/vdb
mke2fs 1.42.9 (28-Dec-2013)
Filesystem label=
OS type: Linux
Block size=4096 (log=2)
Fragment size=4096 (log=2)
Stride=0 blocks, Stripe width=0 blocks
6553600 inodes, 26214400 blocks
1310720 blocks (5.00%) reserved for the super user
First data block=0
Maximum filesystem blocks=2174746624
800 block groups
32768 blocks per group, 32768 fragments per group
8192 inodes per group
Superblock backups stored on blocks:
        32768, 98304, 163840, 229376, 294912, 819200, 884736, 1605632, 2654208,
        4096000, 7962624, 11239424, 20480000, 23887872

Allocating group tables: done
Writing inode tables: done
Creating journal (32768 blocks): done
Writing superblocks and filesystem accounting information: done

[root@web01 ~]# mount /dev/vdb/ /mnt
[root@web01 ~]# df -h
Filesystem      Size  Used Avail Use% Mounted on
devtmpfs        461M     0  461M   0% /dev
tmpfs           471M     0  471M   0% /dev/shm
tmpfs           471M  560K  471M   1% /run
tmpfs           471M     0  471M   0% /sys/fs/cgroup
/dev/vda1        20G  2.4G   17G  13% /
tmpfs            95M     0   95M   0% /run/user/0
/dev/vdb         99G   61M   94G   1% /mnt
[root@web01 ~]#
4、在web01安装nginx
[root@web01 ~]# yum -y install nginx

#删除nginx中的这部分内容,我们自己在conf.d中创建
    server {
        listen       80;
        listen       [::]:80;
        server_name  _;
        root         /usr/share/nginx/html;

        # Load configuration files for the default server block.
        include /etc/nginx/default.d/*.conf;

        error_page 404 /404.html;
        location = /404.html {
        }

        error_page 500 502 503 504 /50x.html;
        location = /50x.html {
        }
    }

[root@web01 nginx]# cat /etc/nginx/conf.d/kod.conf
server {
        listen 80;
        server_name kod.koten.vip;
	location / {
                root /code/kod;
                index index.php index.html index.htm;
	}
        location ~\.php$ {
                root /code/kod;
                fastcgi_pass 127.0.0.1:9000;
                fastcgi_param SCRIPT_FILENAME $document_root$fastcgi_script_name;
		include fastcgi_params;    #需要加这个,不然白屏
	}
}
[root@web01 ~]# nginx -t
nginx: the configuration file /etc/nginx/nginx.conf syntax is ok
nginx: configuration file /etc/nginx/nginx.conf test is successful
[root@web01 ~]# systemctl start nginx
[root@web01 ~]# systemctl enable nginx
Created symlink from /etc/systemd/system/multi-user.target.wants/nginx.service to /usr/lib/systemd/system/nginx.service.
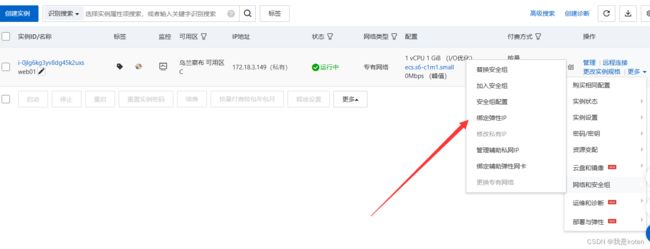
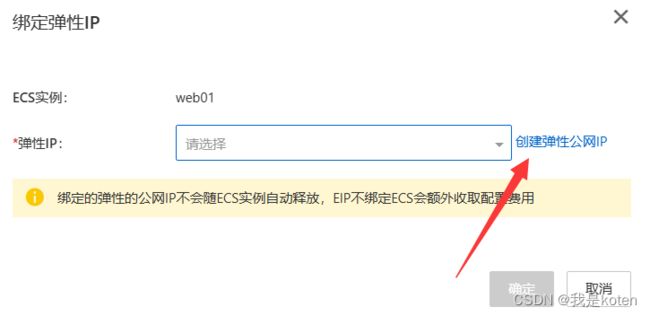
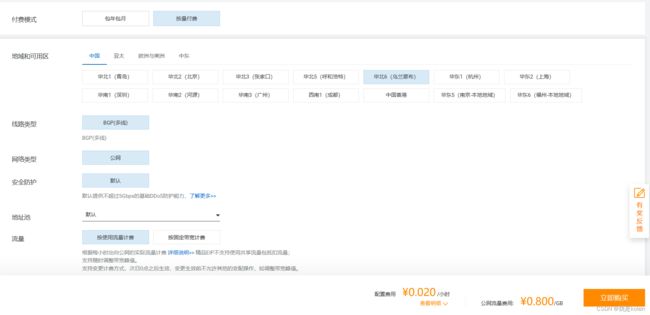
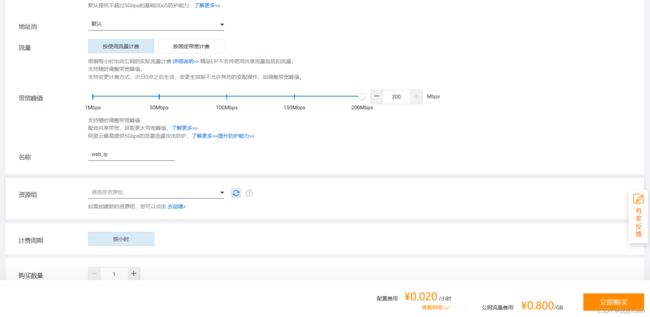
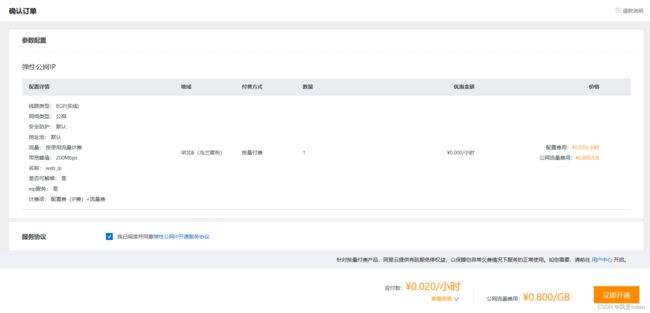
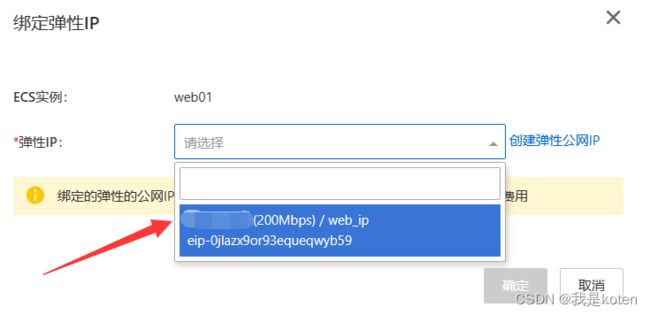
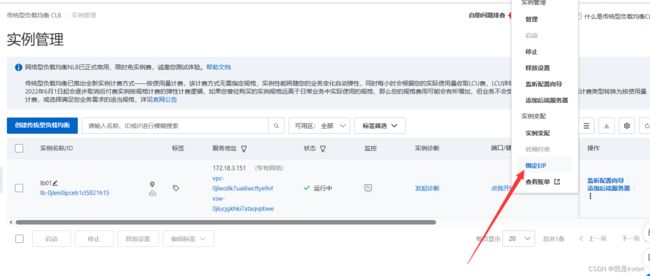
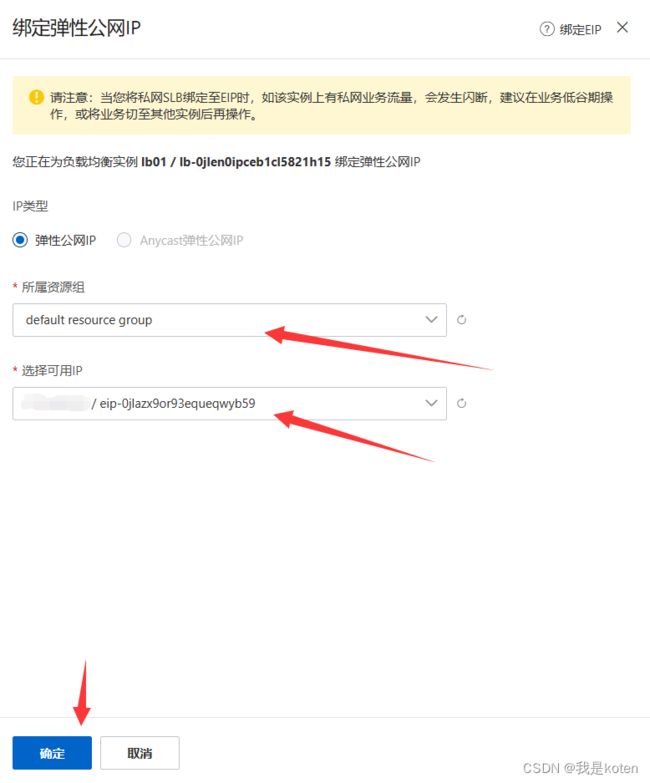
php,因为涉及上传压缩包,所以我们需要用xshell连接,我们先配置弹性公网IP到web01,一会儿再解绑到负载均衡上。
5、在web01上绑定弹性IP
6、web01安装php
[root@web01 ~]# yum -y install lrzsz
[root@web01 ~]# rz -E

[root@web01 ~]# tar xf php71.tar.gz
[root@web01 ~]# yum -y localinstall *.rpm
[root@web01 ~]# systemctl start php-fpm.service
[root@web01 ~]# systemctl enable php-fpm.service
Created symlink from /etc/systemd/system/multi-user.target.wants/php-fpm.service to /usr/lib/systemd/system/php-fpm.service.

[root@web01 ~]# cat /etc/php-fpm.d/www.conf    #统一用户
user = nginx
group = nginx
7、部署kod项目
可道云官网,找到立即下载按钮,右键复制链接地址
[root@web01 ~]# wget https://static.kodcloud.com/update/download/kodbox.1.38.zip
[root@web01 ~]# yum -y install unzip
[root@web01 ~]# mkdir -p /code/kod
[root@web01 ~]# unzip kodbox.1.38.zip -d /code/kod
[root@web01 ~]# chown -R nginx.nginx /code/kod/
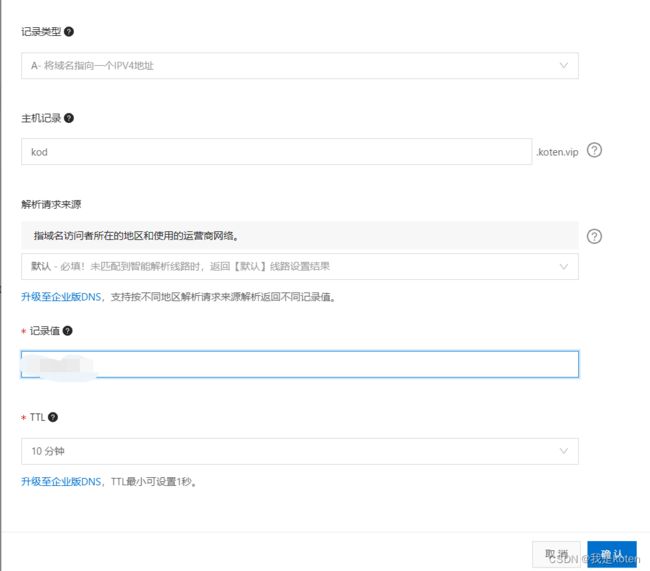
8、域名解析公网IP
域名需要提前备案,进入云解析DNS,进行如下图操作,记录值填写刚刚创建的弹性IP
9、安装访问kod网盘
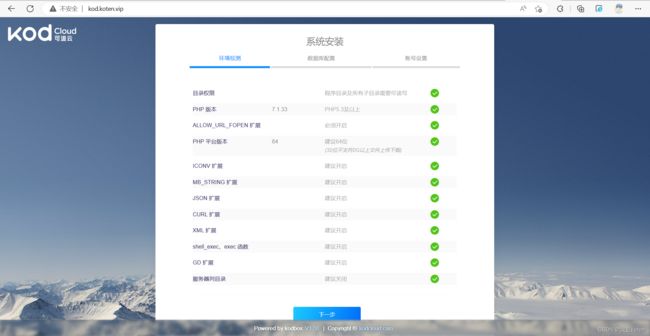
下一步
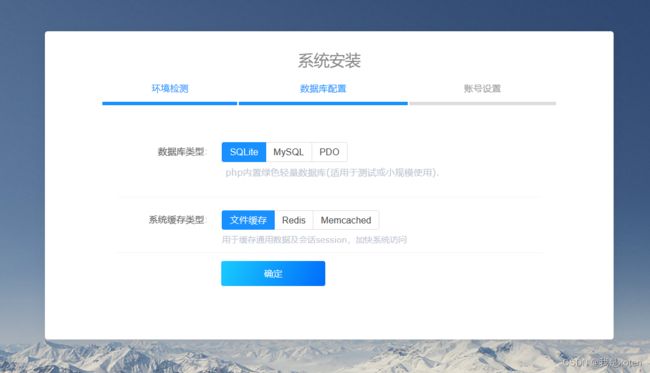
由于我们没有安装数据库,所以我们选择php自带的数据库即可
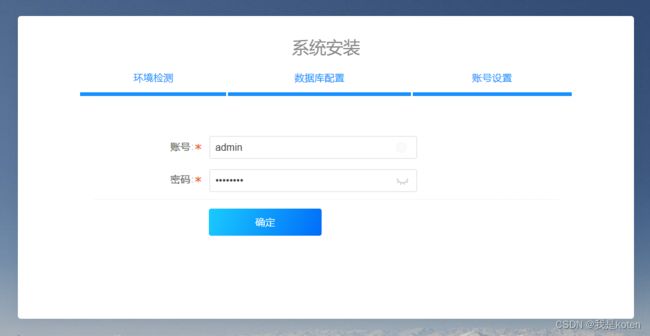
输入账号密码,确定,完成安装。
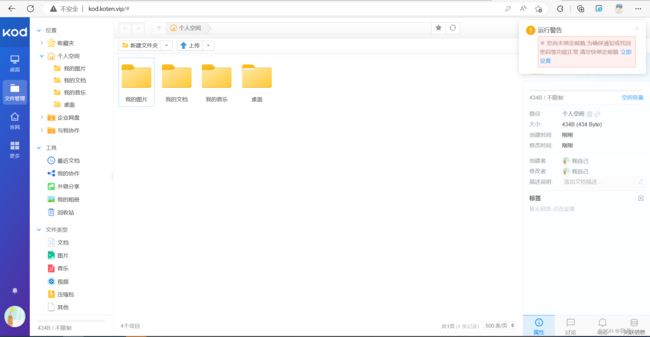
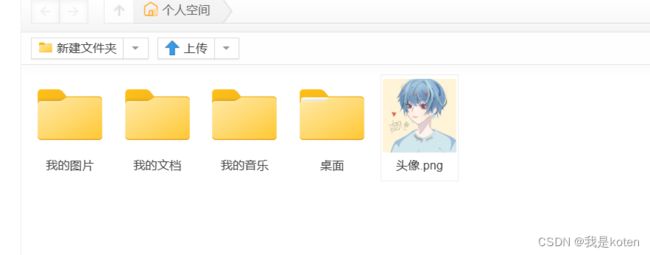
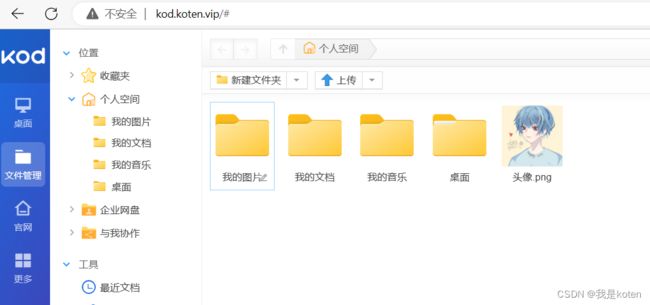
正常登录
10、测试快照恢复业务
服务器删除代码目录
[root@web01 nginx]# rm -rf /code 浏览器访问网址,发现无法访问。![]()
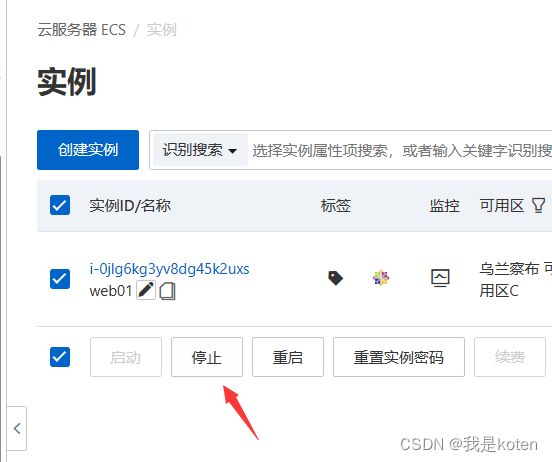
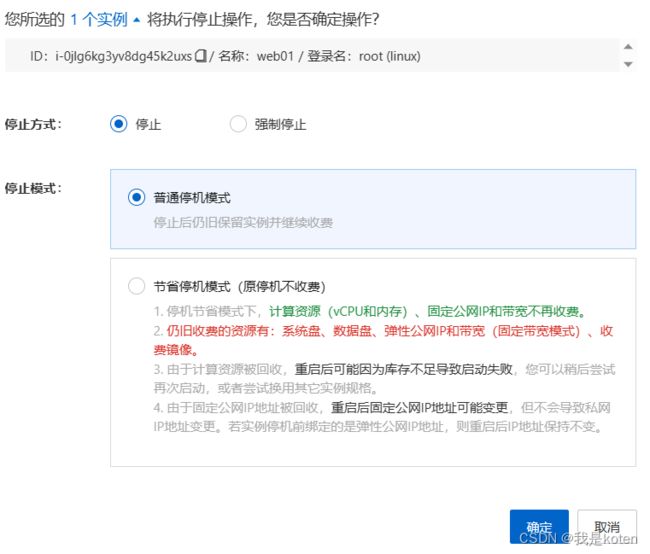
停止实例
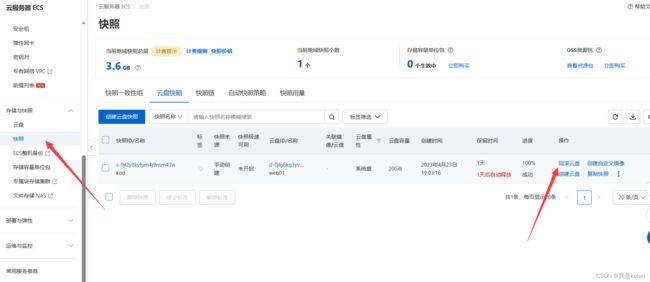
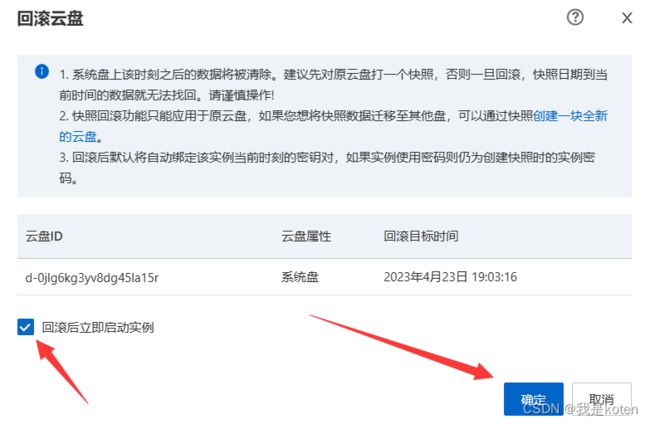
恢复快照
由于我们设置了nginx和php的开机自启动,所以快照恢复启动后,会自动恢复业务。
快照恢复成功后,浏览器再次访问正常显示。
11、基于快照做镜像
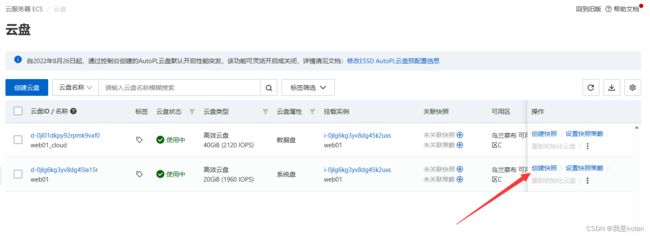
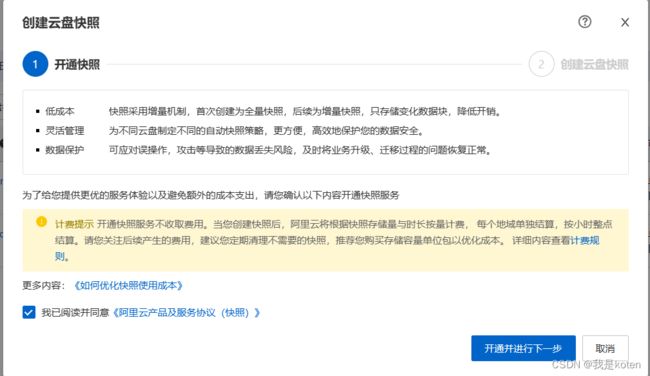
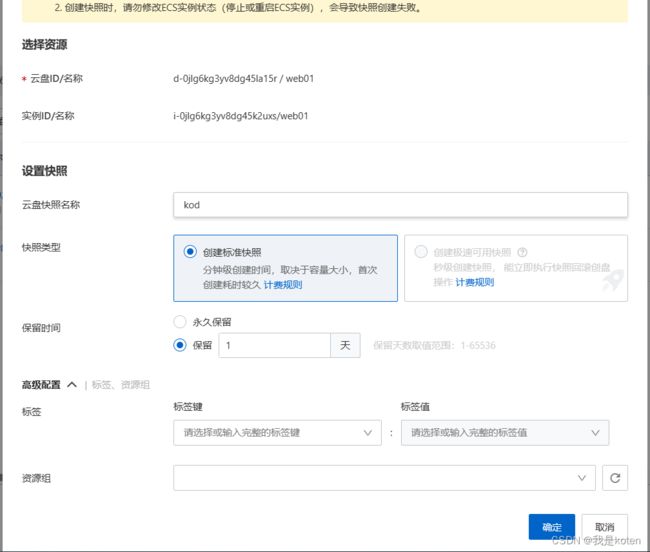
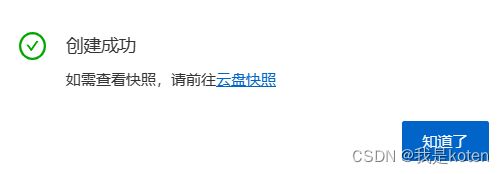
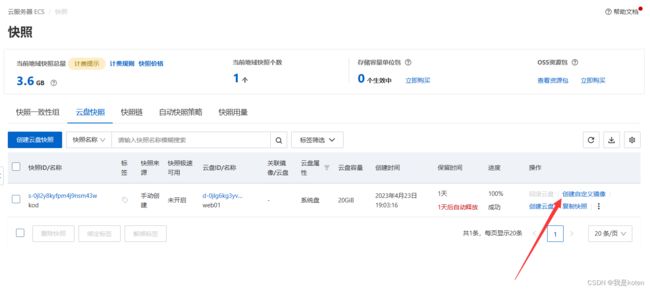
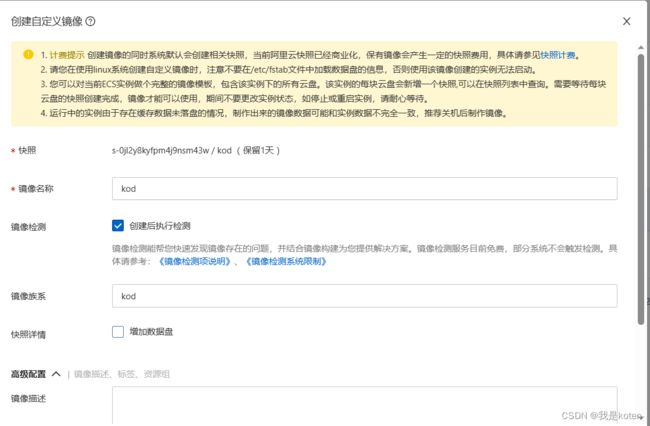
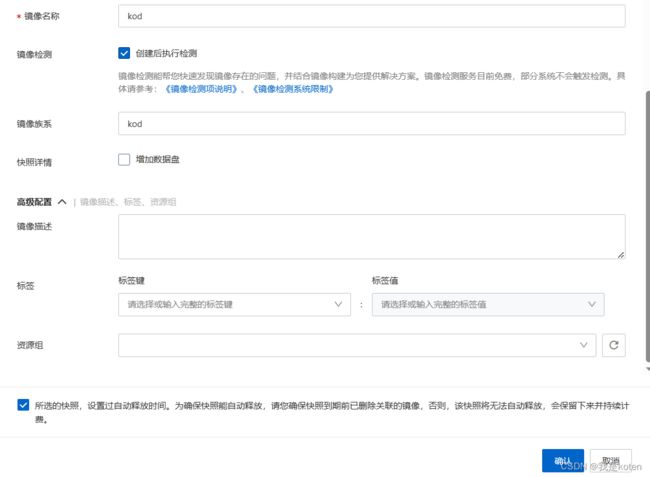
快照控制台,创建自定义镜像
确认
创建完成后可以在镜像列表里查看,点击创建实例
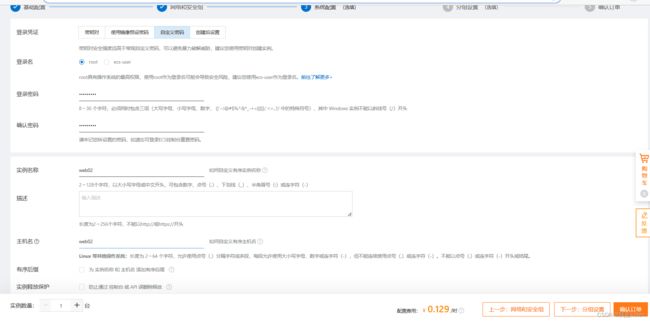
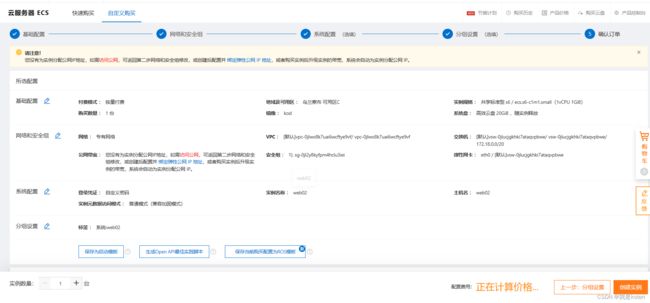
12、基于镜像创建web02服务器
选择与web01一致的可用区
不需要分配公网IP
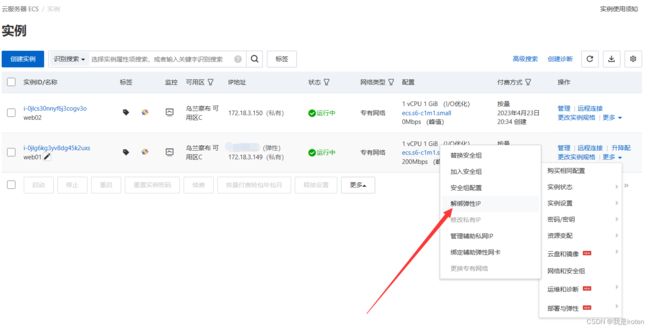
13、解绑web01的弹性公网IP
示例控制台,解绑弹性IP
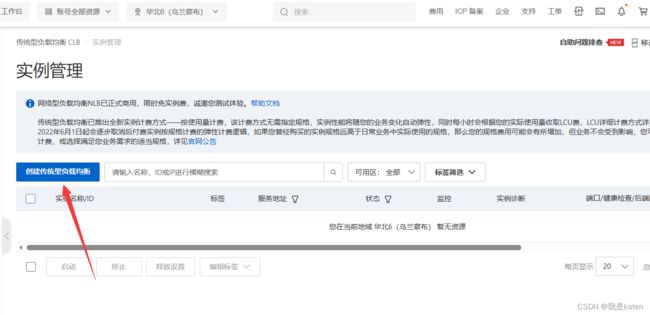
 14、购买传统型SLB负载,绑定弹性公网IP
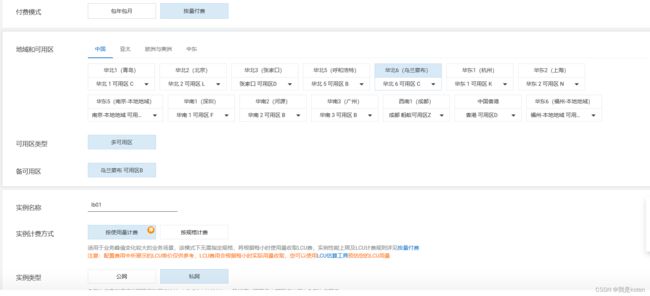
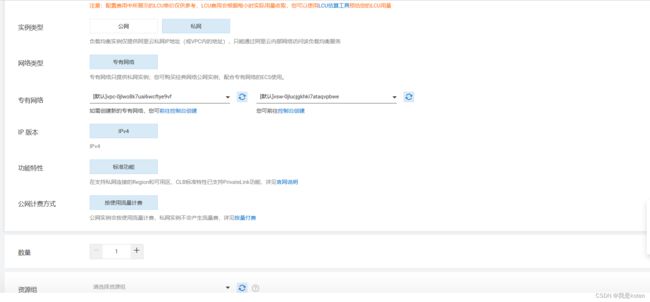
传统负载均衡,注意地区与web地区保持一致
如图配置,选择私网,因为我们有弹性IP,可以绑定到负载均衡上。
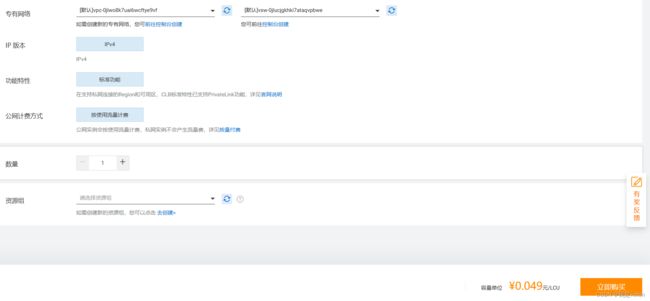
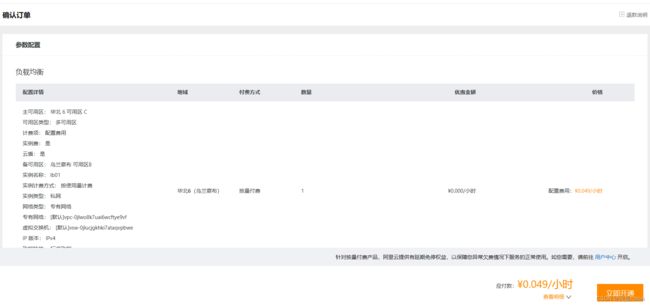
立即开通,签署并下单。
绑定我们的弹性IP
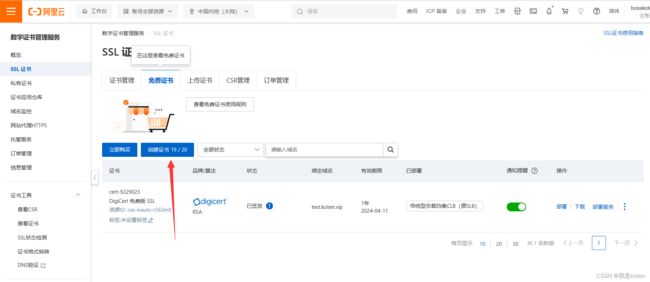
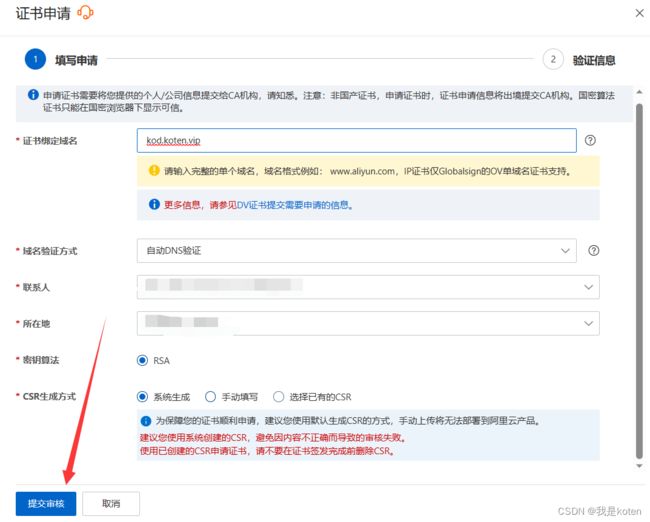
15、配置负载证书,并转发到后端WEB
申请证书
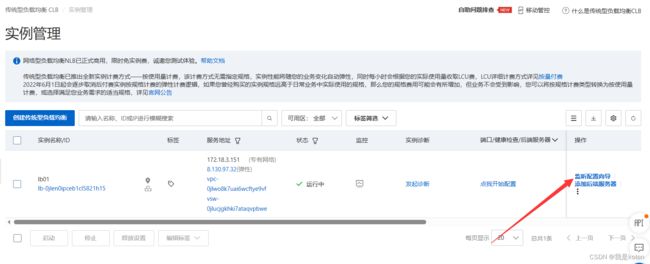
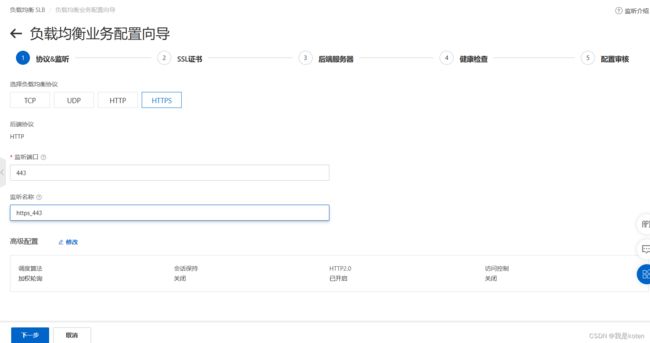
实例控制台,监听配置向导
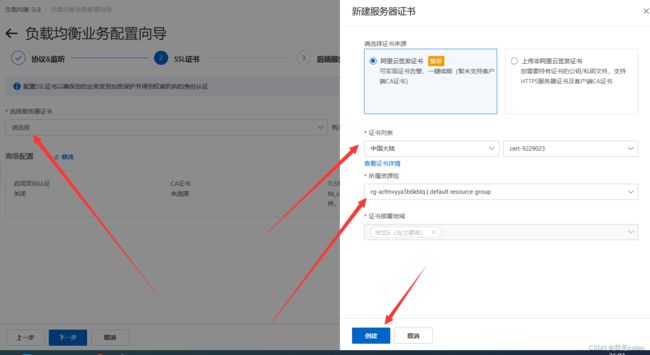
添加创建证书,刚刚申请的,注意不要选错,我这边选成别的域名的了,不再修改图片了
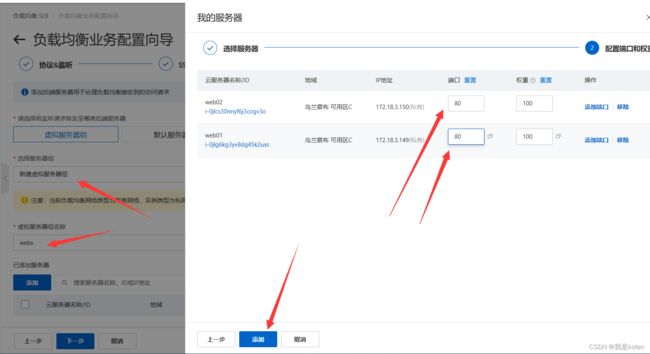
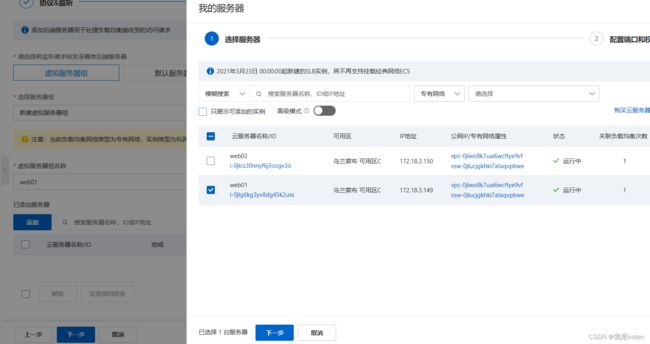
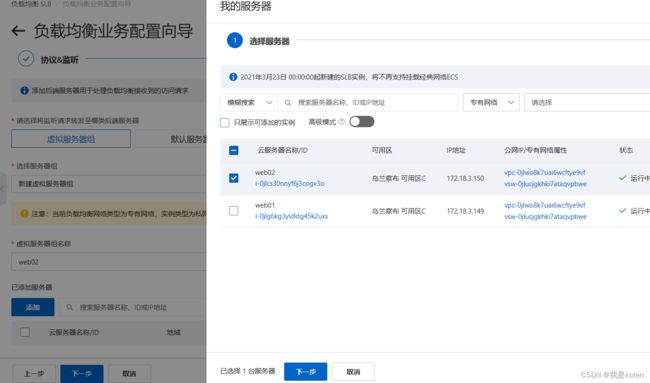
添加服务器,添加端口
下一步,下一步,提交即可
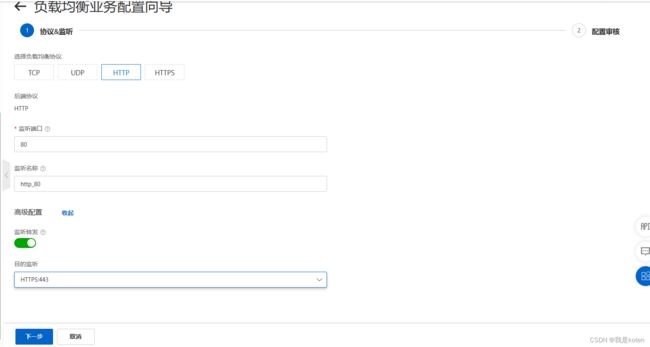
配置80端口,监听443,下一步,提交即可
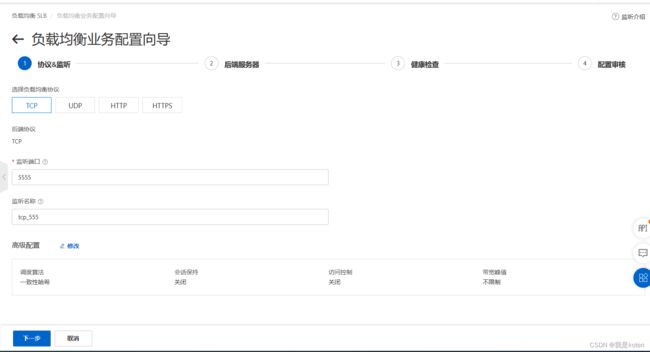
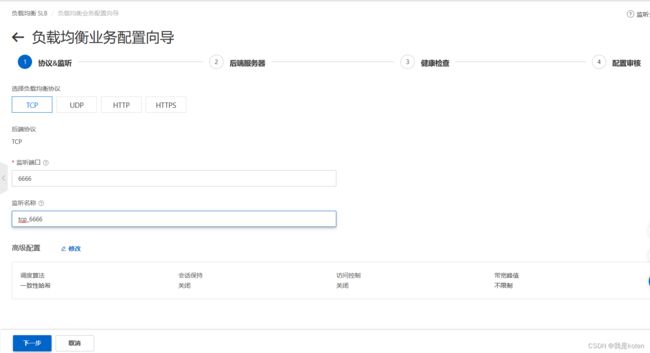
分别添加5555转发到web01,6666转发到web02
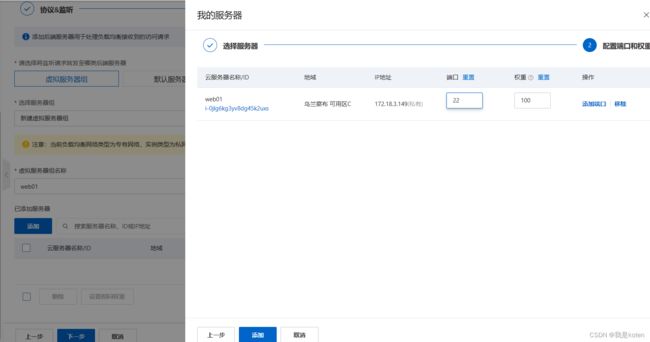
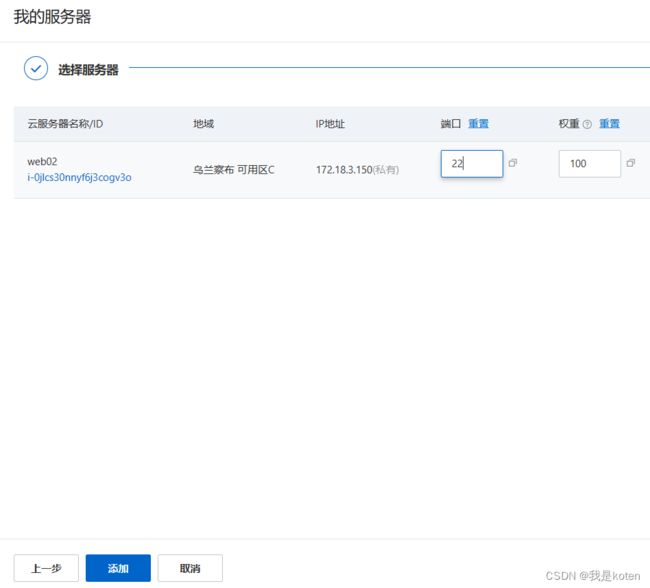
下一步,下一步,提交,配置6666端口转发到web02的22端口
下一步,下一步,提交
17、浏览器访问异常,修改web服务器配置文件
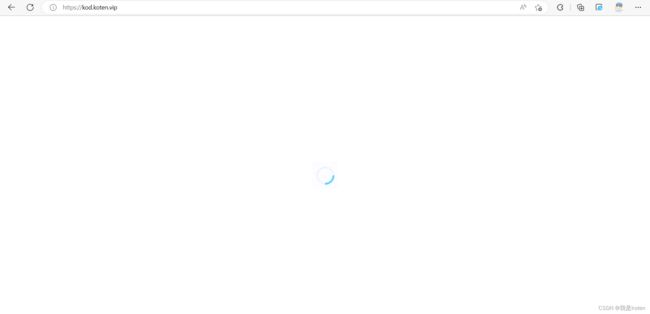
浏览器访问,一直转圈,是因为我们web服务器上的php,不会识别https协议,需要修改我们的web上的配置文件
[c:\~]$ ssh 8.130.97.32 5555


Connecting to 8.130.97.32:5555...
Connection established.
To escape to local shell, press Ctrl+Alt+].

Last login: Sun Apr 23 20:18:34 2023 from 123.112.17.24

Welcome to Alibaba Cloud Elastic Compute Service !

[root@web01 ~]# cat /etc/nginx/conf.d/kod.conf
server {
        listen 80;
        server_name kod.koten.vip;
	location / {
                root /code/kod;
                index index.php index.html index.htm;
	}
        location ~\.php$ {
                root /code/kod;
                fastcgi_pass 127.0.0.1:9000;
                fastcgi_param SCRIPT_FILENAME $document_root$fastcgi_script_name;
		include fastcgi_params;
		fastcgi_param HTTPS on;
	}
}
[root@web01 ~]# systemctl restart nginx


[c:\~]$ ssh 8.130.97.32 6666


Connecting to 8.130.97.32:6666...
Connection established.
To escape to local shell, press Ctrl+Alt+].

Last login: Sun Apr 23 18:23:09 2023 from 123.112.17.24

Welcome to Alibaba Cloud Elastic Compute Service !

[root@web02 ~]# cat /etc/nginx/conf.d/kod.conf
server {
        listen 80;
        server_name kod.koten.vip;
	location / {
                root /code/kod;
                index index.php index.html index.htm;
	}
        location ~\.php$ {
                root /code/kod;
                fastcgi_pass 127.0.0.1:9000;
                fastcgi_param SCRIPT_FILENAME $document_root$fastcgi_script_name;
		include fastcgi_params;
		fastcgi_param HTTPS on;
	}
}
[root@web02 ~]# systemctl restart nginx我是koten,10年运维经验,持续分享运维干货,感谢大家的阅读和关注!
