Flutter状态管理Provider,快速上手
Flutter状态管理Provider,快速上手
-
- 前言
- (一) 添加依赖
- (二)创建一个Counter 类
- (三)使用ChangeNotifierProvider
- (四)使用Provider获取Counter的值
前言
flutter 关于状态管理的方案挺多的。
Provider 能提供你:
- 简化资源分配/处置
- 延迟加载
- 每次都制作新类时大大减少了样板
- devtools友好
- 使用这些InheritedWidget的常用方法(请参阅Provider.of / Consumer / Selector)
- 侦听机制的复杂度呈指数增长,从而提高了类的可伸缩性(例如ChangeNotifier,它是用于调度通知的复杂度O(N²))
下面是关于Provider状态管理的快速上手。
(一) 添加依赖
// An highlighted block
//pubspec.yaml文件

dependencies:
  provider: ^4.3.3

//执行flutter pub get 安装

//引入
import 'package:provider/provider.dart';
pub下载地址:https://pub.dev/packages/provider
(二)创建一个Counter 类
class Counter with ChangeNotifier {
  int _count;
  Counter(this._count);
  void add() {
    _count++;
    notifyListeners();
  }
  void minus() {
    _count--;
    notifyListeners();
  }
  get count => _count;
}
Counter类包含一个字段 _count
- 这里需要混入ChangeNotifier
- 写一个增加和减少的方法,然后需要调用notifyListeners();这个方法是通知用到Counter对象的widget刷新用的。
- get方法获取值count
(三)使用ChangeNotifierProvider
需要在main.dart改写main();
void main() {
  runApp(ChangeNotifierProvider<Counter>.value(
    value: Counter(10),//设置初始值为10
    child: MyApp(),
  ));
}
- ChangeNotifierProvider调用value()方法,里面传出value和child
- value设置了默认的Counter(1)
当然Provider不止提供了ChangeNotifierProvider,还有Provider,ListenableProvider,ValueListenableProvider,StreamProvider.
详见https://github.com/rrousselGit/provider
管理多个对象使用MultiProvider,如下
MultiProvider(
  providers: [
    Provider<Students>.value(value: stundet),
    Provider<Grades>.value(value: grade),
    .....
  ],
  child: someWidget,
)
(四)使用Provider获取Counter的值
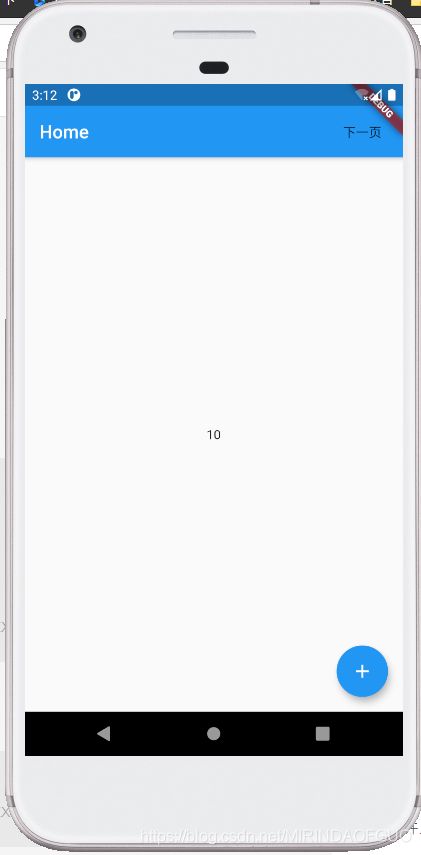
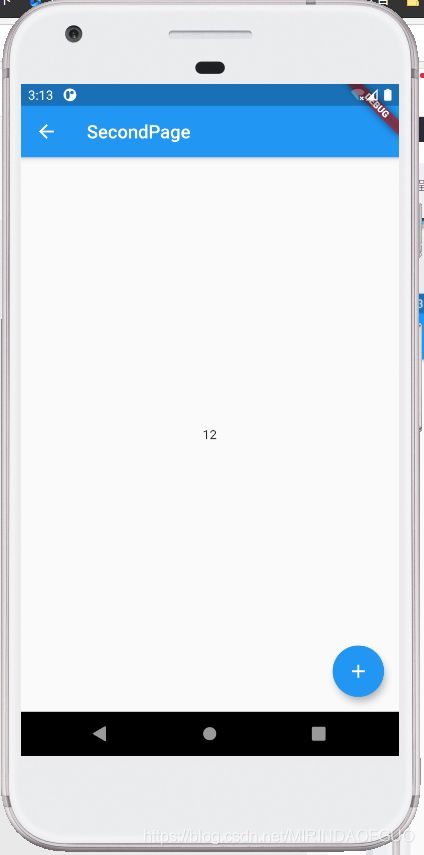
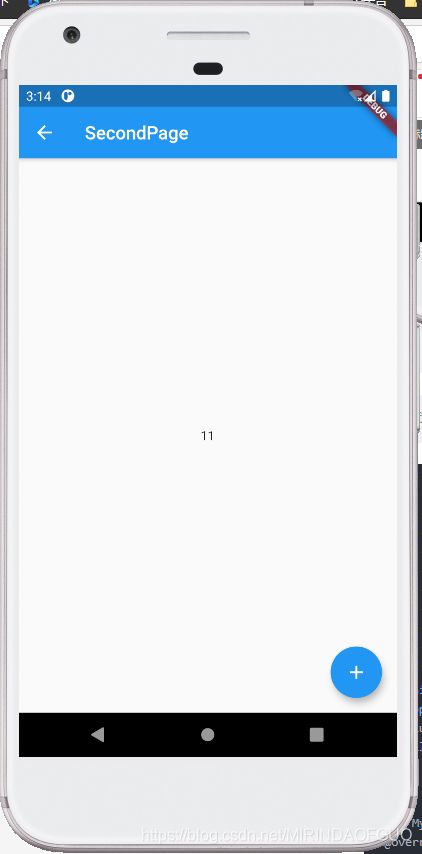
用两个页面来展示
class HomePage extends StatelessWidget {
@override
Widget build(BuildContext context) {
// TODO: implement build
return Scaffold(
appBar: AppBar(
title: Text("Home"),
actions: <Widget>[
FlatButton(
child: Text("下一页"),
onPressed: () =>
Navigator.push(context, MaterialPageRoute(builder: (context) {
return SecondPage();
})),
),
],
),
body: Center(
child: Text("${Provider.of(context).count}" ),//展示数字count
),
floatingActionButton: FloatingActionButton(
onPressed: () {
// print(Provider.of(context,listen: false));
Provider.of<Counter>(context,listen: false).add();//调用加法
},
child: Icon(Icons.add),
),
);
}
}
class SecondPage extends StatelessWidget {
@override
Widget build(BuildContext context) {
// TODO: implement build
return Scaffold(
appBar: AppBar(
title: Text("SecondPage"),
),
body: Center(
child: Text("${Provider.of(context).count}" ),//展示数字count
),
floatingActionButton: FloatingActionButton(
onPressed: () {
Provider.of<Counter>(context,listen: false).minus();//调用减法
},
child: Icon(Icons.add),
),
);
}
}
完整代码
import 'package:flutter/material.dart';
import 'package:provider/provider.dart';
void main() {
runApp(ChangeNotifierProvider<Counter>.value(
value: Counter(10),
child: MyApp(),
));
}
class MyApp extends StatelessWidget {
@override
Widget build(BuildContext context) {
// TODO: implement build
return MaterialApp(
title: "Provider",
home: HomePage(),
);
}
}
class HomePage extends StatelessWidget {
@override
Widget build(BuildContext context) {
// TODO: implement build
return Scaffold(
appBar: AppBar(
title: Text("Home"),
actions: <Widget>[
FlatButton(
child: Text("下一页"),
onPressed: () =>
Navigator.push(context, MaterialPageRoute(builder: (context) {
return SecondPage();
})),
),
],
),
body: Center(
child: Text("${Provider.of(context).count}" ),//1
),
floatingActionButton: FloatingActionButton(
onPressed: () {
// print(Provider.of(context,listen: false));
Provider.of<Counter>(context,listen: false).add();//2
},
child: Icon(Icons.add),
),
);
}
}
class SecondPage extends StatelessWidget {
@override
Widget build(BuildContext context) {
// TODO: implement build
return Scaffold(
appBar: AppBar(
title: Text("SecondPage"),
),
body: Center(
child: Text("${Provider.of(context).count}" ),//1
),
floatingActionButton: FloatingActionButton(
onPressed: () {
Provider.of<Counter>(context,listen: false).minus();//2
},
child: Icon(Icons.add),
),
);
}
}
class Counter with ChangeNotifier {
int _count;
Counter(this._count);
void add() {
_count++;
notifyListeners();
}
void minus() {
_count--;
notifyListeners();
}
get count => _count;
}
Google推荐的状态管理工具Provider,希望对学习Flutter有帮助,谢谢!


