Kubernetes部署+kubesphere管理平台安装
Kubernetes官网;kubesphere官网
不论是Kubernetes官网还是找的其它部署步骤,基本都是推荐搭建集群的方式,是为了实现高可用.....等等,这样一来至少需要两台或三台的服务器来搭建,这样对我们的成本也是非常大的,所以我就尝试了用一台机器来部署,下面是具体的流程;
一、Kubernetes搭建
1、环境准备
Centos7操作系统(2核 + 5G内存 + 50G空间)
因为还要安装kubesphere管理工具,所以内存和空间尽量要大一点
2、安装方式
k8s的常用安装方式有两种(本文是通过kubeadm的方式):
| 方式 | 优势 | 缺点 |
|---|---|---|
| kubeadm | 简单、快速 | 无法更好的理解k8s各个组件之间的关系 |
| 二进制包安装 | 繁琐、复杂 | 可能更好的理解k8s集群组件的关系 |
3、配置机器的host文件
vim /etc/hosts
#添加内容
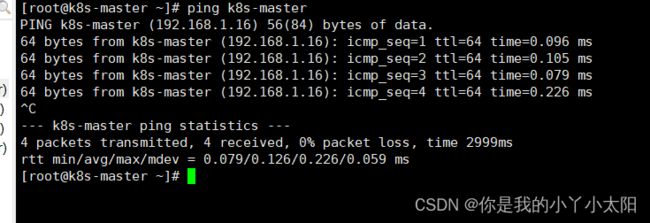
192.168.1.16 k8s-master
可以使用 ping k8s-master 看是否可以ping通
4、禁用防火墙
#docker会产生很多端口规则,为了引起不必要的麻烦,自己关闭掉(反正这个环境只是学习使用的,生成环境不要这么做)
systemctl stop firewalld
systemctl disable firewalld
systemctl stop iptables
systemctl disable iptables
5、禁用linux系统的安全服务selinux
# 永久关闭
sed -i 's/enforcing/disabled/' /etc/selinux/config
# 临时关闭
setenforce 0
#或者使用 vim /etc/selinux/config
6、禁用swap分区
#作用是在物理内存使用完之后虚拟磁盘空间作为内存使用,开启此会产生性能影响,在搭建k8s集群的时候如果开启的话还需要特别说明
# 临时
swapoff -a
# 永久关闭
sed -ri 's/.*swap.*/#&/' /etc/fstab
7、修改linux内核参数
#修改linux内核参数,添加网桥过滤和地址转发功能
vi /etc/sysctl.d/kubernetes.conf
# 添加如下配置
net.bridge.bridge-nf-call-ip6tables = 1
net.bridge.bridge-nf-call-iptables = 1
net.ipv4.ip_forward = 1# 重新加载配置
sysctl -p
#加载网桥过滤模块
modprobe br_netfilter
# 查看网桥过滤模块是否加载成功
lsmod|grep br_netfilter
8、配置ipvs功能
#安装ipset、ipvsadm
yum -y install ipset ipvsadm
#添加需要加载的模块,写入到脚本文件中
vi /etc/sysconfig/modules/ipvs.modules
#内容如下
#!/bin/bash
modprobe -- ip_vs
modprobe -- ip_vs_rr
modprobe -- ip_vs_wrr
modprobe -- ip_vs_sh
modprobe -- nf_conntrack_ipv4#为脚本文件添加执行权限
chmod +x /etc/sysconfig/modules/ipvs.modules
#执行脚本文件
/bin/bash /etc/sysconfig/modules/ipvs.modules
#查询对应模块是否加载成功
lsmod |grep -e ip_vs -e nf_conntrack_ipv4
#最后重启下服务器
reboot
9、时间同步
#时间最好也做下更新
yum install ntpdate -y
ntpdate time.windows.com
10、安装docker
可参考之前的文章介绍:
docker安装
注意更改下/etc/docker/daemon.json文件:{ "log-driver":"json-file", "log-opts":{ "max-size":"500m", "max-file":"3" }, "exec-opts":[ "native.cgroupdriver=systemd" ], "registry-mirrors":[ "https://kfwkfulq.mirror.aliyuncs.com", "https://2lqq34jg.mirror.aliyuncs.com", "https://pee6w651.mirror.aliyuncs.com", "https://registry.docker-cn.com", "http://hub-mirror.c.163.com", "https://39dvdikp.mirror.aliyuncs.com" ] }
11、添加kubernetes软件源
cat > /etc/yum.repos.d/kubernetes.repo << EOF
[kubernetes]
name=Kubernetes
baseurl=https://mirrors.aliyun.com/kubernetes/yum/repos/kubernetes-el7-x86_64
enabled=1
gpgcheck=0
repo_gpgcheck=0
gpgkey=https://mirrors.aliyun.com/kubernetes/yum/doc/yum-key.gpg https://mirrors.aliyun.com/kubernetes/yum/doc/rpm-package-key.gpg
EOF
12、安装kubeadm,kubelet和kubectl
由于版本更新频繁,这里指定版本号部署:
sudo yum install -y kubelet-1.23.8 kubeadm-1.23.8 kubectl-1.23.8# 设置开机启动
systemctl enable kubelet
13、kubeadm初始化
kubeadm init \
--apiserver-advertise-address=192.168.1.16 \
--image-repository registry.aliyuncs.com/google_containers \
--kubernetes-version v1.23.8 \
--service-cidr=10.96.0.0/12 \
--pod-network-cidr=10.244.0.0/16 \
--ignore-preflight-errors=all \
--v=6
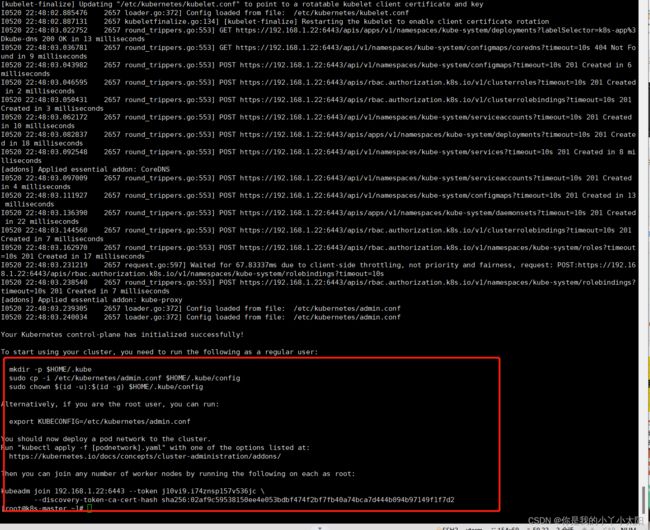
看到上图所示代表安装成功,然后按顺序执行如下命令:
  mkdir -p $HOME/.kube
  sudo cp -i /etc/kubernetes/admin.conf $HOME/.kube/config
sudo chown $(id -u):$(id -g) $HOME/.kube/config14、安装网络组件
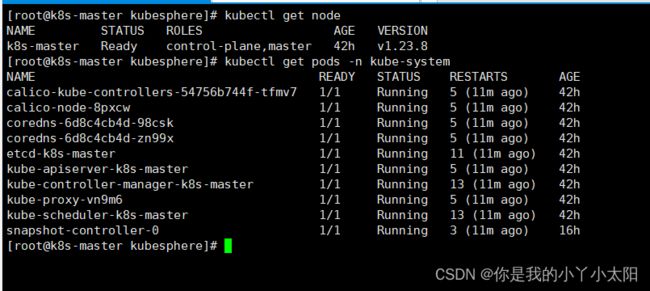
在没有安装前看到有一些状态是不正常的,待安装网络组件后会恢复正常:
kubectl apply -f https://docs.projectcalico.org/v3.23/manifests/calico.yaml
12、简易安装Nginx进行测试
kubectl create deployment nginx --image=nginx
kubectl expose deployment nginx --port=80 --type=NodePort
kubectl get pod,svc
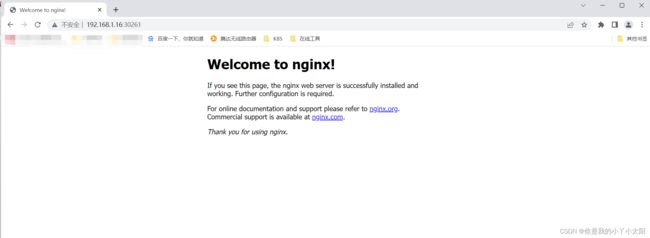
#在 web 浏览器输入以下地址,会返回 nginx 欢迎界面
http://192.168.1.16:32409 (32409 该端口为kubectl get pod,svc命令获取)
遇到错误:使用kubectl get pod发现状态一直为Pending,这是因为k8s的master节点默认是不能跑pod任务的,所以需要解除限制,这样就不需要部署集群了, 但还是建议条件允许的情况下以集群的方式进行部署
# 将master节点设为可以调度
kubectl taint nodes --all node-role.kubernetes.io/master-
# 如果需要设为不允许调度
# kubectl taint nodes master node-role.kubernetes.io/master=:NoSchedule
# 污点可选参数
NoSchedule: 一定不能被调度
PreferNoSchedule: 尽量不要调度
NoExecute: 不仅不会调度, 还会驱逐Node上已有的Pod
再次查看发现状态已恢复:
二、Kubernetes 可视化管理界面安装
kubesphere明确说明基于k8s安装需要配置DefaultStorageclass,我这里是搭建基于NFS的DefaultStorageclass
1、安装nfs必要的工具
# 安装必要软件
yum -y install nfs-utils rpcbind
# 设置开机自启动
systemctl enable nfs
systemctl enable rpcbind# 启动nfs
systemctl start rpcbind
systemctl start nfs
# 配置nfs
vim /etc/exports
/work/k8s/nfsdata 192.168.1.0/24(rw,no_root_squash,no_all_squash,sync)
# 启动nfs
systemctl restart nfs
2、基于NFS创建Storageclass
这里需要三个文件 class.yaml deployment.yaml rbac.yaml
创建文件夹统一管理 :mkdir /home/k8s/yml/nfs-client
class.yaml文件:apiVersion: storage.k8s.io/v1 kind: StorageClass metadata: annotations: storageclass.kubernetes.io/is-default-class: "true" name: managed-nfs-storage provisioner: fuseim.pri/ifs parameters: archiveOnDelete: "false"deployment.yaml文件(注意更换文件中的IP和nfs文件目录):
apiVersion: apps/v1
kind: Deployment
metadata:
  name: nfs-client-provisioner
  labels:
    app: nfs-client-provisioner
  # replace with namespace where provisioner is deployed
  namespace: default
spec:
  replicas: 1
  strategy:
    type: Recreate
  selector:
    matchLabels:
      app: nfs-client-provisioner
  template:
    metadata:
      labels:
        app: nfs-client-provisioner
    spec:
      serviceAccountName: nfs-client-provisioner
      containers:
        - name: nfs-client-provisioner
          image: quay.io/external_storage/nfs-client-provisioner:latest
          volumeMounts:
            - name: nfs-client-root
              mountPath: /persistentvolumes
          env:
            - name: PROVISIONER_NAME
              value: fuseim.pri/ifs
            - name: NFS_SERVER
              value: 192.168.1.16
            - name: NFS_PATH
              value: /work/k8s/nfsdata
      volumes:
        - name: nfs-client-root
          nfs:
            server: 192.168.1.16
            path: /work/k8s/nfsdata
rbac.yaml文件:apiVersion: v1 kind: ServiceAccount metadata: name: nfs-client-provisioner # replace with namespace where provisioner is deployed namespace: default --- kind: ClusterRole apiVersion: rbac.authorization.k8s.io/v1 metadata: name: nfs-client-provisioner-runner rules: - apiGroups: [""] resources: ["persistentvolumes"] verbs: ["get", "list", "watch", "create", "delete"] - apiGroups: [""] resources: ["persistentvolumeclaims"] verbs: ["get", "list", "watch", "update"] - apiGroups: ["storage.k8s.io"] resources: ["storageclasses"] verbs: ["get", "list", "watch"] - apiGroups: [""] resources: ["events"] verbs: ["create", "update", "patch"] --- kind: ClusterRoleBinding apiVersion: rbac.authorization.k8s.io/v1 metadata: name: run-nfs-client-provisioner subjects: - kind: ServiceAccount name: nfs-client-provisioner # replace with namespace where provisioner is deployed namespace: default roleRef: kind: ClusterRole name: nfs-client-provisioner-runner apiGroup: rbac.authorization.k8s.io --- kind: Role apiVersion: rbac.authorization.k8s.io/v1 metadata: name: leader-locking-nfs-client-provisioner # replace with namespace where provisioner is deployed namespace: default rules: - apiGroups: [""] resources: ["endpoints"] verbs: ["get", "list", "watch", "create", "update", "patch"] --- kind: RoleBinding apiVersion: rbac.authorization.k8s.io/v1 metadata: name: leader-locking-nfs-client-provisioner # replace with namespace where provisioner is deployed namespace: default subjects: - kind: ServiceAccount name: nfs-client-provisioner # replace with namespace where provisioner is deployed namespace: default roleRef: kind: Role name: leader-locking-nfs-client-provisioner apiGroup: rbac.authorization.k8s.io执行部署:
kubectl apply -f class.yaml
kubectl apply -f deployment.yaml
kubectl apply -f rbac.yaml
效果如图:
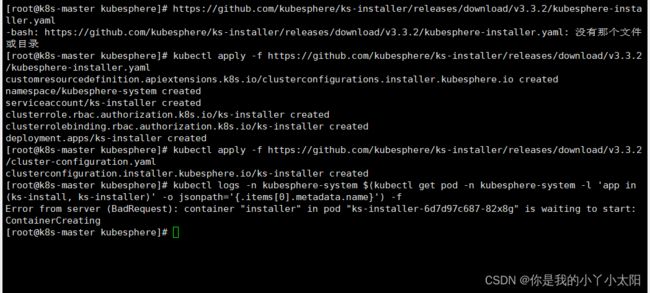
3、安装 Kubersphere
# 执行以下命令安装
kubectl apply -f https://github.com/kubesphere/ks-installer/releases/download/v3.2.2/kubesphere-installer.yaml
kubectl apply -f https://github.com/kubesphere/ks-installer/releases/download/v3.2.2/cluster-configuration.yaml
# 执行以下命令检查安装日志 过程稍微有点长 最后出现文章开头的内容就说明安装成功
kubectl logs -n kubesphere-system $(kubectl get pod -n kubesphere-system -l app=ks-install -o jsonpath='{.items[0].metadata.name}') -f
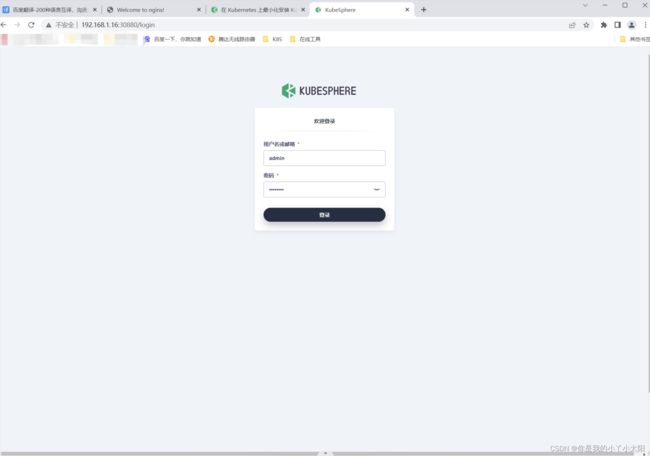
如图代表安装成功;在浏览器中出入日志中提示的访问地址即可
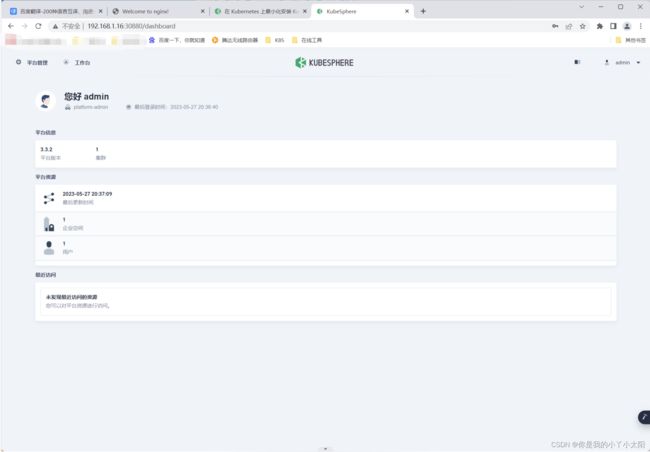
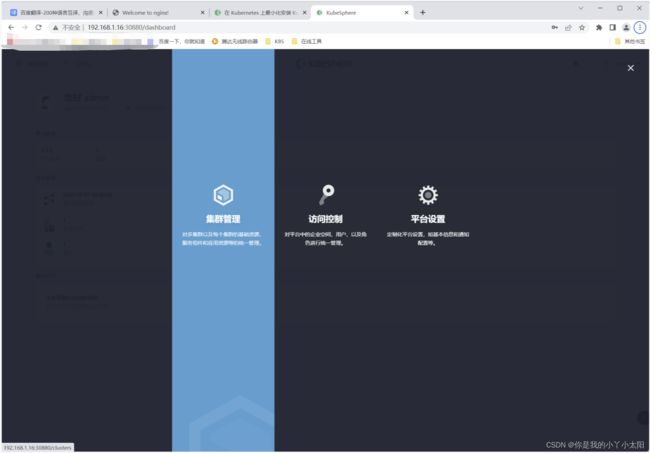
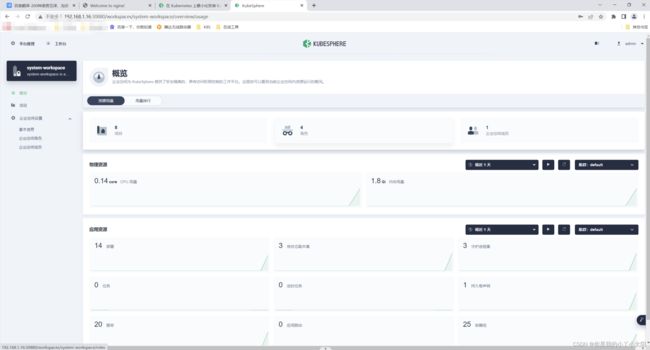
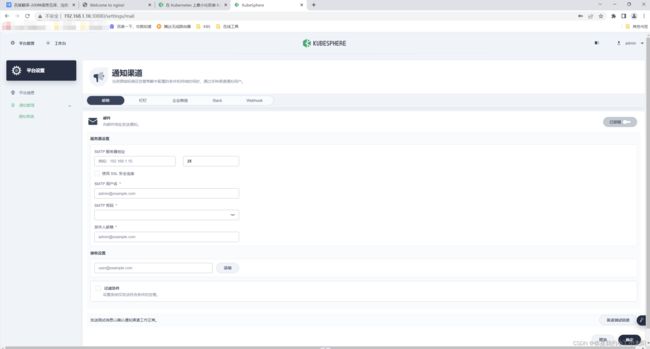
4、Kubersphere平台访问效果图
此时我们使用docker ps查看docker已经运行了好多容器:
后续将会补充通过Kubersphere平台进行部署 Nginx、Rabbitmq、Mysql等相关服务 以及 部署SpringBoot项目等。
