SpringBoot+vue文件上传&下载&预览&大文件分片上传&文件上传进度
文章目录
-
- 学习链接
- 上传文件
-
- 前端
- 后端代码
- 下载文件
-
- a标签下载
-
- 前端代码
- 后台代码
- 动态a标签下载
-
- 前端代码
- axios + 动态a标签
-
- 前端代码
- 浏览器直接输入
- 预览文件
-
- 前端代码
- 后端代码
- 分片上传
-
- 前后端分别md5加密
-
- spark-md5
- commons-codec
- jdk实现
- 分片上传实现1
-
- 前端代码
- 后端代码
- 分片上传实现2
-
- 前端代码
学习链接
Blob & File
spark-md5根据文件内容生成hash
大文件分片上传(批量并发,手动上传)vue组件封装-form组件
vue上传大文件/视频前后端(java)代码
springboot+vue自定义上传图片及视频
SpringBoot + VUE实现前台上传文件获取实时进度( 使用commons-fileupload设置上传监听器的实现)
springboot:实现文件上传下载实时进度条功能【附带源码】
vue + element-ui + springboot 实现文件下载进度条展现功能(里面有取消下载的功能实现和下载进度条)
vue+SpringBoot实现大文件分块上传、断点续传和秒传
SpringBoot+Vue.js前后端分离实现大文件分块上传github地址
Spring Boot+VUE分片上传大文件到OSS服务器解决方案
fastloader gitee地址
细说分片上传与极速秒传(SpringBoot+Vue实现)
【java】java实现大文件的分片上传与下载(springboot+vue3) 这个不错,后面可以详细看下,代码地址:https://gitee.com/zzhua195/big-file-upload
【视频流上传播放功能】前后端分离用springboot-vue简单实现视频流上传和播放功能【详细注释版本,包含前后端代码】
(前后端分离)SpringBoot+Vue实现视频播放
从文件加密到到视频文件进度条播放揭秘
Java后端实现视频分段渐进式播放
Spring Boot 大文件上传(断点上传)、服务端分片下载、客户端分片下载(断点下载)
SpringBoot Java实现Http方式分片下载断点续传+实现H5大视频渐进式播放
上传文件
前台
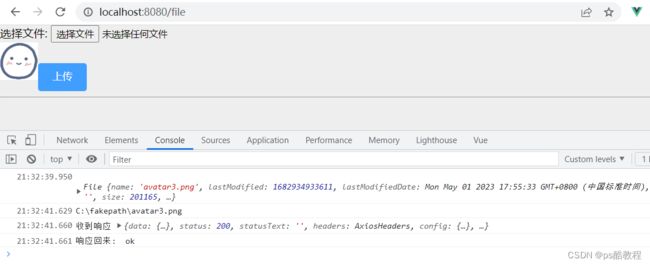
- 整个过程,就是在使用FormData 添加 上File(这个Blob),并且key要和后台的名字对应上
- 在点击上传按钮开始上传之前,使用了URL.createObjectURL(File)创建blobUrl,给了img标签作图片预览
- 上传完毕后,将input file的value置为空。若将input file置为空,则此时不能再从input file中获取file了,得等下次再选择图片才能获得file,将它置为空的目的是为了下次选择同样的图片,也能触发input file的change事件
后台
- 后台仅仅就是用MultipartFile声明接收即可,可以使用@RequestParam注解 或 @RequestPart注解
- 调用MultipartFile#transferTo保存文件
- 可以从MultipartFile#getInputStream中获取流,比如上传到OSS。
前端
<template>
    <div>
        选择文件: <input type="file" ref="fileInputRef" @change="selectFile" multiple>
        <br/>
        <img v-if="imgUrl" :src="imgUrl" alt="" style="width:54px;height:54px;">
        <el-button v-if="imgUrl" type="primary" @click="uploadFile">上传el-button>

        <hr/>
    div>
template>

<script>
import axiosInstance from '@/utils/request.js'
import axios from 'axios'
export default {
    name: 'File',
    data() {
        return {
            imgUrl:''
        }
    },
    methods: {
        selectFile() {

            let file = this.$refs['fileInputRef'].files[0]
            console.log(file)

            // 上传前, 可以预览该图片
            let blobUrl = URL.createObjectURL(file)
            this.imgUrl = blobUrl

        },
        uploadFile() {

            // 因为可能选择多个文件, 所以这里是个数组
            let file = this.$refs['fileInputRef'].files[0]

            let formData = new FormData()

            formData.append('mfile', file) // 必须和后端的参数名相同。(我们看到了, 其实就是把blob文件给了formData的一个key)
            formData.append("type", 'avatar')

            // 可以有下面2种方式, 来上传文件
            /* axiosInstance
                .post('http://127.0.0.1:8083/file/uploadFile',formData, {headers: {'a':'b'}})
                .then(res => {
                    console.log('响应回来: ',res);
                }) */
            axiosInstance({ // 这种传参方式, 在axios的index.d.ts中可以看到
                url:'http://127.0.0.1:8083/file/uploadFile',
                method:'post',
                data: formData, // 直接将FormData作为data传输
                headers: {
                    'a':'b' // 可携带自定义响应头
                }
            }).then(res => {
                console.log('响应回来: ',res);
            })

            console.log(this.$refs['fileInputRef'].value); // C:\fakepath\cfa86972-07a1-4527-8b8a-1991715ebbfe.png
            // 上传完文件后, 将value置为空, 以避免下次选择同样的图片而不会触发input file的change事件。
            // (注意清空value后,将不能再从input file中获取file,而原先的file仍然能够使用)
            this.$refs['fileInputRef'].value = ''
        }
    }
}
script>

<style>

style>
后端代码
@PostMapping("uploadFile")
public Object uploadFile(@RequestPart("mfile")MultipartFile multipartFile,@RequestPart("type") String type) throws IOException {

    System.out.println(multipartFile.getClass());
    System.out.println(type);

    // 源文件名
    String originalFilename = multipartFile.getOriginalFilename();
    // 内容类型
    String contentType = multipartFile.getContentType();
    // 文件是否为空(无内容)
    boolean empty = multipartFile.isEmpty();
    // 文件大小
    long size = multipartFile.getSize();
    // 文件的字节数据
    byte[] bytes = multipartFile.getBytes();
    // 获取文件的字节输入流
    InputStream inputStream = multipartFile.getInputStream();
    // 将文件保存到指定路径下
    multipartFile.transferTo(new File("d:/Projects/practice/test-springboot/src/main/resources/file/" + originalFilename));

    System.out.println(originalFilename);
    System.out.println(contentType);
    System.out.println(empty);
    System.out.println(size);
    System.out.println(bytes.length);

    HashMap<String, Object> data = new HashMap<>();
    data.put("data", "ok");
    return data;
}
下载文件
a标签下载
前端代码
<template>
    <div>
       <a href="http://127.0.0.1:8083/file/downloadFile?filename=头像a.png">avatar3.pnga>
    div>
template>

<script>
import axiosInstance from '@/utils/request.js'
import axios from 'axios'
export default {
    name: 'File',
    data() {
        return {
        }
    },
    methods: {

    }
}
script>

<style>

style>
后台代码
@GetMapping("downloadFile")
public void downloadFile(@RequestParam("filename") String filename) throws Exception {

    // 告知浏览器这是一个字节流,浏览器处理字节流的默认方式就是下载
    // 意思是未知的应用程序文件,浏览器一般不会自动执行或询问执行。浏览器会像对待,
    // 设置了HTTP头Content-Disposition值为attachment的文件一样来对待这类文件,即浏览器会触发下载行为
    response.setHeader(HttpHeaders.CONTENT_TYPE, MediaType.APPLICATION_OCTET_STREAM_VALUE);
    // ,该响应头指示回复的内容该以何种形式展示,是以内联的形式(即网页或者网页的一部分),还是以附件的形式下载并保存到本地。
    response.setHeader(HttpHeaders.CONTENT_DISPOSITION,"attachment;fileName="+ URLEncoder.encode(filename, "UTF-8"));
    File file = new File("d:/Projects/practice/test-springboot/src/main/resources/file/" + filename);

    ServletOutputStream ros = response.getOutputStream();

    FileInputStream fis = new FileInputStream(file);
    byte[] bytes = new byte[2 * 1024];
    int len = 0;
    while ((len = fis.read(bytes)) != -1) {
        ros.write(bytes, 0, len);
    }

    ros.flush();
    ros.close();
    fis.close()

}
动态a标签下载
- 后台代码仍然用上面a标签下载的代码即可
前端代码
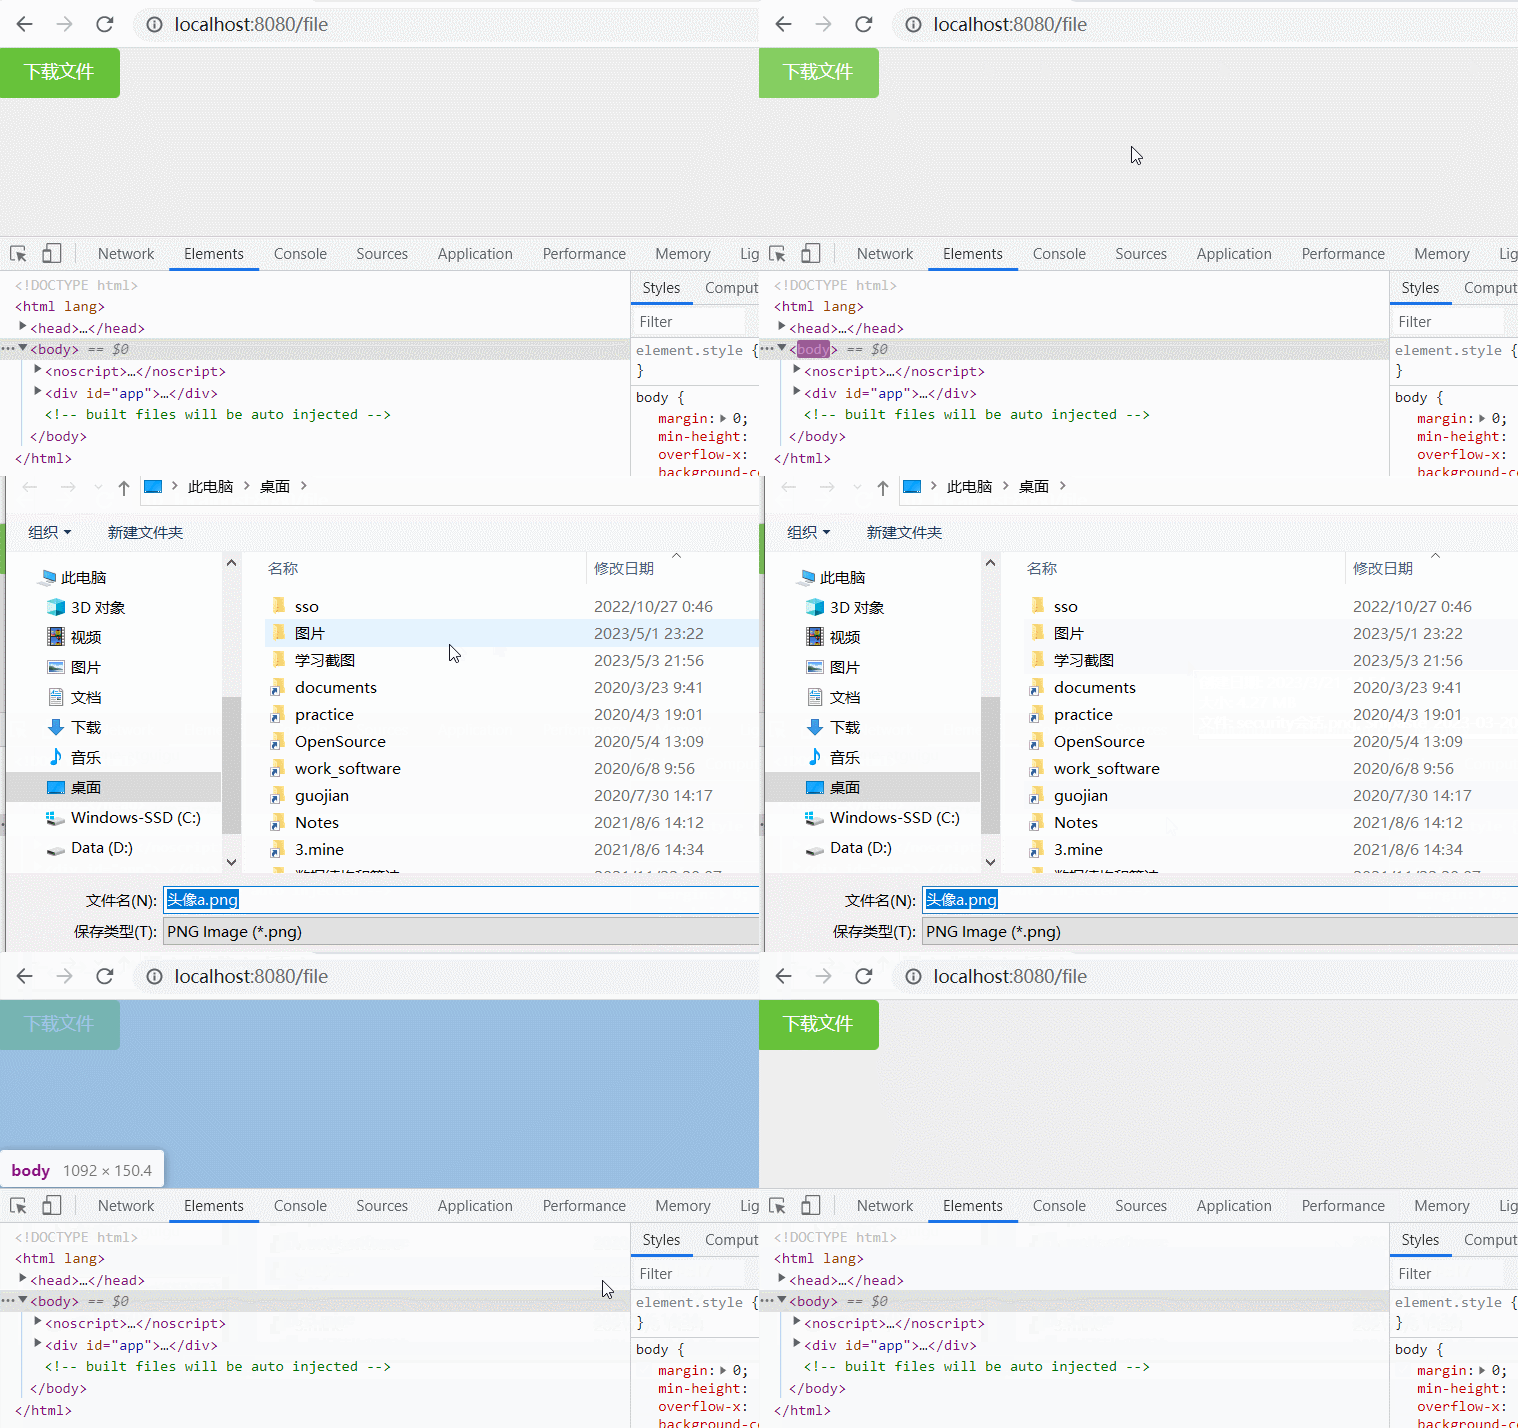
- 只需要动态创建a标签,添加到body,然后手动调用js触发a标签的click事件,触发下载
- 下载完成之后,将a标签移除
- 整个过程a标签的样式都是display:none
<template>
    <div>
        <el-button type="success" @click="downloadFile">下载文件el-button>
    div>
template>

<script>
import axiosInstance from '@/utils/request.js'
import axios from 'axios'
export default {
    name: 'File',
    data() {
        return {
        }
    },
    methods: {
        downloadFile() {
            let a = document.createElement('a')
            a.href = 'http://127.0.0.1:8083/file/downloadFile?filename=头像a.png'
            document.body.appendChild(a)
            a.style.display = 'none'
            a.click()
            document.body.removeChild(a)
        }
    }
}
script>

<style>

style>
axios + 动态a标签
- 后台代码仍然用上面a标签下载的代码即可
- 这里再思考下,能不能前端做成分片下载?
前端代码
- 收到后端的响应流 变成前端的 blob对象,然后使用浏览器的api,URL将blob对象创建为blobUrl,然后动态创建a标签,触发a标签点击完成下载
- 使用/file/previewFile接口也是一样的效果,其实,只要后端往response里写数据,这里来就能用blob拿到
- 下面的axios不要用封装的,因为要指定responseType:‘blob’,直接去拿数据
- 这里其实还可以点击下载文件之后,弹个框什么的,然后再下载
<template>
    <div>
        <el-button type="success" @click="downloadFile">下载文件el-button>
    div>
template>

<script>
import axios from 'axios'
export default {
    name: 'File',
    data() {
        return {
        }
    },
    methods: {
        downloadFile() {
            axios({ // 使用原来的axios实例, 不能用封装的, 因为下面要直接拿响应的blob数据
                url:'http://127.0.0.1:8083/file/downloadFile?filename=头像a.png',
                method:'get',
                headers: {
                    'a':'b'
                },
                responseType: 'blob' // 这个可以在axios的index.d.ts中可以找到
            }).then(response=>{
                return response.data
            }).then(blob=>{
                console.log(blob);
                let ablob = new Blob([blob])
                let blobUrl = window.URL.createObjectURL(ablob)
                let tmpLink = document.createElement('a')
                tmpLink.style.display = 'none'
                tmpLink.href = blobUrl
                tmpLink.setAttribute('download','头像b.png')
                document.body.appendChild(tmpLink)
                tmpLink.click()
                document.body.removeChild(tmpLink)
                window.URL.revokeObjectURL(blobUrl)
            })
        }
    }
}
script>

<style>

style>
浏览器直接输入
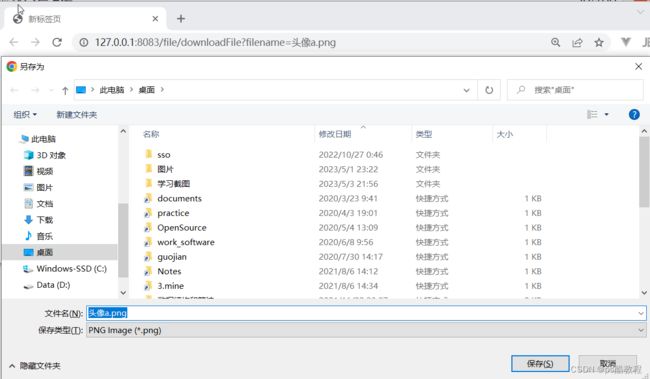
直接在浏览器的地址栏输入,即可下载,同样用上面的地址即可:http://127.0.0.1:8083/file/downloadFile?filename=头像a.png
预览文件
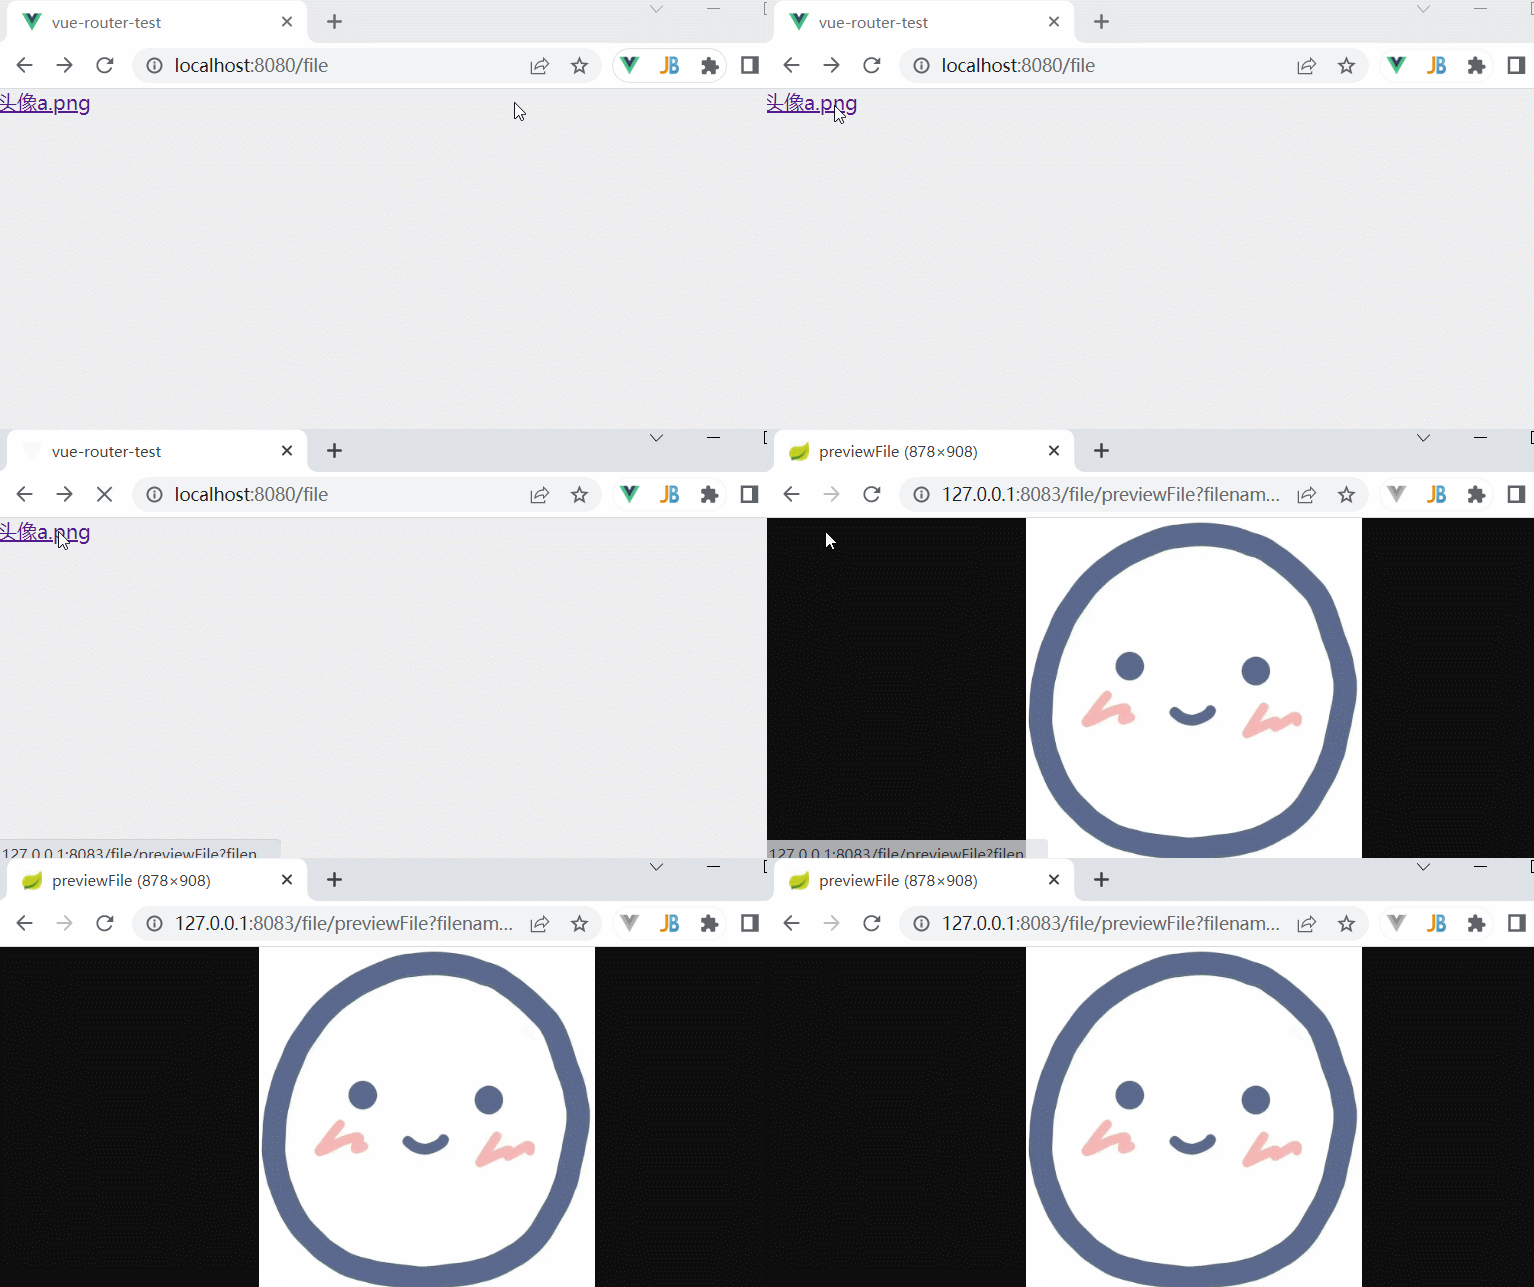
- 前端直接一个a标签即可,后端改个响应头即可。
- 如果需要在页面中预览,则可使用上面提到的方法,获取到流之后,然后创建为blobUrl或dataUrl放入img标签的src属性即可。
前端代码
<template>
    <div>
        <a href="http://127.0.0.1:8083/file/previewFile?filename=头像a.png">头像a.pnga>
    div>
template>

<script>
import axios from 'axios'
export default {
    name: 'File',
    data() {
        return {
        }
    },
    methods: {

    }
}
script>

<style>

style>
后端代码
设置好响应头即可
@GetMapping("previewFile")
    public void previewFile(@RequestParam("filename") String filename) throws Exception {

    // 可使用ServletContext 通过文件名获取 媒体资源类型
    response.setHeader(HttpHeaders.CONTENT_TYPE, MediaType.IMAGE_PNG_VALUE);
    File file = new File("d:/Projects/practice/test-springboot/src/main/resources/file/" + filename);

    ServletOutputStream ros = response.getOutputStream();

    // 可参考: StreamUtils
    FileInputStream fis = new FileInputStream(file);
    byte[] bytes = new byte[4 * 1024];
    int len = 0;
    while ((len = fis.read(bytes)) != -1) {
        ros.write(bytes, 0, len);
    }

    ros.flush();
    ros.close();
	fis.close()
}
分片上传
前后端分别md5加密
在开始分片之前,先了解下md5加密,因为后面秒传需要用到,或者是其它场景需要标识到这个文件名或文件二进制内容。
- md5的全称是message-digest algorithm 5(信息-摘要算法),它的作用是让大容量信息在用数字签名软件签署私人密匙前被"压缩"成一种保密的格式(就是把一个任意长度的字节串变换成一
定长的大整数)。 - MD5的典型应用是对一段信息(Message)产生信息摘要(Message-Digest),以防止被篡改。比如,在UNIX下有很多软件在下载的时候都有一个文件名相同,文件扩展名为.md5的文件,在这个文件中通常只有一行文本,大致结构如:MD5 (tanajiya.tar.gz) = 0ca175b9c0f726a831d895e269332461,这就是tanajiya.tar.gz文件的数字签名。
MD5将整个文件当作一个大文本信息,通过其不可逆的字符串变换算法,产生了这个唯一的MD5信息摘要。
spark-md5
-
安装spark-md5
npm install spark-md5 --save -
对字符串操作
-
常规用法
// 16进制哈希 var hexHash = SparkMD5.hash('Hi there'); // d9385462d3deff78c352ebb3f941ce12 // 再次执行, 仍然是同样的值 var hexHash = SparkMD5.hash('Hi there'); // d9385462d3deff78c352ebb3f941ce12 // 感觉这个没事撒用(应该就是原始的二进制数据,然后这个二进制数据转成了字符串形式) var rawHash = SparkMD5.hash('Hi there', true); // Ù8TbÓÞÿxÃRë³ùAÎ\x12 // 可以如下模拟以下上面这个过程, var fr = new FileReader() fr.read(new Blob([SparkMD5.hash('Hi there',true)])) // 看如下,获取了跟上面一样的结果 console.log(fr.result) // Ù8TbÓÞÿxÃRë³ùAÎ\x12 -
进阶用法
var spark = new SparkMD5(); spark.append('Hi'); spark.append(' there'); // d9385462d3deff78c352ebb3f941ce12,这个跟上面一样 var hexHash = spark.end(); // Ԍ٠不知道是个什么玩意,跟上面直接调用SparkMD5.hash('Hi there', true);的结果不一样 var rawHash = spark.end(true);
-
-
对文件操作
对一个D:\documents\尚硅谷谷粒学院项目视频教程\项目资料.zip的1.18G的文件进行md5,获取的是:0efda58eb4bbb4ea4b69f9ac0d566075,下面的方法摘自:npmjs仓库的spark-md5,可以体会一下这个递归在js里的用法:给FileReader绑定load事件,根据分片信息获取分片数据,并使用FileReader去read这个数据,从而绑定的load事件的函数就会执行,当处理完这个分片数据后,然后去触发下一个分片,直到所有的分片都read了(那么上传分片的时候,也可以使用下面的递归这么玩)。
<template>
	<input type="file" ref="fileInputRef" @change="getMd5($event.target.files[0])" />
</template>

export default {
	methods: {
		getMd5(file) {
            var blobSlice = File.prototype.slice || File.prototype.mozSlice || File.prototype.webkitSlice,
                chunkSize = 10 * 1024 * 1024,
                chunks = Math.ceil(file.size / chunkSize),
                currentChunk = 0,
                spark = new SparkMD5.ArrayBuffer(),
                fileReader = new FileReader();

            fileReader.onload = function (e) {
                console.log('read chunk nr', currentChunk + 1, 'of', chunks);
                spark.append(e.target.result);
                currentChunk++;

                if (currentChunk < chunks) {
                    loadNext();
                } else {
                    console.log('finished loading');
                    console.info('computed hash', spark.end());  // Compute hash
                }
            };

            fileReader.onerror = function () {
                console.warn('oops, something went wrong.');
            };

            function loadNext() {
                var start = currentChunk * chunkSize,
                    end = ((start + chunkSize) >= file.size) ? file.size : start + chunkSize;

                fileReader.readAsArrayBuffer(blobSlice.call(file, start, end));
            }

            loadNext();
        },
	}

}
commons-codec
-
需要先导入依赖
<dependency> <groupId>commons-codecgroupId> <artifactId>commons-codecartifactId> <version>1.12version> dependency> -
对字符串操作
import org.apache.commons.codec.digest.DigestUtils; public static void main(String[] args) { String md5 = DigestUtils.md5Hex("Hi there"); // d9385462d3deff78c352ebb3f941ce12, 与前端的md5结果一致 System.out.println(md5); System.out.println(md5.length()); } -
对文件二进制数据内容操作
public static void main(String[] args) throws IOException {

    String s = DigestUtils.md5Hex(new FileInputStream(new File("D:\\documents\\尚硅谷谷粒学院项目视频教程\\项目资料.zip")));

    // 与前端计算结果一致
    // 0efda58eb4bbb4ea4b69f9ac0d566075
    System.out.println(s);
}
jdk实现
摘自风宇博客
public class FileUtils {

    /**
     * 获取文件md5值
     *
     * @param inputStream 文件输入流
     * @return {@link String} 文件md5值
     */
    public static String getMd5(InputStream inputStream) {
        try {
            MessageDigest md5 = MessageDigest.getInstance("md5");
            byte[] buffer = new byte[8192];
            int length;
            while ((length = inputStream.read(buffer)) != -1) {
                md5.update(buffer, 0, length);
            }
            return new String(Hex.encodeHex(md5.digest()));
        } catch (Exception e) {
            e.printStackTrace();
            return null;
        } finally {
            try {
                if (inputStream != null) {
                    inputStream.close();
                }
            } catch (IOException e) {
                e.printStackTrace();
            }
        }
    }

    /**
     * 得到文件扩展名
     *
     * @param fileName 文件名称
     * @return {@link String} 文件后缀
     */
    public static String getExtName(String fileName) {
        if (StringUtils.isBlank(fileName)) {
            return "";
        }
        return fileName.substring(fileName.lastIndexOf("."));
    }

}
分片上传实现1
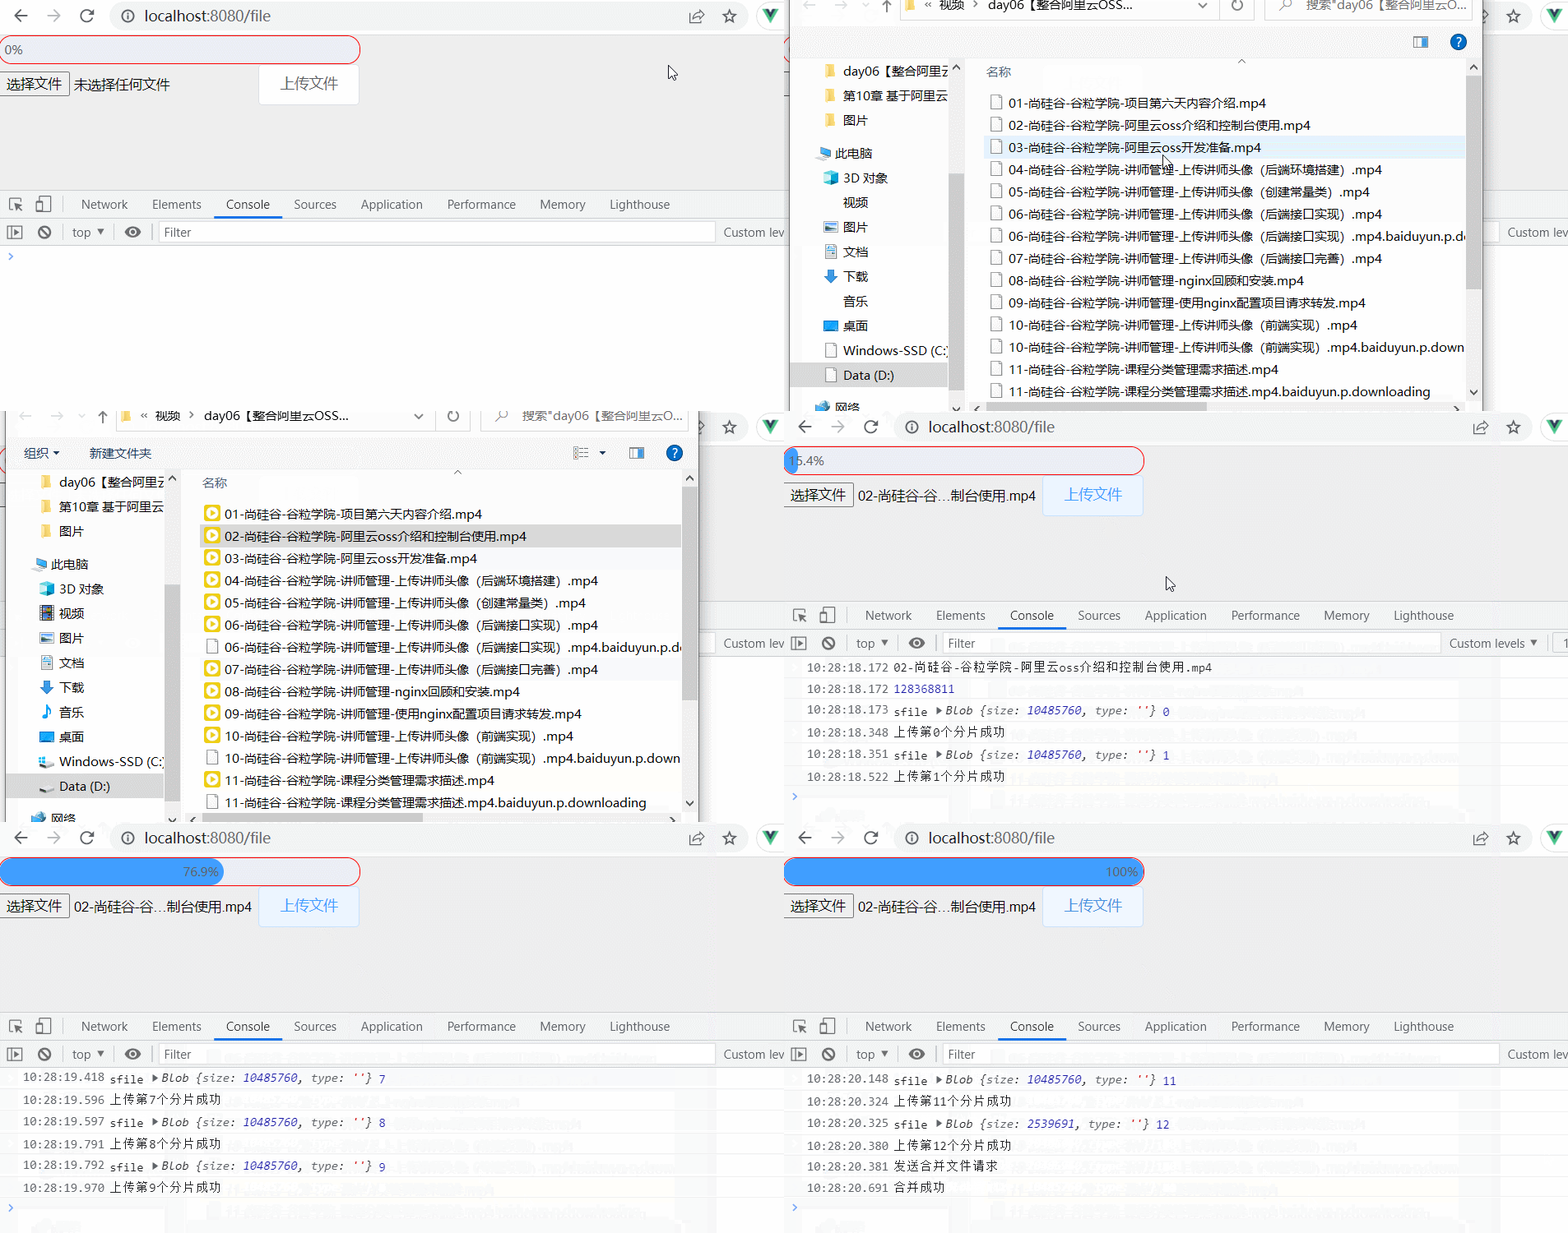
这里只是实现分片上传的功能。会存在传参可能不合理,应该让要根据文件内容来标识到这个文件。后面需要根据具体的设计来改代码。比如设计表记录文件的每一个上传分片的记录,这样就能直到当前文件上传到第几个分片了,加入上传过程中分片失败了,下次上传前,先查询下这个文件上传到第几个分片了,然后就从那个分片后面开始上传。当根据文件内容计算的md5值能够在后台查到的话,那就直接算作秒传。
前端代码
<template>
    <div>
        <el-progress :text-inside="true" :stroke-width="26" :percentage="percentage" style="width: 350px;border-radius: 13px;border: 1px solid red;">el-progress>
        <input type="file" ref="fileInputRef" />
        <el-button @click="uploadFile">上传文件el-button>
    div>
template>

<script>
import axios from 'axios'
export default {
    name: 'File',
    data() {
        return {
            // 进度条
            percentage: 0
        }
    },

    methods: {
        async uploadFile() {
            const { files } = this.$refs['fileInputRef']
            let file = files[0]
            console.log(file.name);

            let size = file.size
            console.log(size);

            // 3 -  (0  1  2)

            let chunkSize = 10 * 1024 * 1024 // 1个分片 10M
            let start = 0 // 上传的开始位置
            let index = 0 // 分片索引, 从0开始(0,1,2...)

            let totalFragmentCount = Math.ceil(size / chunkSize) // 总的分片数量

            while (true) {

                let end; // 当前分片的结束位置(不包括,开区间)

                if (start + chunkSize > size) { // 如果加上了一个分片大小,超出了文件的大小, 那么结束位置就是文件大小
                    end = size
                } else {
                    end = start + chunkSize // 如果加上了一个分片大小,没超出了文件的大小, 那么结束位置就是start加上分片大小
                }

                // 对file分片,分片完后, 给分片一个名字, 这个名字可以在后台获取为分片文件的真实名字
                let sfile = new File([file.slice(start, end)],`${file.name}-${index}`)

                // 上传完这个分片后, 再走下面的代码
                await this.uploadFragmentFile(sfile, index, file.name, totalFragmentCount)

                index++
                if (end == size) { // 检查是否传完了, 传完了的话, 就跳出循环
                    break
                }

                // 开始位置
                start = end
            }

            console.log('发送合并文件请求');
            this.mergeFragmentFile(file.name)

        },

        // 上传分片文件(将切分的分片文件上传)
        uploadFragmentFile(sfile, index, realFilename, totalFragmentCount) {
            return new Promise((resolve, reject) => {
                let formData = new FormData()
                formData.append('sFile', sfile)
                formData.append('index', index)
                formData.append('realFilename', realFilename)
                console.log('sfile', sfile, index);
                axios({
                    url: 'http://localhost:8083/file/uploadSliceFile',
                    method: 'post',
                    data: formData,
                    headers: {
                        'a': 'b'
                    }
                }).then(res => {
                    console.log(`上传第${index}个分片成功`);
                    this.percentage = parseFloat(((index + 1) / totalFragmentCount * 100).toFixed(1))
                    resolve()
                })
            })

        },

        // 合并分片文件(当所有分片上传成功之后, 发送合并分片的请求)
        mergeFragmentFile(realFilename) {
            axios({
                url: 'http://localhost:8083/file/mergeFragmentFile',
                method: 'post',
                params: { realFilename },
                headers: {
                    'a': 'b'
                }
            }).then(res => {
                console.log('合并成功');
            })
        }
    }
}
script>

<style>style>
后端代码
@PostMapping("uploadSliceFile")
public Object uploadSliceFile(@RequestParam("sFile")MultipartFile sFile,@RequestParam("realFilename") String realFilename, @RequestParam("index") Integer index) throws IOException {

    String md5 = DigestUtils.md5Hex(realFilename);
    System.out.println(realFilename);
    System.out.println(md5);
    System.out.println("分片名: " + sFile.getOriginalFilename());

    File dir = new File("d:/Projects/practice/test-springboot/src/main/resources/file/fragment/" + md5);
    if (!dir.exists()) {
        dir.mkdirs();
    }
    File sFileWithIndex = new File("d:/Projects/practice/test-springboot/src/main/resources/file/fragment/" + md5 + "/" + index);
    sFile.transferTo(sFileWithIndex);

    HashMap<String, Object> data = new HashMap<>();
    data.put("data", "ok");
    return data;
}

@PostMapping("mergeFragmentFile")
public Object mergeFragmentFile(@RequestParam String realFilename) throws IOException {

    System.out.println("-------开始合并文件");

    // 合并的文件
    RandomAccessFile raf = new RandomAccessFile("d:/Projects/practice/test-springboot/src/main/resources/file/" + realFilename, "rw");

    // 获取分片所在文件夹
    String md5 = DigestUtils.md5Hex(realFilename);
    System.out.println(realFilename);
    System.out.println(md5);
    File file = new File("d:/Projects/practice/test-springboot/src/main/resources/file/fragment/" + md5);
    File[] files = file.listFiles();
    int num = files.length;
    System.out.println(num);

    byte[] bytes = new byte[5 * 1024];

    // 合并分片
    for (int i = 0; i < num; i++) {
        File iFile = new File(file, String.valueOf(i));
        // 将每一个分片文件包装为缓冲流
        BufferedInputStream bis = new BufferedInputStream(new FileInputStream(iFile));
        int len = 0;
        // 将分片文件包装的流写入RandomAccessFile
        while ((len = bis.read(bytes)) != -1) {
            raf.write(bytes, 0, len);
        }
        bis.close();
    }

    // 删除分片所在文件夹的分片文件
    for (File tmpFile : files) {
        tmpFile.delete();
    }
    // 删除分片所在文件夹
    file.delete();

    raf.close();

    HashMap<String, Object> data = new HashMap<>();
    data.put("data", "ok");
    return data;
}
分片上传实现2
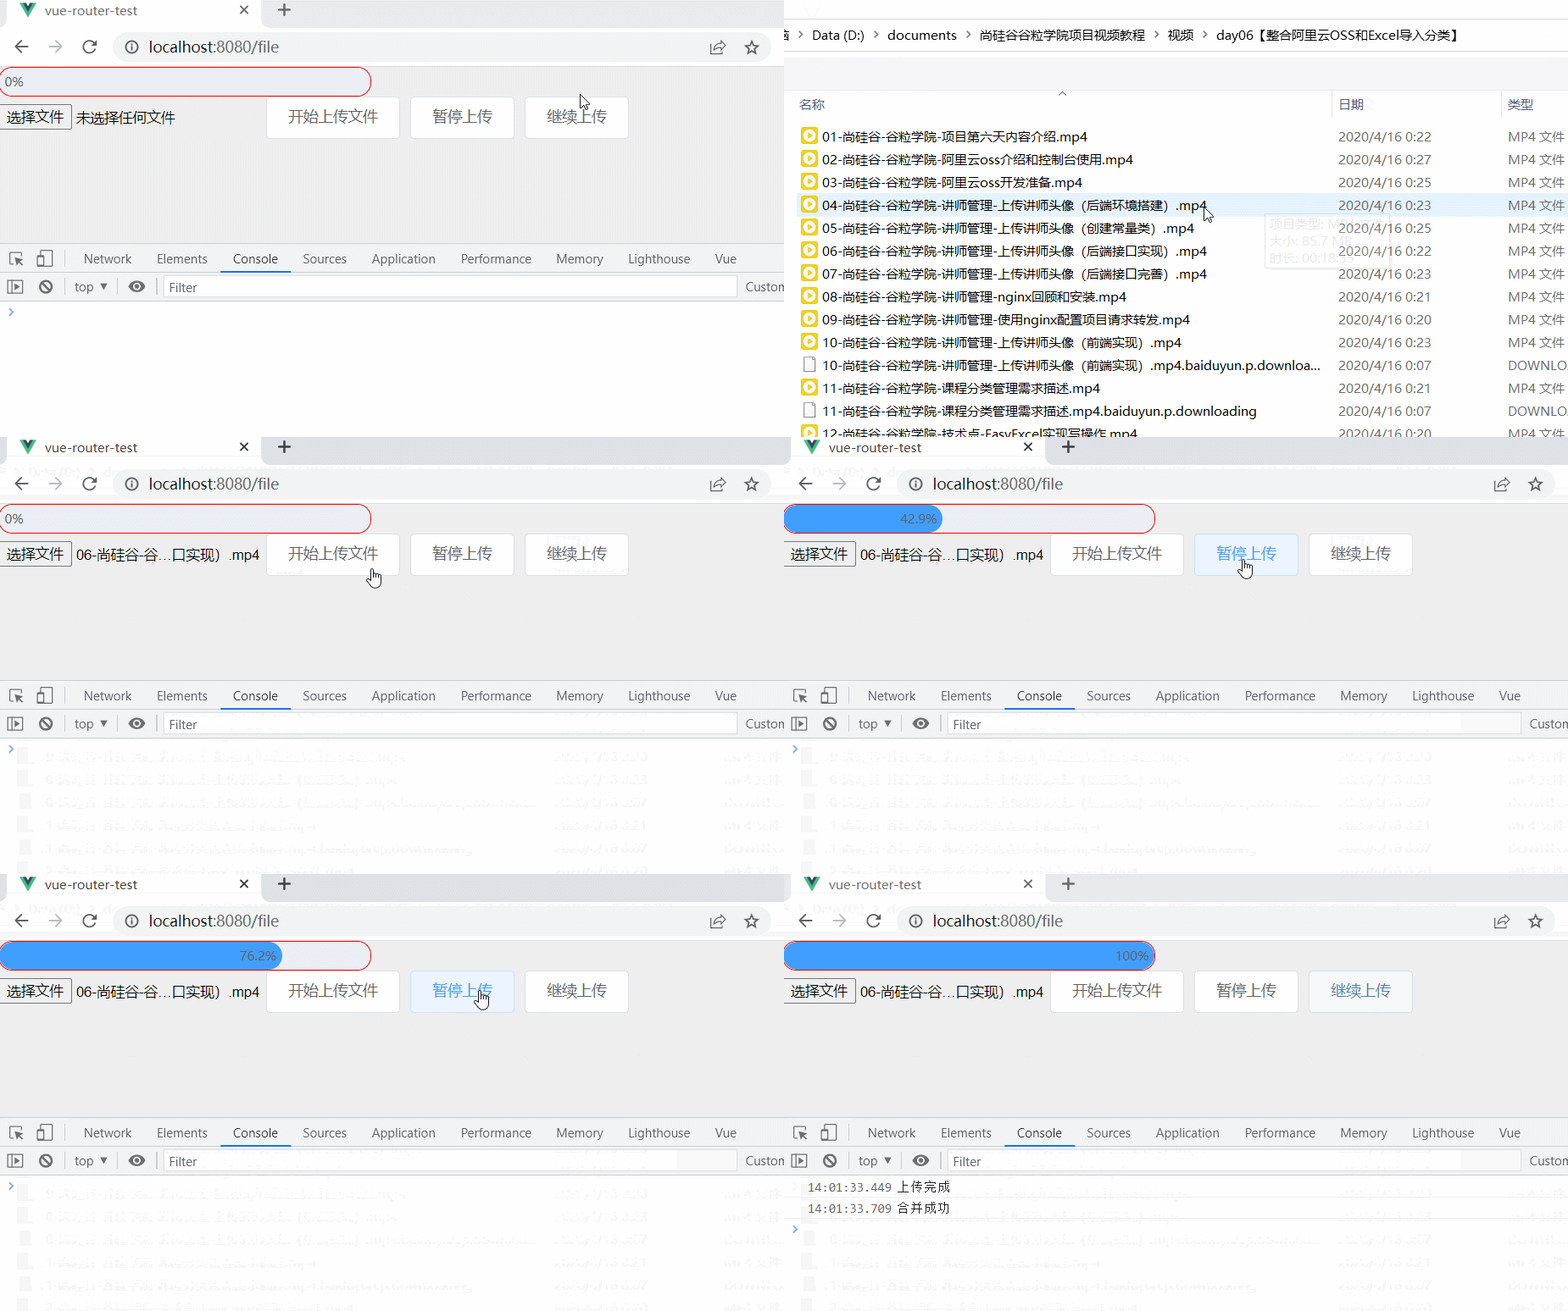
上面vue实现的分片上传,有些问题
- 只能把一个文件进行拆分了,然后一个个分片上传,这个上传过程不能中断,中断了的话,又得从头开始分片,这样前面上传完的分片就废了,
也就是不能从指定的分片开始上传。 - 也不能在上传的过程中,不支持暂停上传,继续上传。在某次上传过程中,停止上传,然后后端告诉前端从哪个分片开始上传。
- 将上面的while+asyn+await,改成递归上传
- 后端代码不变,主要修改前端代码,后面需要记录每个文件的分片上传到哪个分片了,然后在上传这个文件前,查询一下到哪个分片了,然后从指定的分片开始上传
前端代码
<template>
    <div>
        <el-progress :text-inside="true" :stroke-width="26" :percentage="percentage"
            style="width: 350px;border-radius: 13px;border: 1px solid red;">el-progress>
        <input type="file" ref="fileInputRef" />
        <el-button @click="uploadFile">开始上传文件el-button>
        <el-button @click="stopUpload">暂停上传el-button>
        <el-button @click="countinueUpload">继续上传el-button>
    div>
template>

<script>
import axios from 'axios'
export default {
    name: 'File',
    data() {
        return {
            // 进度条
            percentage: 0,
            // 已上传完成的分片索引
            index: -1,
            // 是否暂停上传
            isStop: false
        }
    },

    methods: {
        // 停止上传
        stopUpload() {
            this.isStop = true
        },
        // 继续上传
        countinueUpload() {
            this.isStop = false
            this.uploadFileFromIndex(++this.index)
        },
        // 上传
        uploadFile() {
            this.uploadFileFromIndex(0)
        },

        // 从第几个分片开始上传(index从0开始算,index=0算作第一个分片)
        uploadFileFromIndex(index) {

            let _this = this

            const { files } = this.$refs['fileInputRef']
            let file = files[0]

            let chunkSize = 5 * 1024 * 1024 // 分片大小 10M
            let chunkTotalCount = Math.ceil(file.size / chunkSize) // 分片总数
            // debugger

            uploadSliceFile(index)

            // 上传指定索引的分片文件
            function uploadSliceFile(idx) {

                if (idx >= chunkTotalCount) {
                    console.log('文件已上传完成...');
                    return
                }

                // 分片开始位置
                let start = idx * chunkSize
                // 分片结束位置
                let end = (start + chunkSize) > file.size ? file.size : start + chunkSize
                // 对文件分片
                let sFile = new File([file.slice(start, end)], `${file.name}.${idx}`)

                let formData = new FormData()
                formData.append('sFile', sFile)
                formData.append('realFilename', file.name)
                formData.append('index', idx)

                axios({
                    url: 'http://localhost:8083/file/uploadSliceFile',
                    method: 'post',
                    data: formData,
                    headers: {
                        'a': 'b'
                    }
                }).then(res => {
                    if (idx === chunkTotalCount - 1) {
                        // 已经上传完了最后一个分片
                        console.log('上传完成');
                        // 记录已完成的分片索引
                        _this.index = idx
                        _this.percentage = 100
                        // 发送合并文件请求
                        mergeFragmentFile(file.name)
                    } else {

                        // 上传完成指定索引的分片之后, 更新文件上传进度
                        _this.percentage = parseFloat(((idx + 1) / chunkTotalCount * 100).toFixed(1))

                        // 记录已完成的分片索引
                        _this.index = idx

                        if (!_this.isStop) {
                            // 如果没有点击暂停的话, 再上传下一个索引的分片
                            uploadSliceFile(++idx)
                        }
                    }

                })
            }

            // 发送合并分片文件请求
            function mergeFragmentFile(realFilename) {
                axios({
                    url: 'http://localhost:8083/file/mergeFragmentFile',
                    method: 'post',
                    params: { realFilename },
                    headers: {
                        'a': 'b'
                    }
                }).then(res => {
                    console.log('合并成功');
                })
            }

        }


    }
}
script>

<style>style>

