1、springcloud环境搭建
目录
1、创建一个父项目
编辑 2、创建子项目
2.1创建订单系统-order
编辑 2.2创建库存系统-stock
3、创建rest服务
3.1添加web依赖
3.2编写controller
3.3订单中需要调用库存中的扣减库存的接口
通过idea开发工具进行搭建
1、创建一个父项目
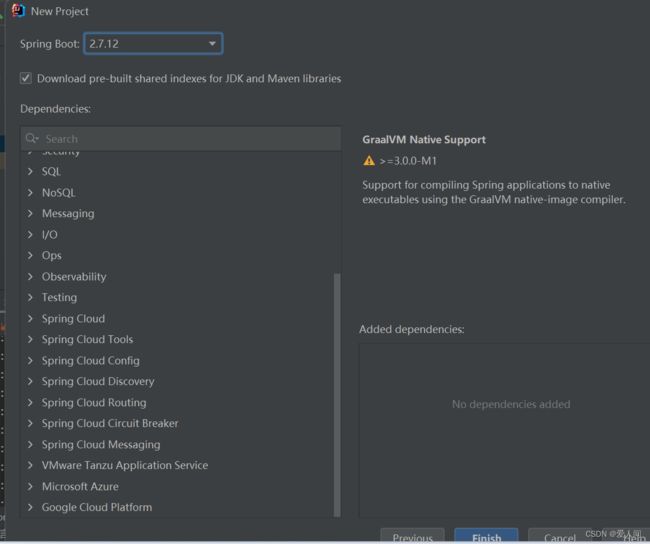
通过spring initializr的方式进行创建,packaging的方式应该是pom的形式,父项目最终不需要打包,由于没有这个pom的选项,咱们生成之后进行修改即可。
springboot的版本先随便选一个。
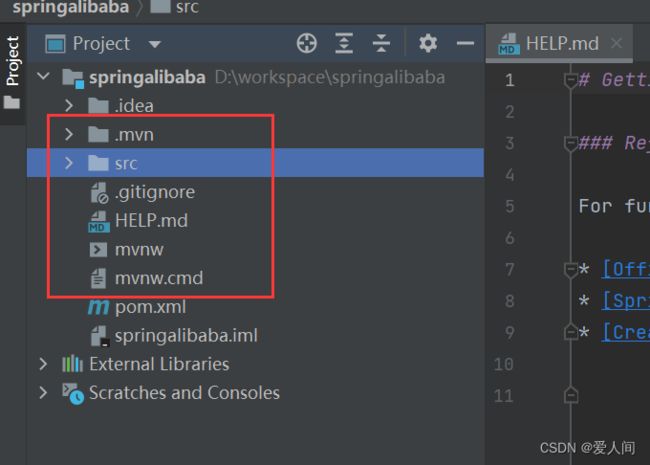
将下边红框框住的部分删除掉,父项目用不着这些
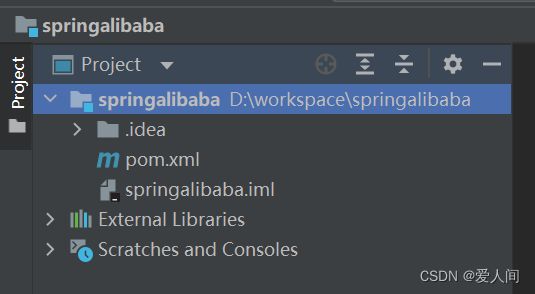
删除后如下:
打开pom.xml,加上packaging标签, 当我们通过mvn packaging打包的时候,这个父项目就不会打成jar包了,只会打包我们的子maven项目,如下:
 2、创建子项目
2.1创建订单系统-order
module通过maven创建,如下:
maven会自动继承父maven项目如下:
项目命名为order,生成项目如下:
打开pom.xml发现自动继承了父项目,如下:
同时在父项目的pom.xml中也存在了子项目模块,如下:
 2.2创建库存系统-stock
和订单创建同样的方式创建库存系统,创建后如下:
3、创建rest服务
3.1添加web依赖
让订单系统去调用库存系统接口,这个就得用到web依赖,在stock和order的pom.xml中都要添加web的依赖,如下:
这个不用添加version了,因为在父项目中有springboot的依赖,里面都有对应的版本。
3.2编写controller
订单中编写:
package com.chinasofti.order.controller;

import org.springframework.web.bind.annotation.RequestMapping;
import org.springframework.web.bind.annotation.RestController;

/**
 * @Author mxx
 * @Date 2023/6/12 16:44
 * @Version 1.0
 */
@RestController
@RequestMapping("/order")
public class OrderController {
    @RequestMapping("/add")
    public String add(){
        System.out.println("下单成功");
        return "Hello World!";
    }
}
库存中编写:
package com.chinasofti.stock.controller;

import org.springframework.web.bind.annotation.RequestMapping;
import org.springframework.web.bind.annotation.RestController;

/**
 * @Author mxx
 * @Date 2023/6/12 16:48
 * @Version 1.0
 */
@RestController
@RequestMapping("/stock")
public class StockController {
    @RequestMapping("/reduct")
    public String reduct(){
        System.out.println("扣减库存");
        return "扣减库存";
    }
}
3.3订单中需要调用库存中的扣减库存的接口
在springboot之前我们是通过HttpClient实现接口的调用,在springboot中我们通过RestTemplate实现接口的调用,在使用之前呢,我们需要对RestTemplate进行配置。
我们在启动类中对RestTemplate进行配置吧,大家都知道启动类也是配置类。如下:
创建OrderApplication启动类, 同时将RestTemplate配置进来。
package com.chinasofti.order;
import org.springframework.boot.SpringApplication;
import org.springframework.boot.autoconfigure.SpringBootApplication;
import org.springframework.boot.web.client.RestTemplateBuilder;
import org.springframework.context.annotation.Bean;
import org.springframework.web.client.RestTemplate;

/**
 * @Author mxx
 * @Date 2023/6/12 16:55
 * @Version 1.0
 */
@SpringBootApplication
public class OrderApplication {
    public static void main(String[] args) {
        SpringApplication.run(OrderApplication.class,args);
    }
    @Bean
    public RestTemplate restTemplate(RestTemplateBuilder builder){
        RestTemplate restTemplate =  builder.build();
        return restTemplate;
    }
}
同样在库存中也创建启动类:
package com.chinasofti.stock;
import org.springframework.boot.SpringApplication;
import org.springframework.boot.autoconfigure.SpringBootApplication;
/**
 * @Author mxx
 * @Date 2023/6/12 16:58
 * @Version 1.0
 */
@SpringBootApplication
public class StockApplication {
    public static void main(String[] args) {
        SpringApplication.run(StockApplication.class,args);
    }
}
创建yml文件:订单的如下:
库存的如下:
然后修改订单的controller通过RestTemplate调用库存接口如下:
package com.chinasofti.order.controller;

import org.springframework.beans.factory.annotation.Autowired;
import org.springframework.web.bind.annotation.RequestMapping;
import org.springframework.web.bind.annotation.RestController;
import org.springframework.web.client.RestTemplate;

/**
 * @Author mxx
 * @Date 2023/6/12 16:44
 * @Version 1.0
 */
@RestController
@RequestMapping("/order")
public class OrderController {
    @Autowired
    RestTemplate restTemplate;
    @RequestMapping("/add")
    public String add(){
        System.out.println("下单成功");
        String msg=restTemplate.getForObject("http://localost:8011/stock/reduct",String.class);
        return "Hello World!"+msg;
    }
}
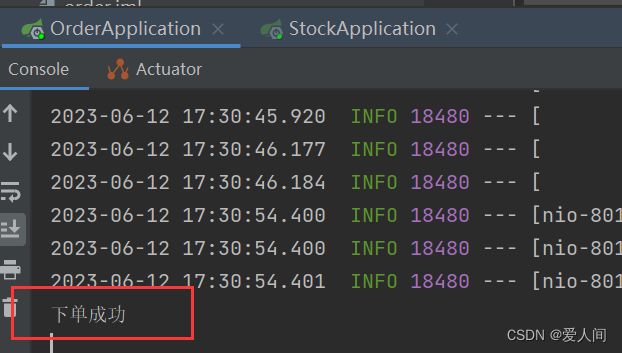
咱们启动下订单系统和库存系统,启动成功后,访问订单系统:
http://localhost:8010/order/add
可以看到,订单系统访问库存系统成功了。
但是咱们应该也发现一个问题,请求路径写在类中,如果要修改,或者水平扩展了,多个服务,去修改和加相应的地址会非常麻烦的,所以,接下来咱们引入注册中心。


