ubuntu opencv-python gstreamer rtsp
python读取rtsp码流一般为
import cv2

url = "rtsp://**********************"

cap = cv2.VideoCapture(url)
while True:
    ret, frame = cap.read()
    cv2.imshow("frame", frame)
    if cv2.waitKey(1) & 0xFF == ord("q"):
        break
但这个方式一般比较慢,有时甚至超过一秒。
另一种方式就是gstreamer进行拉流
本机环境:
ubuntu22 python==3.10 opencv ==4.8.0
下载安装anaconda,创建虚拟环境
conda create -n torch python==3.10
conda activate torch
Installing on Linux
激活虚拟环境,再按照gstreamer官网方式安装gstreamer
apt-get install libgstreamer1.0-dev libgstreamer-plugins-base1.0-dev libgstreamer-plugins-bad1.0-dev gstreamer1.0-plugins-base gstreamer1.0-plugins-good gstreamer1.0-plugins-bad gstreamer1.0-plugins-ugly gstreamer1.0-libav gstreamer1.0-tools gstreamer1.0-x gstreamer1.0-alsa gstreamer1.0-gl gstreamer1.0-gtk3 gstreamer1.0-qt5 gstreamer1.0-pulseaudio验证
gst-inspect-1.0 fakesrc/home/tuya/图片/截图/截图 2023-07-07 18-50-20.png
gst-launch-1.0 -v fakesrc silent=false num-buffers=3 ! fakesink silent=false 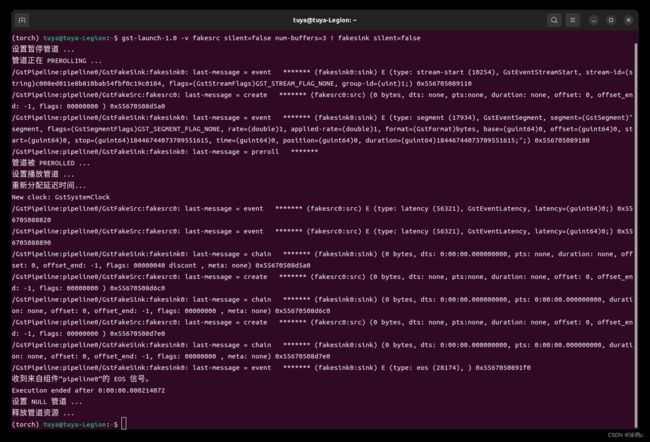
gst-launch-1.0 videotestsrc ! videoconvert ! autovideosink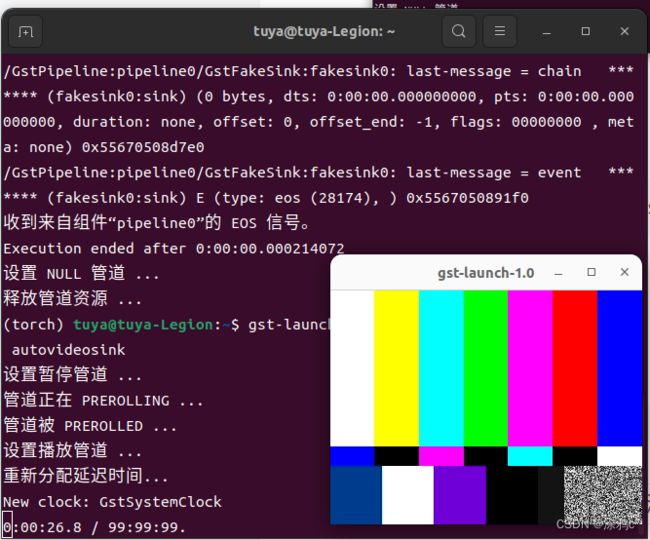
# 更新python相关依赖
python3 -m pip install --upgrade pip
python3 -m pip install --upgrade setuptools
python3 -m pip install --upgrade wheel
# 这一步很重要,如果不安装,会导致opencv源码编译中出现问题
python3 -m pip install numpy
Releases - OpenCV下载opencv4.8 source源码
解压文件,并进入目录
mkdir build
cd build/
cmake -D CMAKE_BUILD_TYPE=RELEASE \
-D INSTALL_PYTHON_EXAMPLES=ON \
-D INSTALL_C_EXAMPLES=OFF \
-D PYTHON_EXECUTABLE=$(which python3) \
-D BUILD_opencv_python2=OFF \
-D CMAKE_INSTALL_PREFIX=$(python3 -c "import sys; print(sys.prefix)") \
-D PYTHON3_EXECUTABLE=$(which python3) \
-D PYTHON3_INCLUDE_DIR=$(python3 -c "from distutils.sysconfig import get_python_inc; print(get_python_inc())") \
-D PYTHON3_PACKAGES_PATH=$(python3 -c "from distutils.sysconfig import get_python_lib; print(get_python_lib())") \
-D WITH_GSTREAMER=ON \
-D BUILD_opencv_python3=yes \
-D BUILD_EXAMPLES=ON \
..
如果之前已经安装过opencv的话需要将原来直接pip安装的opencv卸载掉
下面执行编译
# 编译
sudo make -j$(nproc)
# 执行安装
sudo make install
# 更新config
sudo ldconfig
# 使用下面的执行查看,看到的应该和上面截图中cmake显示的一样,如果GStreamer为YES,则说明编译成功了
python3 -c "import cv2; print(cv2.getBuildInformation())"
测试代码,查看使用gstreamer的视频进行拉流
import cv2
image_width = 1920
image_height = 1080
rtsp_latency = 10
uri = "rtsp://admin:123456@192.168.3.64:554/Streaming/Channels/1"
gst_str = ("rtspsrc location={} latency={} ! rtph264depay ! avdec_h264 ! videorate ! videoconvert ! appsink sync=false").format(uri, rtsp_latency)
print(f'use gstream {gst_str}')
cap = cv2.VideoCapture(gst_str, cv2.CAP_GSTREAMER)
while True:
    ret, frame = cap.read()
    cv2.imshow("frame", frame)
    if cv2.waitKey(1) & 0xFF == ord("q"):
        break
分别报了两个错误,按照提示即可
ImportError: /home/tuya/miniconda3/envs/ros2/bin/../lib/libstdc++.so.6: version `GLIBCXX_3.4.30' not found (required by /opt/ros/humble/local/lib/python3.10/dist-packages/rclpy/_rclpy_pybind11.cpython-310-x86_64-linux-gnu.so)
strings /usr/lib/x86_64-linux-gnu/libstdc++.so.6 | grep GLIBCXX_3.4.30
GLIBCXX_3.4.30
删除掉原来的软链接,重新创建软链接重新指向
ln -s /usr/lib/x86_64-linux-gnu/libstdc++.so.6 /home/tuya/miniconda3/envs/ros2/lib/libstdc++.so.6
/home/tuya/图片/截图/截图 2023-07-07 16-43-25.png

相机延迟一般在200ms到300ms