Qt多线程之-moveToThread(附demo)
在最初学习Qt的多线程时,我们往往接触到的是创建一个继承于 QThread 的类,重写run()函数,并使用start()方法间接调用 run() 函数启动线程;从Qt 4.4开始,Qt官方推出了新的线程使用方式,并推荐使用该方式;
直接继承QThread并重写run函数的方式较为方便简洁,缺点是只有run函数运行在子线程,适合单一的任务;
moveToThread的方式必须通过信号槽机制调用函数,相对于继承QThread而言较为复杂,但是所有的函数都运行在子线程中,如何选择还需根据实际需求。
下面对moveToThread的使用进行简单的演示:
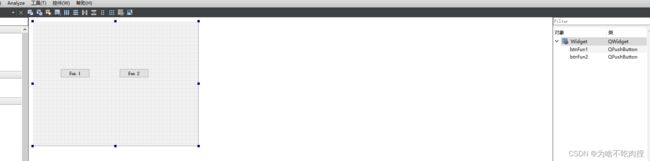
1.首先创建一个Qt工程,并添加线程类
右键工程,添加一个继承于 QObject 的类(我这里叫 MoveThread),并在主线程的头文件中添加QThread 和 新类的头文件;

#include 2.MoveThread 类中添加槽函数
#ifndef MOVETHREAD_H
#define MOVETHREAD_H
#include 简单实现,打印当前线程id
#include "movethread.h"
#include 3.主线程类中添加成员MoveThread与 QThread 成员(我这里使用指针)
#ifndef WIDGET_H
#define WIDGET_H
#include 4.打开设计师界面,添加两个button,用于触发两个槽函数
5.在主窗口的构造函数中为MoveThread 和QThread 成员申请空间,调用moveToThread,直接启动线程,并打印主线程号,上一步骤中添加的两个按钮分别绑定 MoveThread 中的两个槽函数
#include "widget.h"
#include "ui_widget.h"
#include 注意,此处 thread 指定了父对象,moveThread 不能指定父对象,否则会导致线程方法仍在主线程;
由于MoveThread没有指定父对象,所以不要忘记手动管理内存,在主线程的析构函数中处理
Widget::~Widget()
{
    delete ui;
    if(thread->isRunning())
    {
        thread->quit();
        thread->wait();
    }
    if(moveThread)
    {
        delete moveThread;
        moveThread = nullptr;
    }
}
6.运行,分别点击两个按钮,输出如下
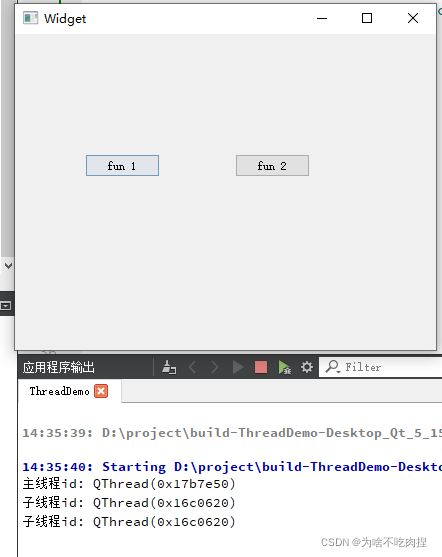
可以看到, 两个槽函数都运行在子线程。
附完整demo:ThreadDemo