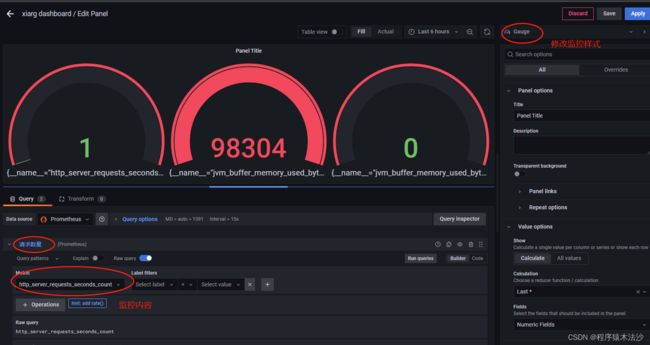
一个很神奇的监控系统-Springboot+Prometheus+Grafana
一、概况:
SpringBoot项目的监控解决方案很多,各种各样,琳琅满目,但是我目前发现的解决方案中,Springboot+Prometheus+Grafana是一个非常优秀方案之一。此方案三者关系是:SpringBoot暴露指标,Prometheus负责收集,Grafana负责可视化监控和报警。
二、首先你需要一个SpringBoot项目:
1、创建SpringBoot项目的视频和指导有很多,不在此赘述,提供下pom依赖:
            org.springframework.boot
            spring-boot-starter-web


            org.springframework.boot
            spring-boot-starter-actuator


            io.micrometer
            micrometer-registry-prometheus
            runtime


            cn.hutool
            hutool-all
            5.8.5


            org.projectlombok
            lombok
            true


            org.apache.commons
            commons-lang3


            org.springframework.boot
            spring-boot-starter-test
            test


                org.springframework.boot
                spring-boot-maven-plugin


                            org.projectlombok
                            lombok
2、yml配置文件:
server:
  port: 8081

spring:
  application:
    name: monitor-system
management:
  endpoints:
    web:
      exposure:
        include: "*"
  server:
    port: 9091
  metrics:
    export:
      prometheus:
        enabled: true
    tags:
      application: ${spring.application.name}
3、测试用的Controller:
@Slf4j
@RestController
public class PrometheusController {

    private static Logger logger = LoggerFactory.getLogger(SpringBootPrometheusGrafanaApplication.class);

    private Random random = new Random();

    public static final Map map = new ConcurrentHashMap<>();

    @Value("${spring.application.name}")
    private String applicationName;

    /**
     * 接口调用演示接口
     * @return
     */
    @GetMapping("hello")
    public String hello() {
        logger.info("name=[{}]",applicationName);
        int sleep = random.nextInt(200);
        try {
            Thread.sleep(sleep);
        } catch (InterruptedException e) {
            e.printStackTrace();
        }
        return "hello sleep: " + sleep + " for " + applicationName;
    }
    /**
     * 内存溢出演示接口
     * @return
     */
    @GetMapping("/heap")
    public String testHeapUsed() {
        for (int i = 0; i < 10000000; i++) {
            map.put(i + "", new Object());
        }
        return "ok";
    }
}
4、Metrics 配置:
@Configuration
public class MetricsConfig {

    /**
     * 注册
     */
    @Bean
    MeterRegistryCustomizer configurer(@Value("${spring.application.name}") String applicationName) {
        return (registry) -> registry.config().commonTags("application", applicationName);
    }

}
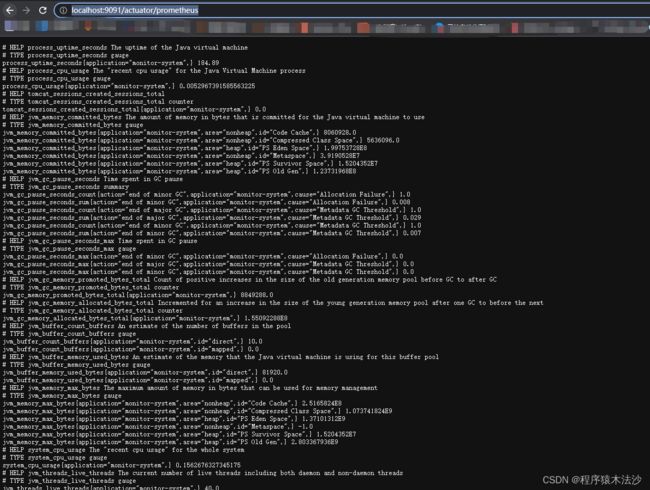
5、访问Metrics信息:http://localhost:9091/actuator/prometheus
三、Prometheus配置
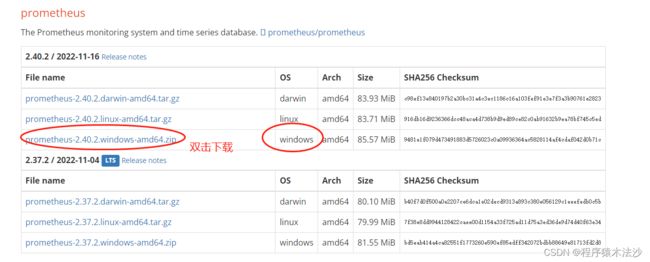
1、官网指定下载包: Download | Prometheus
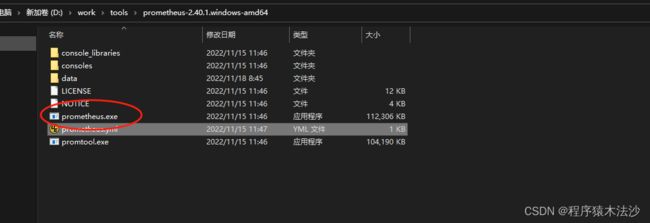
2、接入。到下图文件夹路径下,找到 prometheus.yml 。
# my global config
global:
  scrape_interval: 15s # Set the scrape interval to every 15 seconds. Default is every 1 minute.
  evaluation_interval: 15s # Evaluate rules every 15 seconds. The default is every 1 minute.
  # scrape_timeout is set to the global default (10s).

# Alertmanager configuration
alerting:
  alertmanagers:
    - static_configs:
        - targets:
          # - alertmanager:9093

# Load rules once and periodically evaluate them according to the global 'evaluation_interval'.
rule_files:
  # - "first_rules.yml"
  # - "second_rules.yml"

# A scrape configuration containing exactly one endpoint to scrape:
# Here it's Prometheus itself.
scrape_configs:
  # The job name is added as a label `job=` to any timeseries scraped from this config.
  - job_name: "prometheus"

    # metrics_path defaults to '/metrics'
    metrics_path: '/actuator/prometheus'
    # scheme defaults to 'http'.

    static_configs:
      - targets: ['localhost:9091']
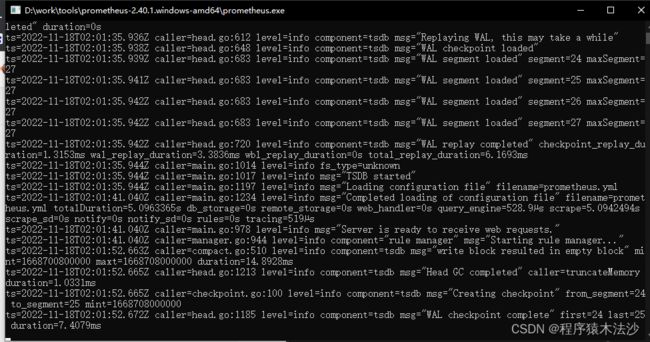
3、启动 Prometheus 服务
4、访问 Prometheus 监控服务
访问地址:http://localhost:9090/
第一次查看,http_server_requests_seconds_count,上图的应该是 empty 显示未空,当我用postman 调用一次 /hello 接口,在点击 Execute,发现次数变成了1.说明我们成功抓取了/hello接口调用的调用数据信息。
此页面还可以看到我们监控的服务信息
四、Grafana 配置
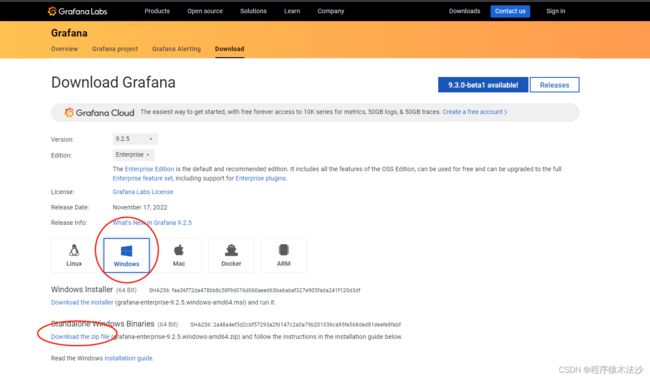
1、下载地址:Download Grafana | Grafana Labs
2、启动
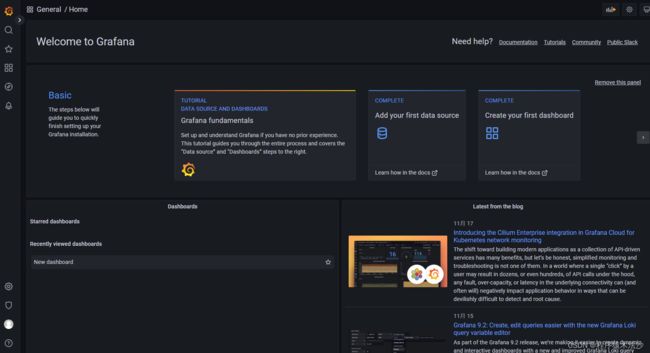
找到解压后的路径,找到 grafana-server.exe ,点击启动。
设置数据源
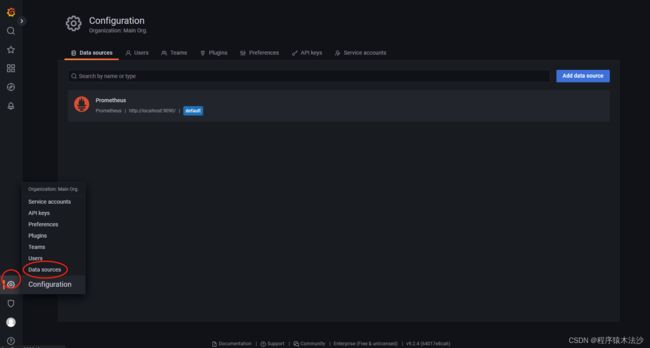 上面的 prometheus 就是默认的,我们如果测试用这个就可以,也可以自己创建一个。
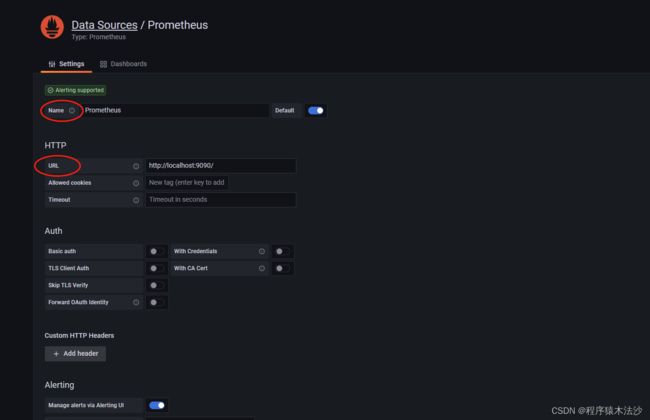
打开之后
这里面有我们最关心的,name和url。这里面我们也可以不用改,因为url就是我们的地址。
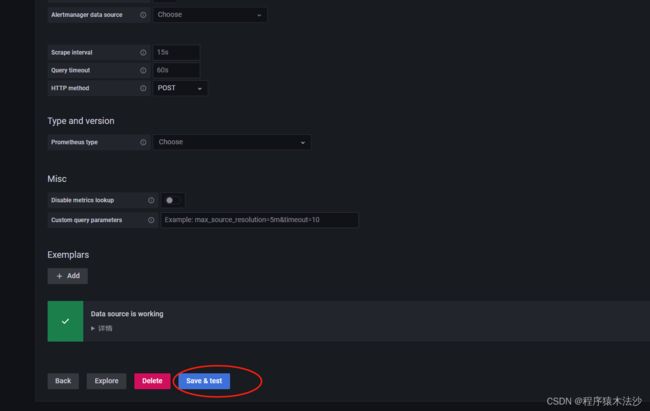
滑到最下面,点击 Save & test 保存
这样我们就实现了简单的监控。如果想要详细的了解监控具体使用和操作可以移步:
https://blog.csdn.net/bbwangj/article/details/81109615 进行学习。
至此,一个(Springboot+Prometheus+Grafana)监控系统构建完毕。
