千万级别数据查询优化
首先建表
CREATE TABLE `student` (
 `id` int(10) unsigned NOT NULL AUTO_INCREMENT,
 `name` varchar(10) NOT NULL COMMENT '姓名',
 `age`  int(10) unsigned NOT NULL COMMENT '岁数',
 PRIMARY KEY (`id`),
 KEY `age` (`age`)
) ENGINE=InnoDB DEFAULT CHARSET=utf8;
插入数据(时间可能较久,耐心等待)
@Slf4j
public class InsertTest {

@Test
void test1() throws ClassNotFoundException, SQLException {
    final String url = "jdbc:mysql://127.0.0.1:3306/ssy_cloud?useUnicode=true&useJDBCCompliantTimezoneShift=true&useLegacyDatetimeCode=false&serverTimezone=UTC";
    final String name = "com.mysql.cj.jdbc.Driver";
    final String user = "root";
    final String password = "admin";
    Connection conn = null;
    //指定连接类型
    Class.forName(name);
    //获取连接
    conn = DriverManager.getConnection(url, user, password);
    if (conn != null) {
        log.info("获取连接成功");
        //插入操作
        batchInsert(conn);
    } else {
        log.error("获取连接失败");
    }

}
public static void batchInsert(Connection conn) {
    // 开始时间
    Long begin = System.currentTimeMillis();
    // sql前缀
    String sqlPrefix = "INSERT INTO student (name, age) VALUES ";
    try {
        // 保存sql后缀
        StringBuffer sqlSuffix = new StringBuffer();
        // 设置事务为非自动提交
        conn.setAutoCommit(false);
        //准备执行语句
        PreparedStatement pst = (PreparedStatement) conn.prepareStatement(" ");
        // 外层循环,总提交事务次数
        for (int i = 1; i <= 100; i++) {
            sqlSuffix = new StringBuffer();
            // 第j次提交步长
            for (int j = 1; j <= 100000; j++) {
                // 构建SQL后缀
                sqlSuffix.append("('" + "cxx" + j + "'," + 1 + "),");
            }
            // 构建完整SQL
            String sql = sqlPrefix + sqlSuffix.substring(0, sqlSuffix.length() - 1);
            // 添加执行SQL
            pst.addBatch(sql);
            // 执行操作
            pst.executeBatch();
            // 提交事务
            conn.commit();
            // 清空上一次添加的数据
            sqlSuffix = new StringBuffer();
        }
        // 头等连接
        pst.close();
        conn.close();
    } catch (SQLException e) {
        e.printStackTrace();
    }
    // 结束时间
    Long end = System.currentTimeMillis();
    // 耗时
    log.info("1000万条数据插入花费时间 : " + (end - begin)  + "ms");
    log.info("插入完成");
}
}
测试查询数据
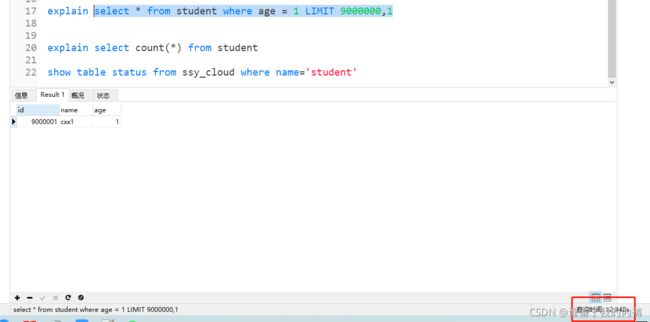
select * from student where age = 1 LIMIT 9000000,1
1、更换引擎
(我是用的主从数据库,主从数据自动同步,更改从库引擎为MyISAM)
show table status from ssy_cloud where name=‘student’

查看下执行计划
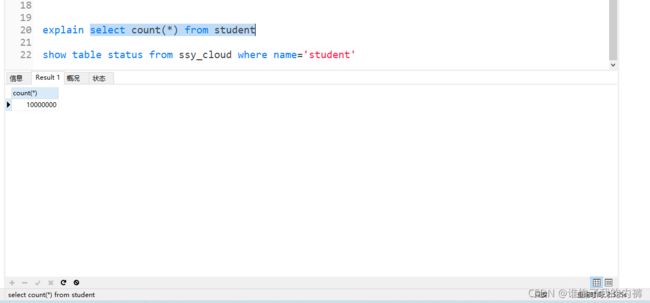
select count(*) from student
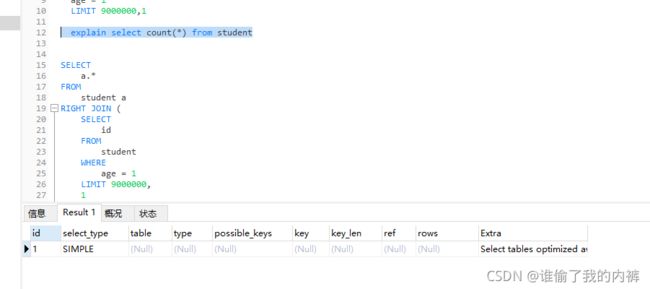
explain select count(*) from student
ALTER TABLE student ENGINE = “MyISAM”;
show table status from ssy_cloud where name=‘student’
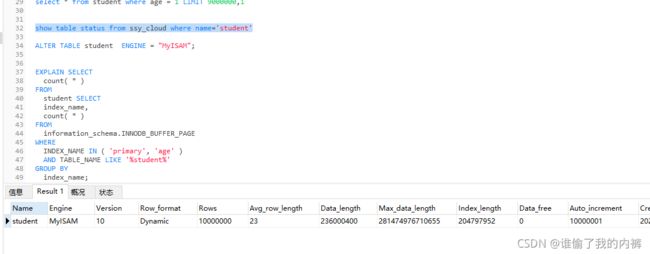
MyISAM引擎数据查询
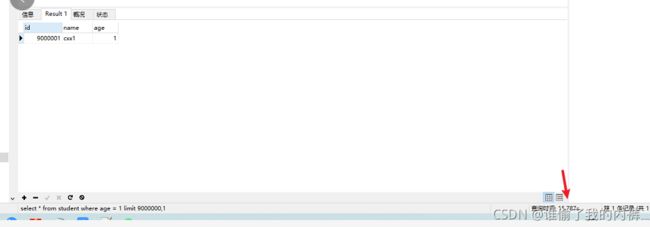
select * from student where age = 1 LIMIT 9000000,1
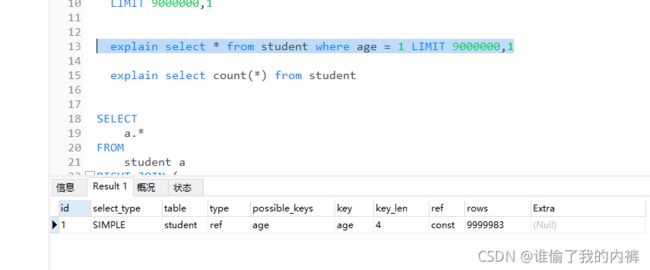
查看下执行计划
select count(*) from student
explain select count(*) from student
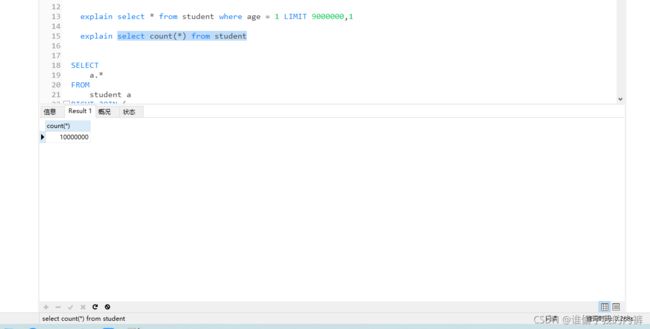
发现更换引擎后 执行计划select count(*) from student查询的row为null,因为MyISAM中会记录表的最大行数,其他查询row并没有减少,时间也差距不大。
2、尝试减少回表
select * from student where age = 1 LIMIT 9000000,1
该sql会找出9000000后1条数据,然后舍弃前9000000条
首先观察sql查询条件,查询age为1的第9000000后1条数据,查询顺序==》
1、查出所有age=1的age和其主键值(id)
2、再根据查到的id找到相应的数据。
时间消耗就在第二部,所以可以有如下优化
SELECT id,age FROM student WHERE age = 1 LIMIT 9000000, 1
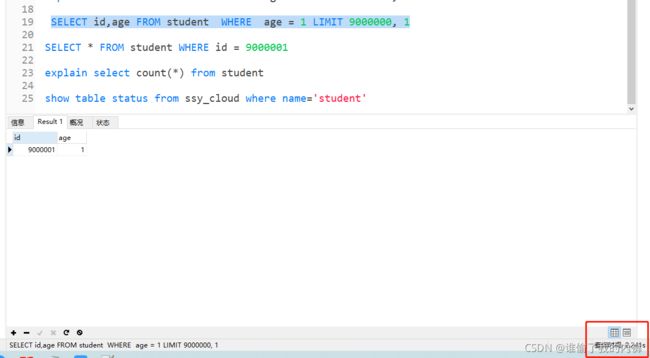
SELECT * FROM student WHERE id = 9000001
(id in ids 查询出来的十条数据)

或
SELECT
a.*
FROM
student a
RIGHT JOIN (
SELECT
id
FROM
student
WHERE
age = 1
LIMIT 9000000,
1
) t ON a.id = t.id
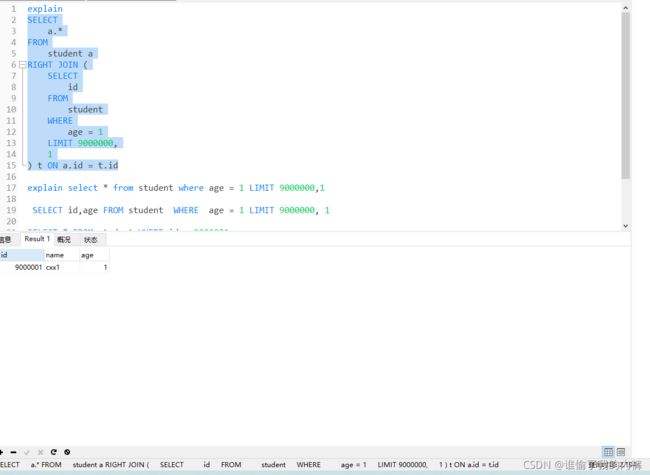
select * from student where age = 1 LIMIT 9000000,1
减少回表还可以这样写
select * from student a where a.age = 1 and a.id >= (select id from student where a.age = 1 order by id limit 9000000,1)
order by a.id limit 1;
3、尝试修改该sql分页
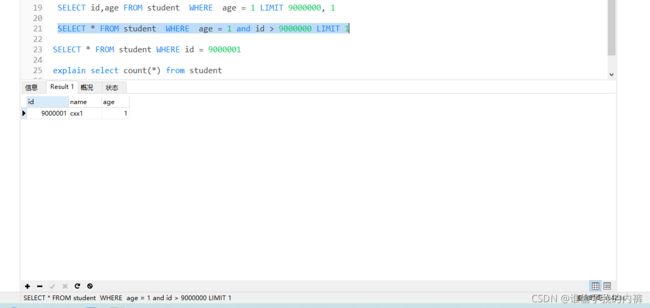
记录上一次查询查询的最大值(仅限于翻下一页,可在表中设置sort,用排序代替id)
SELECT * FROM student WHERE age = 1 and id > 9000000 LIMIT 1
4、倒叙查询
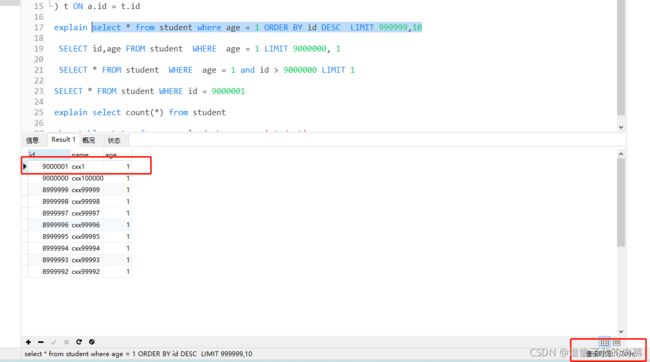
在第二点已经知道该查询为什么慢,因为前面查询的9000000条数据都是垃圾数据,我们可以先折半,然后根据分页的前5000000正序查询,后5000000倒叙查询,修改限制条件中的offset即可
select * from student where age = 1 ORDER BY id DESC LIMIT 999999,10
参考文章:
https://blog.csdn.net/zzti_erlie/article/details/105902012
https://blog.csdn.net/u014532775/article/details/107035489


