Vue3.X 路由与导航栏、侧边栏(四)
我们接着上一节的 Vue3.x 生命周期(三) 的说明,我们这一节讲解了项目中路由的配置与导航栏、侧边栏的关系。
一、路由配置
vue项目中路由配置有一个固有文件夹,可以配置路由,这样的优点使项目更加清晰明了。
如图:
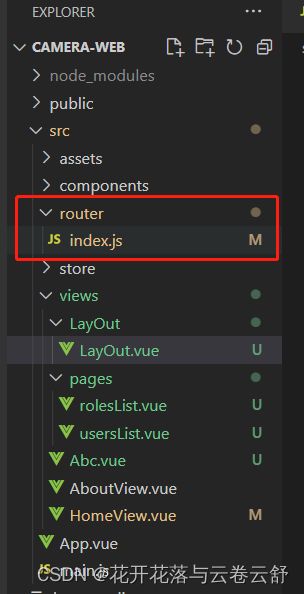
路由文件 index.js 的内容,这里原有是Hash路由配置,就是我们平常看到的路由有 “#” ,这里我们修改为原始路由。这里只需引入 createWebHistory , 然后再路由对象router中修改为 createWebHistory() , 如框图所示。

index.js 完整文件
import { createRouter, createWebHashHistory, createWebHistory } from 'vue-router'
import HomeView from '../views/HomeView.vue'


const routes = [
  {
    path: '/',
    name: 'home',
    component: HomeView
  },
  {
    path: '/about',
    name: 'about',
    // route level code-splitting
    // this generates a separate chunk (about.[hash].js) for this route
    // which is lazy-loaded when the route is visited.
    component: () => import(/* webpackChunkName: "about" */ '../views/AboutView.vue')
  }
]

const router = createRouter({
  history: createWebHistory(),
  routes
})
路由中输入:http://127.0.0.1:8080/about 效果如下:

二、导航栏与侧边栏
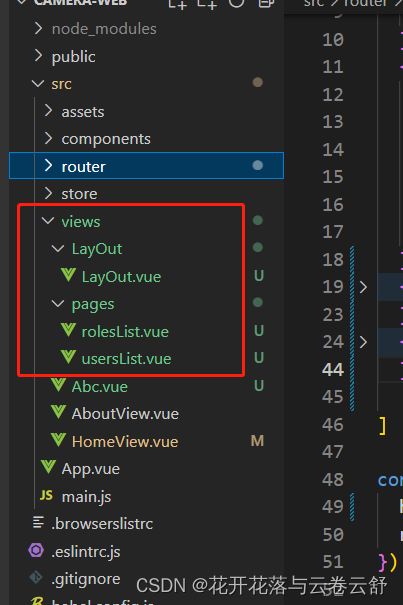
我们先建立主页面和子页面,主页面:LayOut/LayOut.vue 子页面:pages/rolesList.vue 和 pages/usersList.vue , 如图:
LayOut.vue 代码:
我是导肮
角色列表
用户列表
我是侧边栏
rolesList.vue代码:
角色列表
usersList.vue代码:
用户列表
这样我们就已经构建了三个页面的代码逻辑。下面就是构建路由逻辑。
2.1 主路由与子路由
路由还是在 router/index.js 中配置。下列写法我们用了懒加载的方式更好,这样可以在不是用到文件的时候不会加载路由代码,减少程序运行的反应时间。

index.js 完整代码
import { createRouter, createWebHashHistory, createWebHistory } from 'vue-router'
import HomeView from '../views/HomeView.vue'


const routes = [
  {
    path: '/',
    name: 'home',
    component: HomeView
  },
  {
    path: '/about',
    name: 'about',
    // route level code-splitting
    // this generates a separate chunk (about.[hash].js) for this route
    // which is lazy-loaded when the route is visited.
    component: () => import(/* webpackChunkName: "about" */ '../views/AboutView.vue')
  },

  {
    path: '/layout',
    name: 'LayOut',
    component: () => import('../views/LayOut/LayOut.vue'),

    // 子路由
    children: [
      {
        path: "/index",
        name: "index",
        component: ()=>import("../views/pages/rolesList.vue")
      },
      {
        path: "/user",
        name: "user",
        component: ()=>import("../views/pages/usersList.vue")
      },

    ]

  },

]

const router = createRouter({
  history: createWebHistory(),
  routes
})

export default router
重点为路由文件中的下列截图部分:

2.2 运行效果
直接输入http://127.0.0.1:8080/layout ,可以看到效果,在LayOut.vue文件中的

点击:角色列表 效果如下:

点击:用户列表 效果如下:
