学习pytorch8 土堆说卷积操作
土堆说卷积操作
-
- 官网
- debug torch版本只有nn 没有nn.functional
- 代码
- 执行结果
B站小土堆视频学习笔记
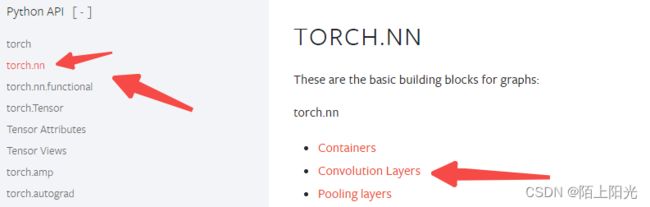
官网
https://pytorch.org/docs/stable/nn.html#convolution-layers
常用torch.nn, nn是对nn.functional的封装,使函数更易用。
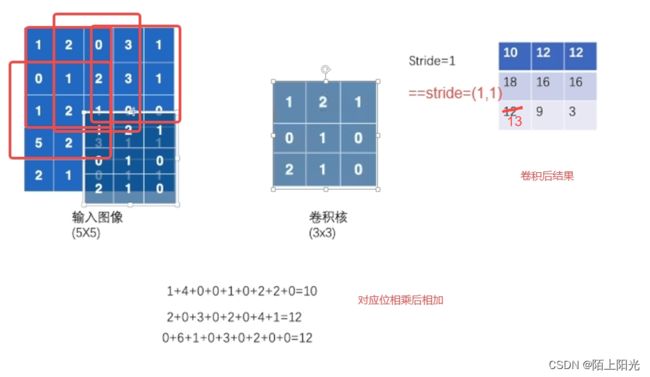
卷积核从输入图像左上角,先向右遍历行,stride为1 挪一个格位置,向右遍历完,向下一格,再从左向右遍历。
卷积核和输入图像对应位置相乘后结果想加,得到右边的输出结果。
stride
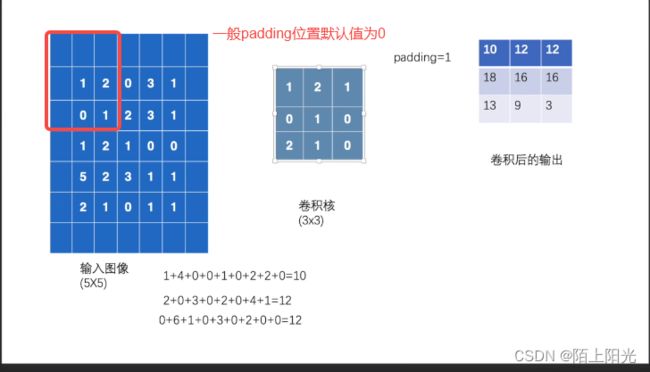
padding
debug torch版本只有nn 没有nn.functional
 conda activate pytorch
 conda install pytorch-cpu torchvision-cpu -c pytorch
在当前环境安装pytorch-cpu后,functional函数就可以调用啦
https://www.saoniuhuo.com/question/detail-2646442.html
代码
import torch
from torch.nn import functional as F

input = torch.tensor([[1, 2, 0, 3, 1],
                      [0, 1, 2, 3, 1],
                      [1, 2, 1, 0, 0],
                      [5, 2, 3, 1, 1],
                      [2, 1, 0, 1, 1]])

kernel = torch.tensor([[1, 2, 1],
                       [0, 1, 0],
                       [2, 1, 0]])

input = torch.reshape(input, [1, 1, 5, 5])
kernel = torch.reshape(kernel, [1, 1, 3, 3])
print(input.shape)
print(kernel.shape)
output1 = F.conv2d(input, kernel, stride=1)
print(output1)

output2 = F.conv2d(input, kernel, stride=2)
print(output2)
# 默认padding=0
output3 = F.conv2d(input, kernel, stride=1, padding=1)
print(output3)
执行结果
p14_conv.py
torch.Size([1, 1, 5, 5])
torch.Size([1, 1, 3, 3])
tensor([[[[10, 12, 12],
          [18, 16, 16],
          [13,  9,  3]]]])
tensor([[[[10, 12],
          [13,  3]]]])
tensor([[[[ 1,  3,  4, 10,  8],
          [ 5, 10, 12, 12,  6],
          [ 7, 18, 16, 16,  8],
          [11, 13,  9,  3,  4],
          [14, 13,  9,  7,  4]]]])

Process finished with exit code 0