CMake+VS2017编译OSGEarth(无需编译OSG)
本文写作于2023年8月18日,按以下步骤编译了再次,都可正常运行。
无需编译OSG,直接编译OSGEarth。
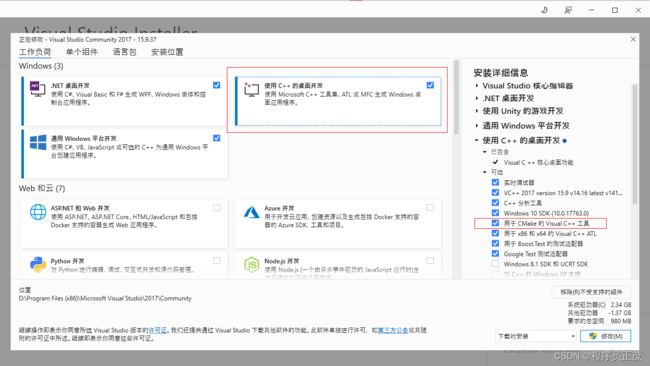
工具版本:CMake 3.27.3, VS2017(安装C++开发组件)
一.下载OSG开发包
一般教程都会教怎么编译OSG,实际上OSG提供了开发包,不用编译。
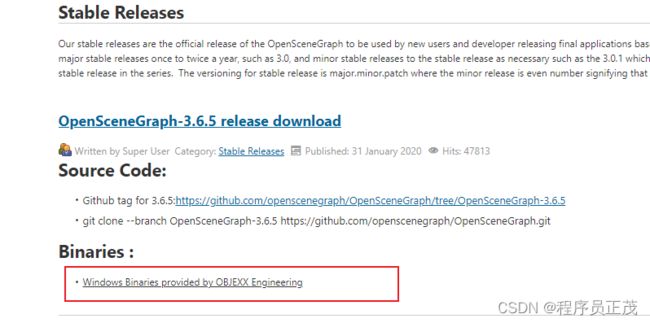
打开OSG官网,点击下载稳定版本
点击Binaries链接
下载二进制文件,注意VS版本,我这里用的VS2017。
在D盘新建OSB文件夹,解压下载的文件
二.下载第三方依赖库
打开OSG官网,点击下载依赖库
下载针对VS2017的第三库
下载解压文件
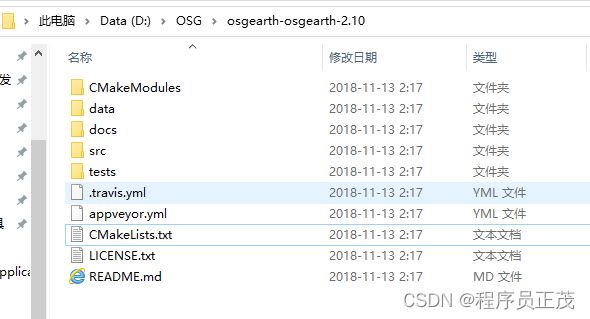
三.下载OSGEarth2.10
请注意这里的版本为2.10,其他版本可能无法使用。 下载解压文件
四.下载安装CMake
这里用的CMake3.27.3,为当前日期(2023-8-18)最新版,安装步骤很简单,此处略云。
五.生成OSGEARTH工程
打开CMake,将D:\OSG\osgearth-master\CMakeLists.txt拖到CMake上,修改输出文件夹为build
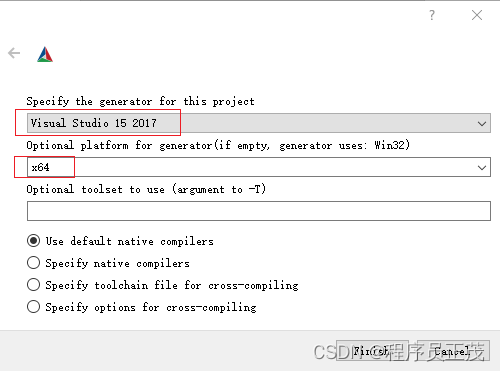
配置为VS2017、x64,点击【Finish】
运行一会儿会报错,这是因为还没有配置依赖库
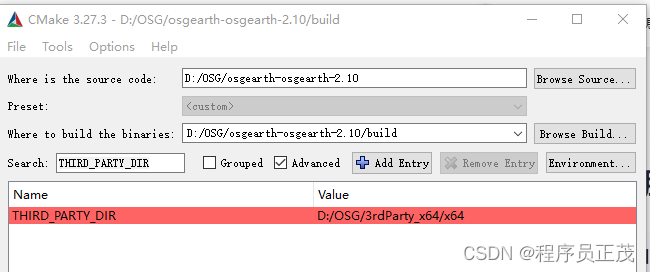
(1)配置THIRD_PARTY_DIR
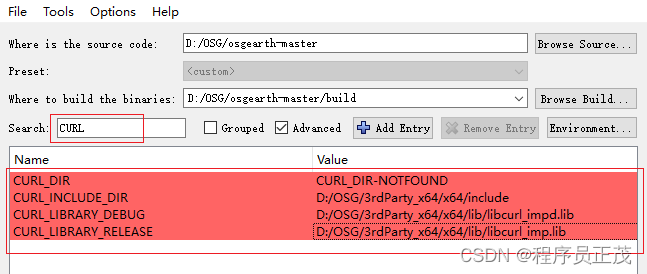
(2)配置CURL
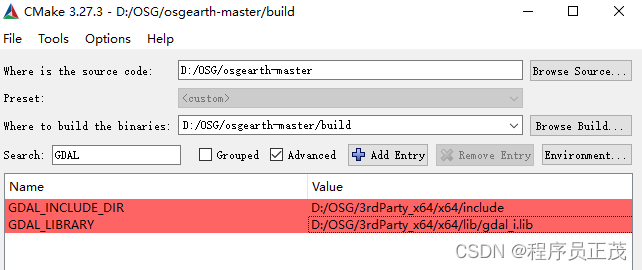
(3)配置GDAL
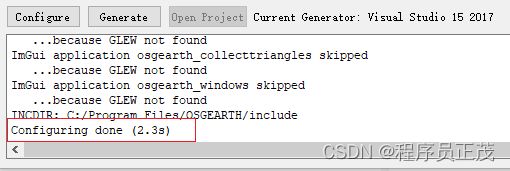
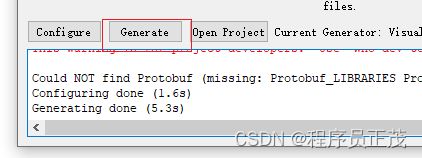
再次点击【Configure】,经过一段时间提示Confiring done,表示配置正确。
点击【Generatte】提示Generating done,表示生成成功。
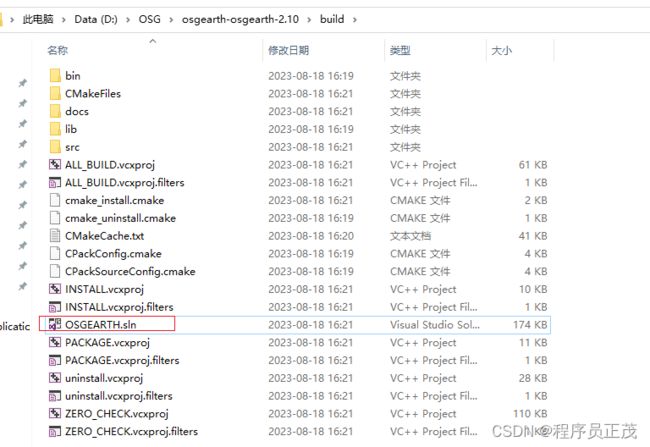
点击【Open Project】,打开工程。
六.在VS中生成OSGEARTH工程
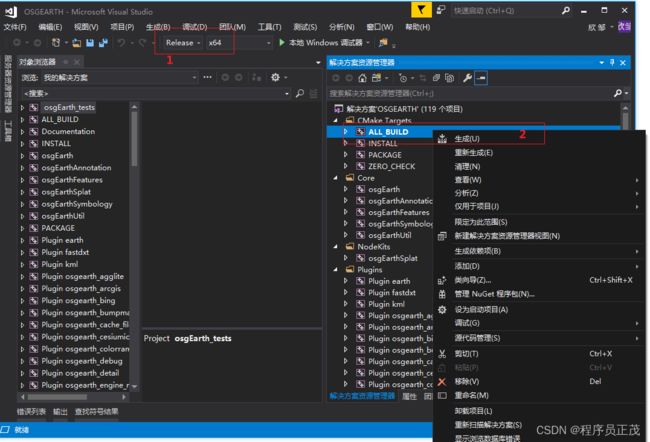
配置工程为x64 Releas,生成ALL_BUILD。
因为项目之间有依赖关系,可能第一次编译有一部项目编译失败,再生成一次就能全部成功了。编时间大约几十分钟。
八.整理成开发库
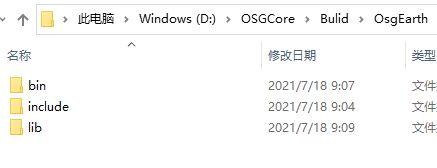
在D:\OSG下新建文件夹osgearth-2.10-VC2017-64-Release 创建目录include, lib, bin。
(1) 头文件复制。将目录“D:\OSG\osgearth-osgearth-2.10\src”中的所有文件复制建立的include目录中
(2) 库文件复制。将目录“D:\OSG\osgearth-osgearth-2.10\build\lib\Release”中的文件复制到建立的lib目录中。
(3) bin文件复制。 将目录“DD:\OSG\osgearth-osgearth-2.10\build\lib\Release”中的文件(主要是dll)复制到建立的bin目录中。将目录“D:\OSG\osgearth-osgearth-2.10\build\bin\Release”中的文件(主要是exe)复制到建立的bin目录中。
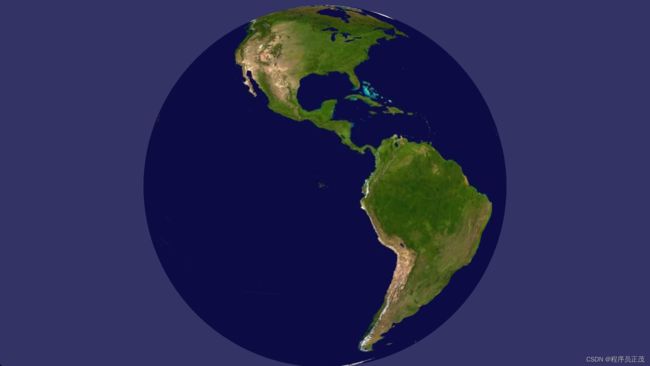
在bin文件下运行cmd,可以看到一个地球。 注意osgearth_viewer.exe和gdal_multiple_files.earth文件路径。
D:\OSG\osgearth-2.10-VC2017-64-Release\bin\osgearth_viewer.exe D:\OSG\osgearth-osgearth-2.10\tests\gdal_multiple_files.earth九 代码测试
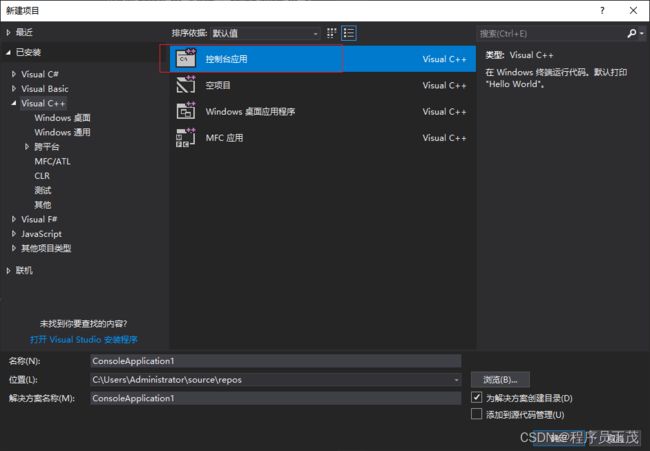
新建VC++控制台应用程序
将工程改为Release x64
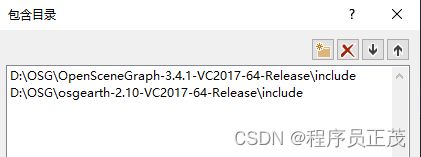
配置VC++目录下的包含头文件
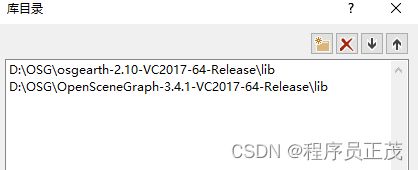
库文件
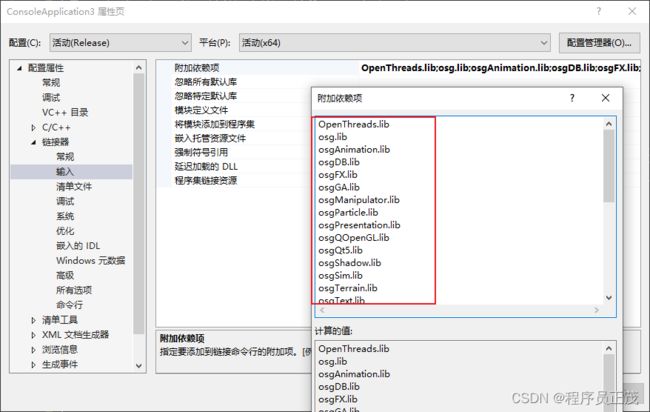
输入两个lib文件夹下的链接lib文件(可以用批处理命令)
dir *.lib /b >filelist.txt 源代码
#include
#include
#include
#include
#include
using namespace std;

int main()
{
	// map
	osg::Node* globe = osgDB::readNodeFile("D:\\OSG\\osgearth-osgearth-2.10\\tests\\simple.earth");
	osgEarth::MapNode* mapNode = osgEarth::MapNode::get(globe);

	// viewer
	osgViewer::Viewer viewer;
	viewer.setSceneData(mapNode);

	// manipulator
	osg::ref_ptr mainManipulator = new osgEarth::Util::EarthManipulator;
	viewer.setCameraManipulator(mainManipulator);

	// run
	viewer.setUpViewInWindow(100, 100, 800, 600);
	viewer.run();

	return 0;
}
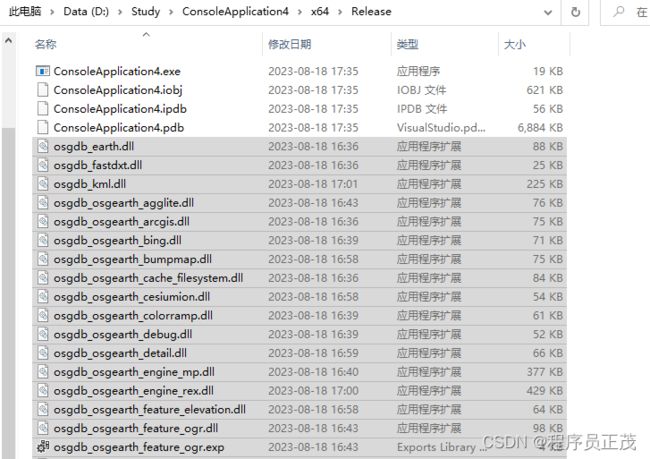
注意更改earth文件路径, 编译通过后,将目录D:\OSG\osgearth-2.10-VC2017-64-Release\bin下的所有文件(主要是dll和exe)复制到生成的exe目录下。
全文完。整理不易,欢迎点赞!
