Prometheus+Grafana监控oracle
Prometheus是由SoundCloud开发的开源监控报警系统和时间序列数据库(TSDB),它是一个监控采集与数据存储框架(监控服务器端),具体采集什么数据依赖于Exporter(监控客户端)
Grafana是一个高“颜值”的监控绘图程序,也是一个可视化面板(Dashboard)。Grafana的厉害之处除了高“颜值”,还支持多种数据源(支持Graphite、Zabbix、InfluxDB、Prometheus和OpenTSDB作为数据源)和灵活丰富的Dashboard配置选项
安装环境:
| Prometheus |
Grafana |
oracle_exporter |
|
| IP:端口 |
172.16.80.56:9090 |
172.16.80.56:3000 |
172.16.80.56:9161 |
| 访问地址 |
http://172.16.80.56:9090 |
http://172.16.80.56:3000 |
http://172.16.80.56:9161/metrics |
1、安装Prometheus
Prometheus下载:Download | Prometheus
| groupadd prometheus useradd -g prometheus prometheus cd /usr/local tar -xvf /soft/prometheus-2.35.0.linux-amd64.tar.gz mv prometheus-2.35.0.linux-amd64 prometheus chown -R prometheus.prometheus prometheus cd prometheus/ 将配置文件中的localhost:9090改为172.16.80.56:9090 vi prometheus.yml - job_name: "prometheus" static_configs: - targets: ["172.16.80.56:9090"] mkdir -p /home/prometheus/data chown -R prometheus.prometheus /home/prometheus/data cat /etc/systemd/system/prometheus.service [Unit] Description=prometheus After=network.target [Service] Type=simple User=prometheus ExecStart=/usr/local/prometheus/prometheus --config.file=/usr/local/prometheus/prometheus.yml --storage.tsdb.path=/home/prometheus/data Restart=on-failure [Install] WantedBy=multi-user.target systemctl enable prometheus.service systemctl start prometheus.service |
prometheus就已经安装并启动,默认会启动9090端口,通过浏览器打开该端口页面,不需用户名和密码
http://172.16.80.56:9090
2、rpm包安装Grafana
下载rpm包
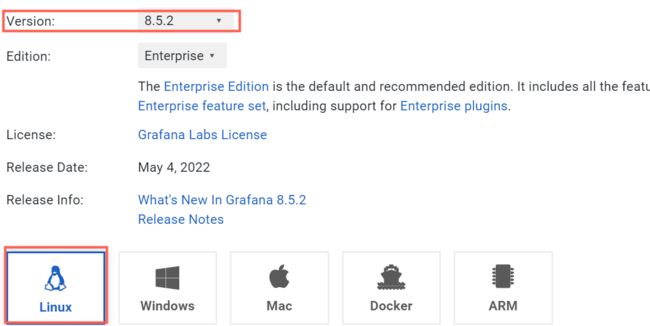
Download Grafana | Grafana Labs
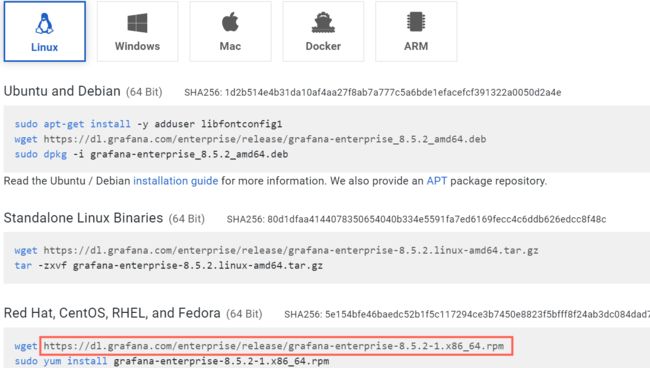
查看最新的版本,根据对应的平台,按照提供的地址下载rpm包
| yum -y install urw-fonts rpm -ivh grafana-enterprise-8.5.0-1.x86_64.rpm rpm包安装默认创建/usr/lib/systemd/system/grafana-server.service,并将配置文件放置/usr/share/grafana /usr/share/grafana/conf/defaults.ini,grafana默认 netstat -an|grep 3000 systemctl start grafana-server systemctl status grafana-server systemctl enable grafana-server |
grafana安装完成,默认会启动3000端口,通过浏览器打开该端口页面,默认用户名密码admin/admin
http://172.16.80.56:3000
3、关联Prometheus和Grafana
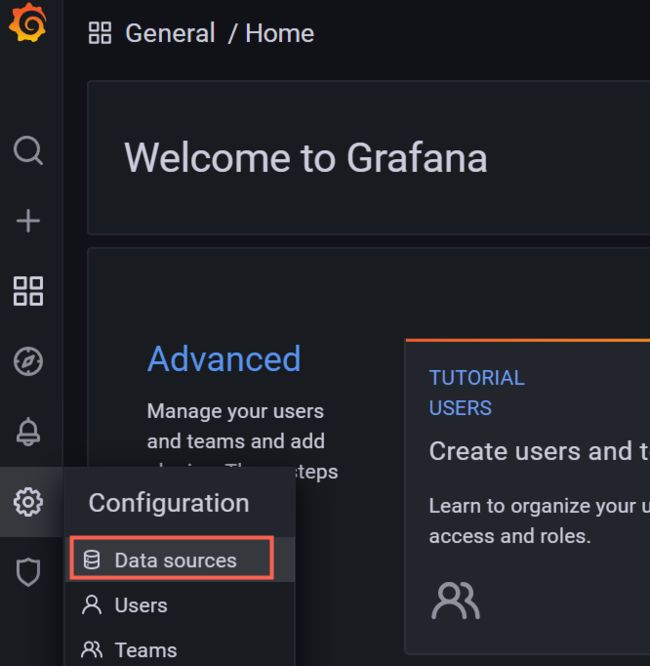
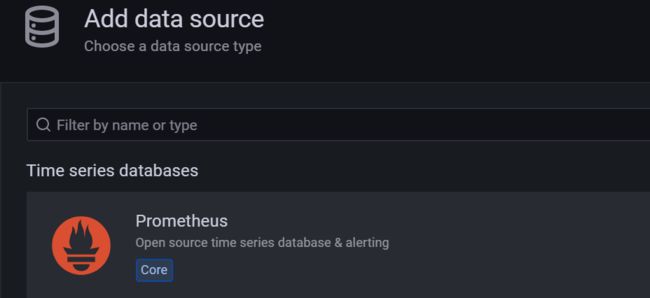
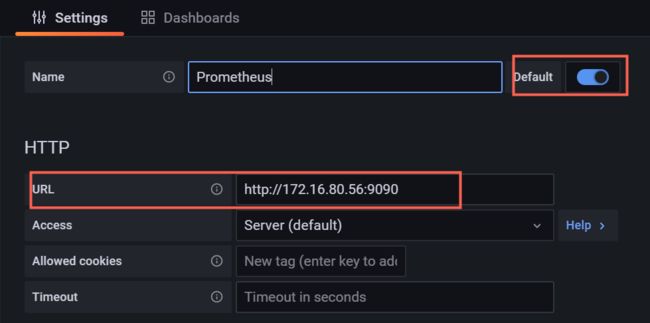
通过在grafana中添加Data Source,把Prometheus和Grafana关联起来
选择【Prometheus】
URL设为【http://172.16.80.56:9090】
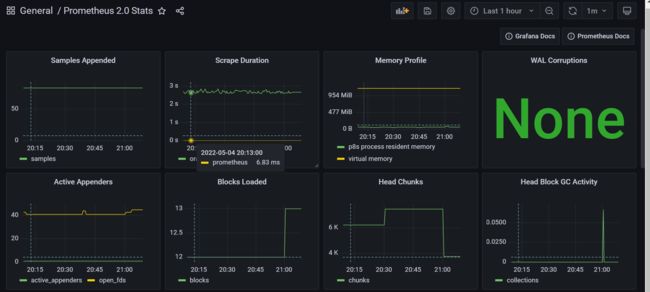
Import【Prometheus 2.0 Stats】
【Save & test】
打开【Prometheus 2.0 Stats】可以看到基本的监控项
4、oracle主机安装oracledb_exporter
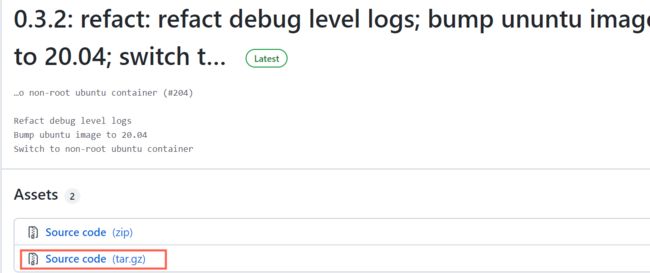
下载oracledb_exporter-*.*.*.tar.gz
Releases · iamseth/oracledb_exporter · GitHub
选择最新的版本
| cd /usr/local/ tar -xvf /soft/oracledb_exporter.0.2.2.linux-amd64.tar.gz mv oracledb_exporter.0.2.2.linux-amd64 oracledb_exporter chown -R oracle.dba oracledb_exporter 添加tns连接串 su - oracle vi $ORACLE_HOME/network/admin/tnsnames.ora CC = (DESCRIPTION = (ADDRESS_LIST = (ADDRESS = (PROTOCOL = TCP)(HOST = ******)(PORT = 1522)) ) (CONNECT_DATA = (SERVER = DEDICATED) (SERVICE_NAME = cc) ) ) 修改system密码为******* alter user system identified by ******; 定义操作系统变量DATA_SOURCE_NAME: vi ~/.bash_profile export DATA_SOURCE_NAME="system/******@cc" source ~/.bash_profile 启动exporter su - oracle cd /usr/local/oracledb_exporter nohup ./oracledb_exporter & 查看tail nohup.out time="2022-04-29T16:36:54+08:00" level=info msg="Starting oracledb_exporter 0.2.2" source="main.go:335" time="2022-04-29T16:36:57+08:00" level=info msg="Listening on :9161" source="main.go:357" 会自动起占9161端口 |
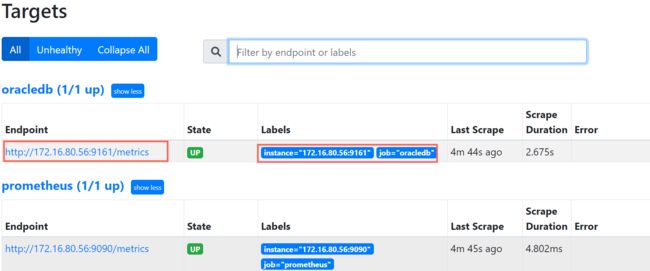
将oracledb_exporter加入Prometheus
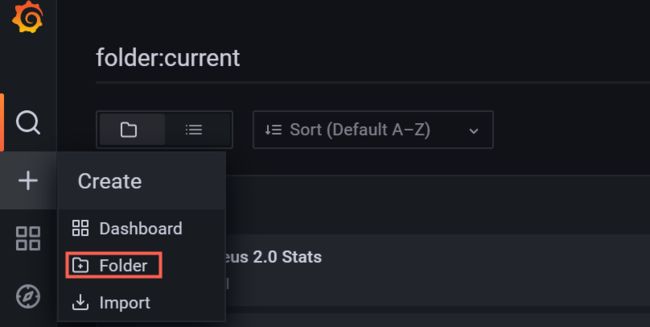
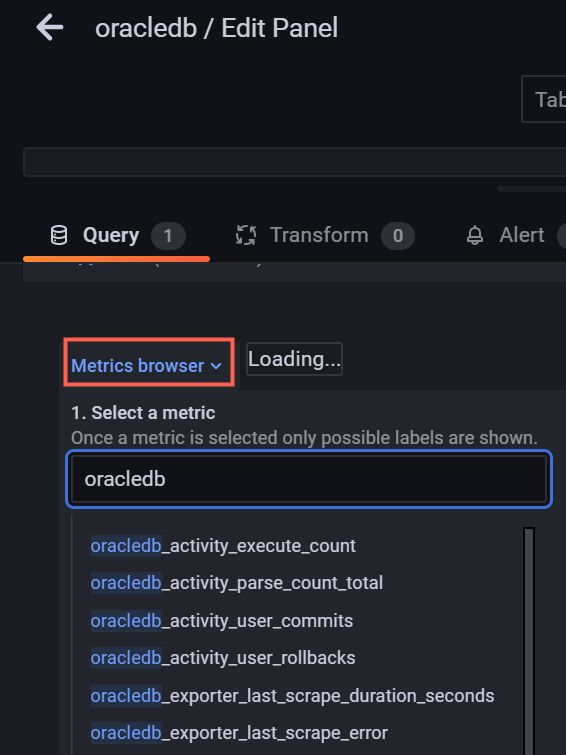
| 添加oracledb的项: vi /usr/local/prometheus/prometheus.yml - job_name: "oracledb" static_configs: - targets: ["172.16.80.56:9161"] systemctl restart prometheus 在http://172.16.80.56:9090/targets查看新加的target 新建一个Folder 【Add panel】 选择【Query】-【Metrics browser】,可以看到所有metrics,【Apply】即可 |
自定义metric
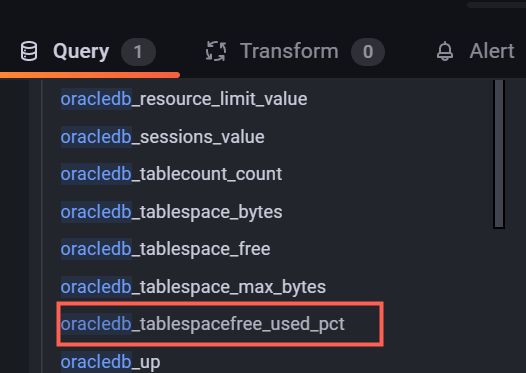
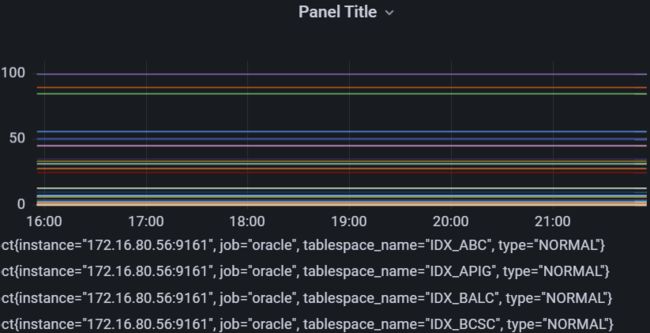
| 编辑default-metrics.toml,添加监控sql,如监控表空间使用百分比的sql [[metric]] context = "tablespacefree" --metric名 labels = [ "tablespace_name", "type" ] --显示在panel中的项 metricsdesc = { used_pct="Generic counter metric of tablespaces free bytes in Oracle." } --字段名 request = ''' select tablespace_name,type,used_GB,sum_GB,used_pct,free_pct from ( select t1.tablespace_name tablespace_name,t1.flag type,to_char(trunc(t1.bytes-nvl(t2.bytes,0),2),'fm999990.0999') used_GB, trunc(t1.maxbytes,2) sum_GB,to_char(round(100*(t1.bytes-nvl(t2.bytes,0))/t1.maxbytes,2),'fm999990.0999') used_pct, to_char(100-round(100*(t1.bytes-nvl(t2.bytes,0))/t1.maxbytes,2),'fm999990.0999') free_pct from (SELECT tablespace_name,sum(d1.bytes)/1024/1024/1024 bytes,'NORMAL' FLAG, sum(decode(d1.autoextensible,'NO',d1.bytes,d1.maxbytes))/1024/1024/1024 maxbytes FROM dba_data_files d1 GROUP BY tablespace_name ) t1, (SELECT tablespace_name,sum(f.bytes)/1024/1024/1024 bytes FROM dba_free_space f GROUP BY tablespace_name ) t2 where t1.tablespace_name = t2.tablespace_name(+) union all select t3.tablespace_name tablespace_name,t3.flag type,to_char(trunc(t3.bytes-nvl(t4.bytes,0),2),'fm999990.0999') used_GB, trunc(t3.maxbytes,2) sum_GB,to_char(round(100*(t3.bytes-nvl(t4.bytes,0))/t3.maxbytes,2),'fm999990.0999') used_pct, to_char(100-round(100*(t3.bytes-nvl(t4.bytes,0))/t3.maxbytes,2),'fm999990.0999') free_pct from (SELECT tablespace_name,sum(d2.bytes)/1024/1024/1024 bytes,'TEMP' FLAG, sum(decode(d2.autoextensible,'NO',d2.bytes,d2.maxbytes))/1024/1024/1024 maxbytes FROM dba_temp_files d2 GROUP BY tablespace_name) t3, (select tablespace_name,sum(bytes_cached/1024/1024/1024) bytes from v$temp_extent_pool group by tablespace_name) t4 where t3.tablespace_name = t4.tablespace_name(+) ) ORDER by type,tablespace_name ''' 重启oracledb_exporter(kill重启),metric即可在grafana生效 |
5、配置钉钉告警
选择钉钉群中的【智能群助手】
【添加机器人】并设置
选择【自定义】
选择【IP地址段】并设置为grafana所在ip
复制自动生成的Webhook
选择Grafana的【Notification channels】
添加【New channel】
选择Test看是否能收到群消息
也可以配置告警规则,这里不进行说明

