MonkeyRunner测试步骤
首先把安卓SDK的 环境变量给配置好,这里就不再多解释,自己google
然后将自己的安卓设备打开调试模式,USB连接至电脑,运行CMD,输入命令adb devices
查看你的安卓设备的ID(ID后面写程序会调用),如下图所示:

继续在这个命令提示框中输入 monkeyrunner,进入monkeyrunner的shell命令交互模式。如图:

进入shell命令交互模式后,首要一件事就是导入monkeyrunner所要使用的模块。直接在shell命令下输入:
from com.android.monkeyrunner import MonkeyRunner,MonkeyDevice 回车

这2步完成就可以就行monkeyrunner的测试了。
下面的一个例子是连接手机并且点击菜单按钮,之后截图保存(注:以下命令全部在CMD monkeyrunner环境下运行)
第一:
# 连接安卓设备,其中4d007e9a1b0050d1 是设备的ID 上面有提到通过abd devices 获得
device = MonkeyRunner.waitForConnection(5,'4d007e9a1b0050d1')
第二:
#安装apk文件到这个设备
device.installPackage('E:\Education - 136_8080.apk')
安装成功以后会返回true

第三:
# sets a variable with the package's internal name(设置包名)
package = 'com.incito.android.education'
第四:
# sets a variable with the name of an Activity in the package(设置activity)
activity = 'com.incito.android.education.MainActivity'
第五:
# sets the name of the component to start(设置运行组件)
runComponent = package + '/' + activity
第六:
# Runs the component(运行此组件)
device.startActivity(component=runComponent)
第七:
# Presses the Menu button(按下菜单按钮,此时真机的菜单按钮会被按下)
device.press('KEYCODE_MENU', MonkeyDevice.DOWN_AND_UP)
第八:
# Takes a screenshot(触发截图)
result = device.takeSnapshot()
第九:
# Writes the screenshot to a file(保存截图)
result.writeToFile('E:\Snapshot\edu.png','png')
截图成功会返回true,如图

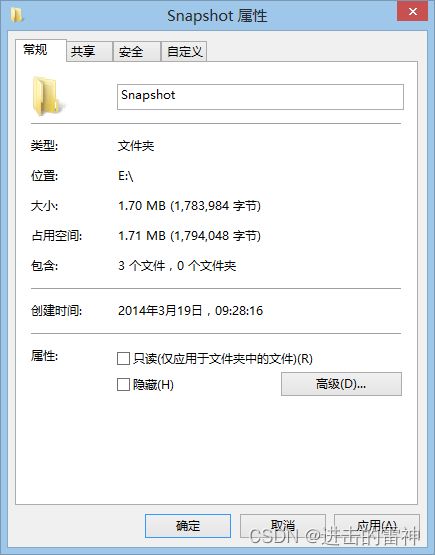
注意保存截图的文件夹要变成可以状态才能截图成功不然会报异常:只读去掉
截图成果:

图:

所有的语句可以写在一个python文件里面然后用命令monkeyrunner test.py 即可