安装使用TinyCore Linux的一些收获
为了学习Linux Shell编程,决定安装一个纯粹的Linux,由于电脑硬件配置较低,选择了最轻量化Llinux操作系统版本TinyCore Linux。
一、TinyCore Linux有三个版本
打开TinyCore Linux的下载页面 http://www.tinycorelinux.net/downloads.html,上面提供了三个版本:
| The Core Project, as suggested by our name, is not a turnkey desktop distribution. Instead we deliver just the core Linux from which it is quite easy to add what you want. We offer 3 different x86 "cores" to get you started: Core, TinyCore, and our installation image, CorePlus. | |
| Core (17 MB) |
Core is the base system which provides only a command line interface and is therefore recommended for experienced users only. Command line tools are provided so that extensions can be added to create a system with a graphical desktop environment. Ideal for servers, appliances, and custom desktops. |
| TinyCore (23 MB) |
TinyCore is the recommended option for new users who have a wired network connection. It includes the base Core system plus X/GUI extensions for a dynamic FLTK/FLWM graphical desktop environment. |
| CorePlus (248 MB) |
CorePlus is an installation image and not the distribution. It is recommended for new users who only have access to a wireless network or who use a non-US keyboard layout. It includes the base Core System and installation tools to provide for the setup with the following options: Choice of 7 Window Managers, Wireless support via many firmware files and ndiswrapper, non-US keyboard support, and a remastering tool. |
分别是:
1.Core (17 MB):仅提供命令行界面的基本系统,因此仅建议有经验的用户使用。提供了命令行工具,以便可以添加扩展以创建具有图形桌面环境的系统。非常适合服务器、设备和自定义桌面。
2.TinyCore(23 MB):是具有有线网络连接的新用户的推荐选项。它包括基本的核心系统以及用于动态FLTK / FLWM图形桌面环境的X / GUI扩展。
3.CorePlus(248 MB):是安装映像,而不是发行版。建议只能访问无线网络或使用非美式键盘布局的新用户使用。它包括基本的核心系统和安装工具,为设置提供以下选项:7个窗口管理器的选择,通过许多固件文件和ndiswrapper的无线支持,非美国键盘支持和重新制作工具。
我先后尝试了第1个和第2个。
二、在U盘上安装启动TinyCore linux——Core (17 MB)
(一)下载 TinyCore linux Core
下载地址:
(二)下载和安装 LinuxLive USB Creator
1.到 https://www.linuxliveusb.com/en/download 下载 LinuxLive USB Creator。
2.运行下载的LinuxLive USB Creator安装程序, 首先选择程序界面语言:
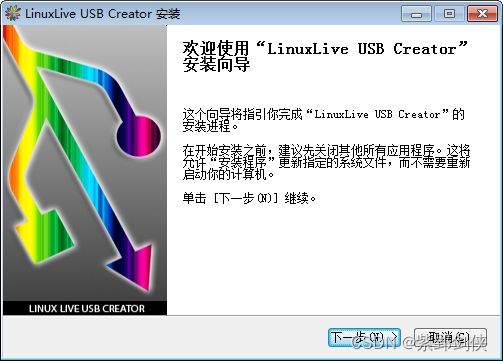
3.然后跟随安装向导进行安装:
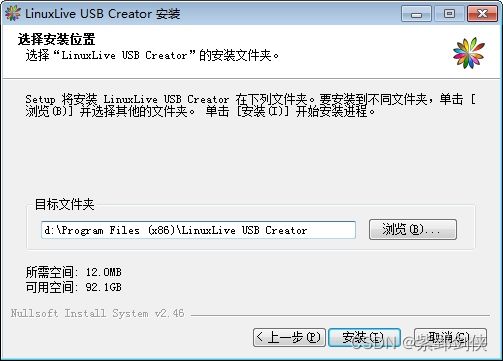
4.选择安装位置:
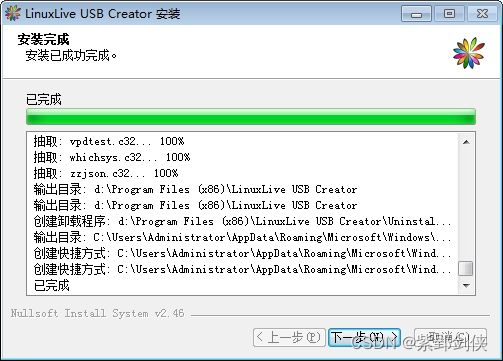
5.点击“安装”按钮进行安装:
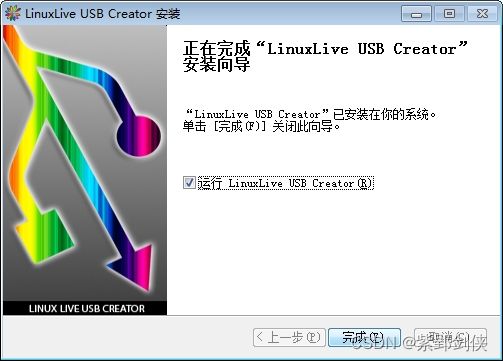
6.点击“完成”按钮,完成程序安装并启动LinuxLive USB Creator
(三)使用LinuxLive USB Creator将tinycore linux放进u盘
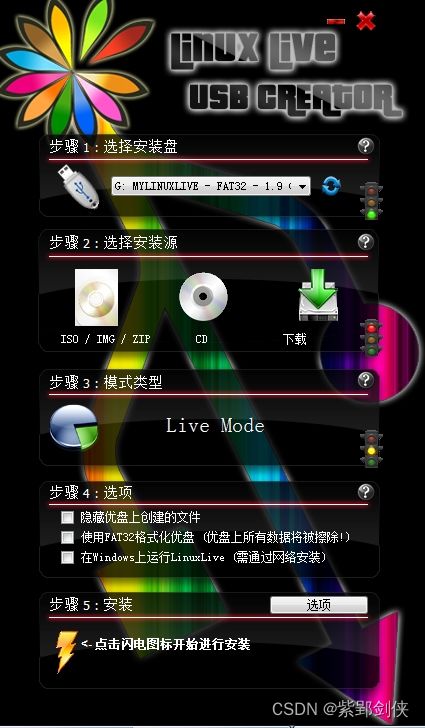
1.启动LinuxLive USB Creator
2.选择安装盘:U盘
这里我选择的是容量为2GB、盘符为G的U盘
3.选择安装源:
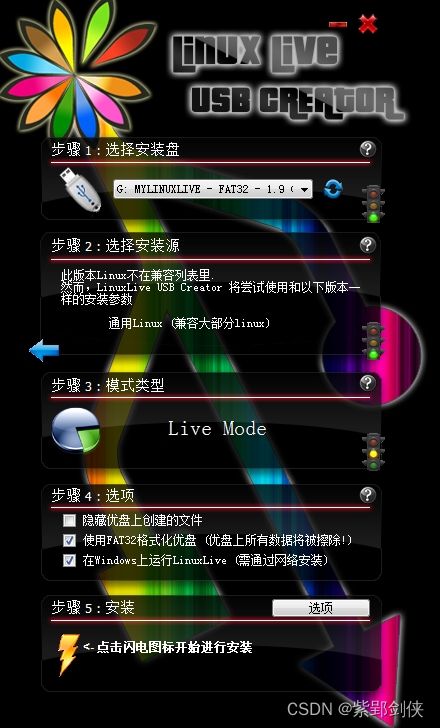
点击ISO/IMG/ZIP,选择刚才下载tinycore linux安装镜像文件Core-14.0.iso。LinuxLive USB Creator会提示“此版本Linux不在兼容列表里”,不用理会。
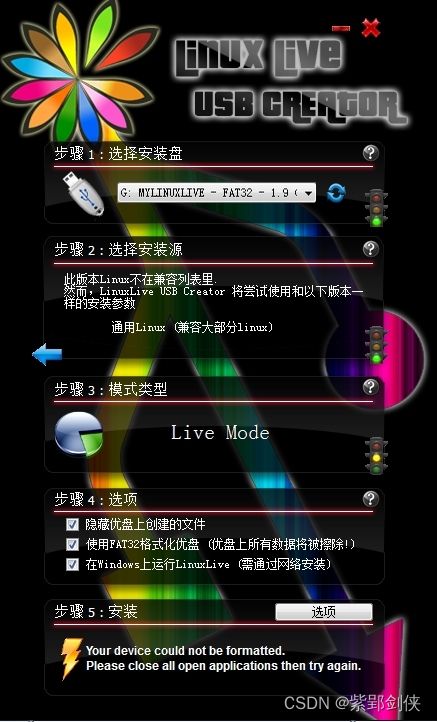
4.选项:
一般保留默认,也可以钩消“隐藏U盘上创建的文件”。
5.点击闪电图标开始安装
(四)从U盘启动TinyCore Linux
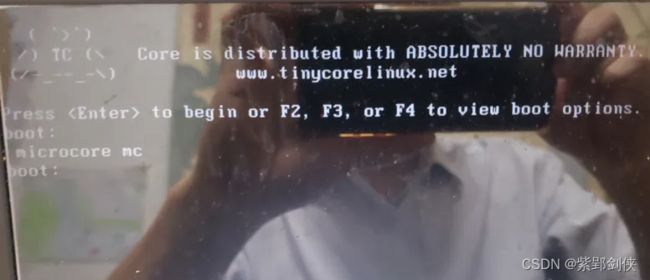
重新启动电脑,从U盘启动
这样就可以学习linux 命令和shell编程了。
但这样学习存在两个问题:
1. 输入的命令无法复制 保存,或者发到博客上
2.无法截取屏幕 发到博客上。手机拍照有反光。
于是尝试在虚拟机上安装Linux。
三、在电脑上安装使用VMware Wokstation+TinyCore (23 MB)
(一)安装VMware Wokstation
这个网上有很多教程,这里不再赘述。
(二)下载 TinyCore linux——TinyCore (23 MB)
下载地址:
http://www.tinycorelinux.net/14.x/x86/release/TinyCore-current.iso
(三)在VMware Wokstation中安装 TinyCore linux——TinyCore (23 MB)
这个网上有很多教程,这里不再赘述。
需要说明的是,Tiny Core Linux系统不识别SCSI类型的磁盘,所以虚拟机中的虚拟磁盘的类型要选择IDE类型的。
(四)从虚拟机中启动TinyCore Linux
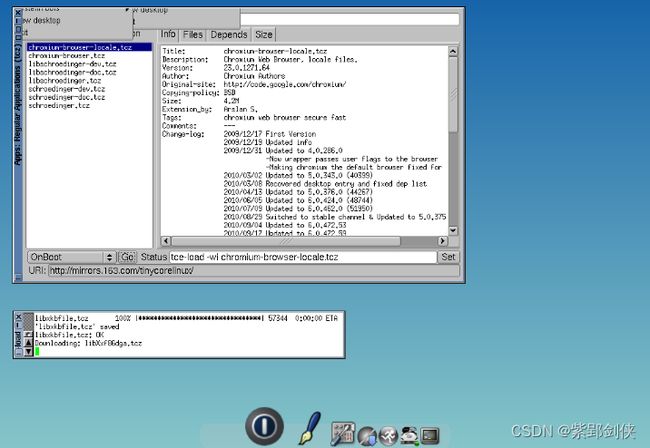
1.使用TinyCore桌面
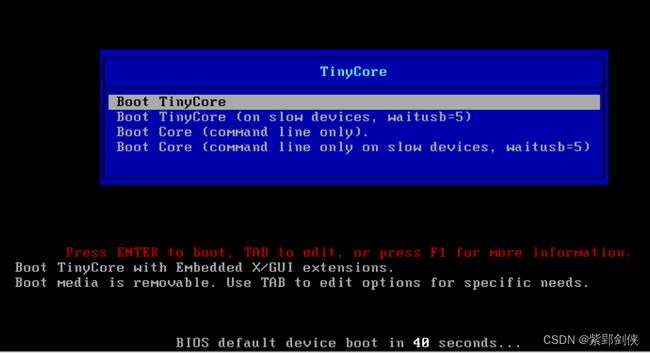
选择第1项:Boot TinyCore。
这个桌面跟Windows有较大的差异。
而且打开的终端字体较小,输入的命令、反馈的命令执行结果 截图看得不太清楚。
2.使用Core(command line only)
于是重启系统,选择第3项:Boot Core(command line only),这样字体较大,截图看得清楚。
四、命令行模式下的关机
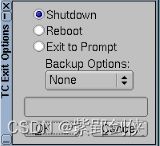
在桌面中,可以使用菜单来关机或重启系统。
在命令行模式下,如何关机呢?
如果是DOS操作系统,在命令提示符下,直接关闭电脑电源就可以了。
但是对于Linux,提供有关机命令,比如shutdown、halt等。
user@host : ~ $ shutdowm
-sh: shutdown: not f ound
user@host : ~ $ halt
halt : Operat ion not permitted
user@host : ~ $
尝试命令 sudo halt,提示输入root密码。
输入命令:sudo passwd tc,按照提示符输入帐户tc的密码。
输入命令:sudo passwd root,按照提示符输入帐户root的密码。
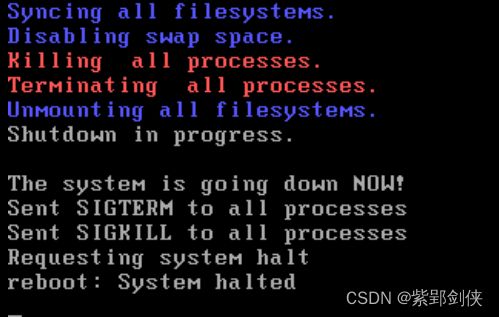
再尝试命令 sudo halt,终于正常关机了。
五、从命令行启动桌面
选择第3项:Boot Core(command line only),启动命令行后,如何进入桌面呢?
尝试了命令:startx、init 5
目前只好 sudo reboot 重启系统,再从启动菜单中选择第1项:Boot TinyCore


