SpringBoot学习笔记——数据访问
目录
1、SQL
1.1、数据库连接
1.2、整合MyBatis操作
1.2.1、第一种:利用配置文件的形式整合
1.2.2、第二种:利用注解的形式整合
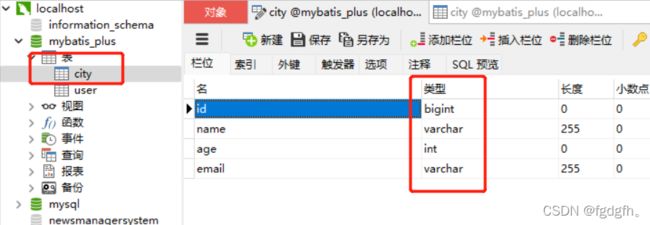
1.3、整合 MyBatis-Plus 操作
1、SQL
1.1、数据库连接
导入依赖
    org.springframework.boot
    spring-boot-starter-data-jdbc


    mysql
    mysql-connector-java
修改配置项
spring:
  datasource:
    url: jdbc:mysql://localhost:3306/mybatis_plus
    username: root
    password: 1017
    driver-class-name: com.mysql.cj.jdbc.Driver
测试

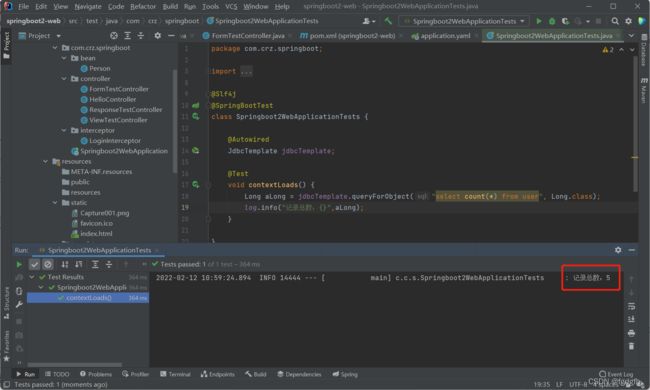
@Slf4j
@SpringBootTest
class Springboot2WebApplicationTests {

    @Autowired
    JdbcTemplate jdbcTemplate;

    @Test
    void contextLoads() {
        Long aLong = jdbcTemplate.queryForObject("select count(*) from user", Long.class);
        log.info("记录总数:{}",aLong);
    }
}
1.2、整合MyBatis操作
1.2.1、第一种:利用配置文件的形式整合
导入mybatis依赖
    org.mybatis.spring.boot
    mybatis-spring-boot-starter
    2.1.4
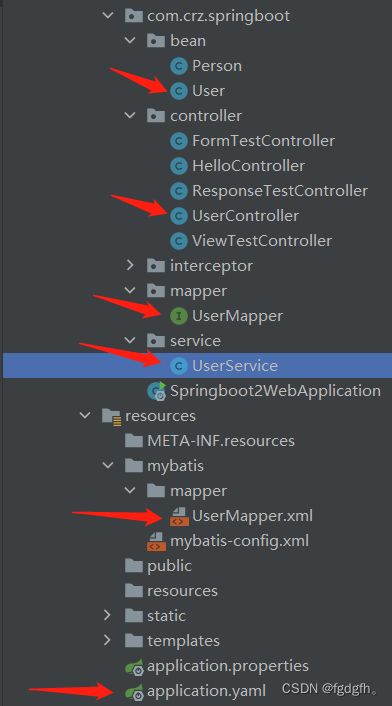
工程的目录结构如下
编写实体类User
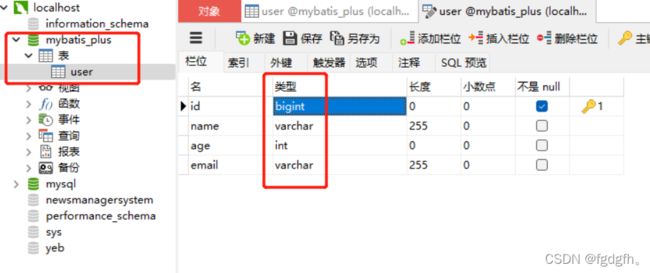
@Data
public class User {

    private Integer id;
    private String name;
    private Integer age;
    private String email;
}
编写mapper接口层,标准@Mapper注解
@Mapper
public interface UserMapper {

    /**
     * @Description:根据id查询员工信息
     * @Author:crz
     * @Date:2022/2/12 13:33
     */
    public User getUse(Integer id);
}
编写sql映射文件并绑定mapper接口
在 application.yml 中进行相关配置
mybatis:
  # 全局配置文件的位置
  #config-location: classpath:mybatis/mybatis-config.xml
  # mapper sql映射文件的位置
  mapper-locations: classpath:mybatis/mapper/*.xml
  configuration:
    map-underscore-to-camel-case: true #开启驼峰命名法

#可以不写全局;配置文件,所有全局配置文件的配置都放在configuration配置项中即可
编写 Service 层
@Service
public class UserService {

    @Autowired
    UserMapper userMapper;

    public User getUserId(Integer id){
        return userMapper.getUse(id);
    }
}
编写 Controller 层
@Controller
public class UserController {
@Autowired
UserService userService;
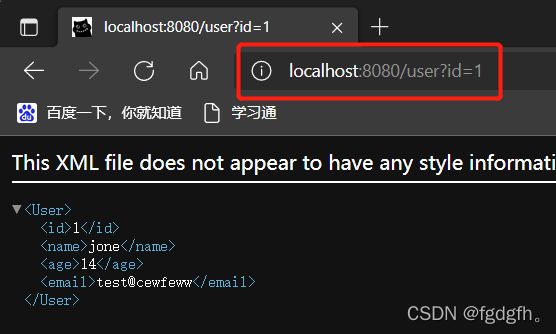
@ResponseBody
@GetMapping("/user")
public User getUser(@RequestParam("id") Integer id){
return userService.getUserId(id);
}
}测试
1.2.2、第二种:利用注解的形式整合
工程的目录结构如下

编写实体类City
@Data
public class City {

    private Integer id;
    private String name;
    private Integer age;
    private String email;
}
编写mapper接口层,标准@Mapper注解
@Mapper
public interface CityMapper {

    @Select("select * from city where id=#{id}")
    public City getById(Integer id);
}
编写 Service 层
@Service
public class CityService {

    @Autowired
    CityMapper cityMapper;

    public City getById(Integer id){
        return cityMapper.getById(id);
    }
}
编写 Controller 层
@Controller
public class CityController {

    @Autowired
    CityService cityService;

    @ResponseBody
    @GetMapping("/city")
    public City getCityById(@RequestParam("id") Integer id){
        return cityService.getById(id);
    }
}
测试

1.3、整合 MyBatis-Plus 操作
导入mybatis-plus依赖
    com.baomidou
    mybatis-plus-boot-starter
    3.4.1
编写实体类User

@Data
public class User {

    private Integer id;
    private String name;
    private Integer age;
    private String email;
}
编写mapper接口层,标准@Mapper注解
@Mapper
public interface UserMapper extends BaseMapper {

} 在com/crz/springboot/Springboot2WebApplicationTests.java文件进行测试
@Autowired
    UserMapper userMapper;

    @Test
    void testUserMapper(){
        User user = userMapper.selectById(1L);
        System.out.println("用户信息:"+user);
    }
测试

SpringBoot2学习笔记