Linux-CentOS8-Oracle19c 安装详解
Linux-CentOS8-Oracle19c安装图解
文章目录
- Linux-CentOS8-Oracle19c安装图解
- 预备
-
- 1. Oracle19c 安装手册:
- 2. 安装虚拟机:`4G内存`,2*2核心,30G
- 3. 下载CentOS8镜像。
- 4. 开始准备预安装
- 5. 修改Oracle账户密码
- 6. 修改SELINUX值在文件,然后重启机器生效。
- 7. 关闭防火墙,安装ssh的时候就已经关闭了
- 8. Oracle数据库RPM包的下载
- 9. 开始安装
- 10. 安装成功之后创建和配置数据库
- 11. 找了个教程说先修改一下root用户密码(不知道为什么,但是照做了)
- 12. 配置环境变量
- 13. 尝试登陆oracle,成功
- 14. 添加用户并修改密码
- 15. 创建表空间
- 16. 赋予用户权限
- 17. 创建完表空间,需要重新启动oracle数据库实例
- 18. 切换用户
- 19. 退出使用c##beza用户登陆
- 20. 测试Navicat远程连接
预备
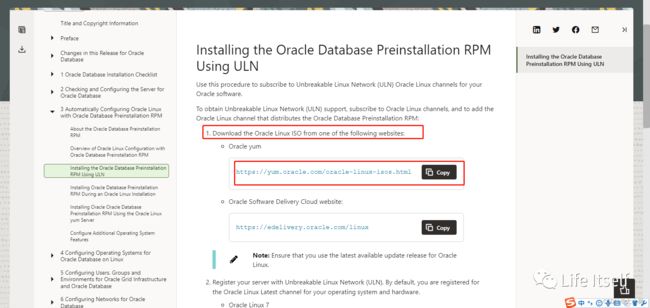
1. Oracle19c 安装手册:
https://docs.oracle.com/en/database/oracle/oracle-database/19/ladbi/installing-the-oracle-preinstallation-rpm-with-uln-support.html#GUID-AF94713E-97AF-4F20-8DBC-36BC383D0301
2. 安装虚拟机:4G内存,2*2核心,30G
过程略
3. 下载CentOS8镜像。
有专门用于CentOS安装Oracle的镜像,地址在指导手册里。 很多Linux版本可能会不兼容,所以最好还是按照说明文档来。
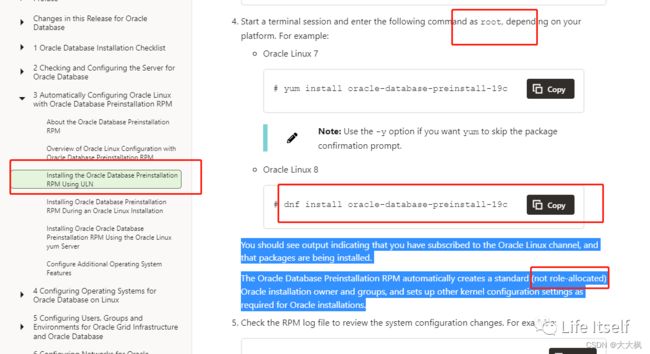
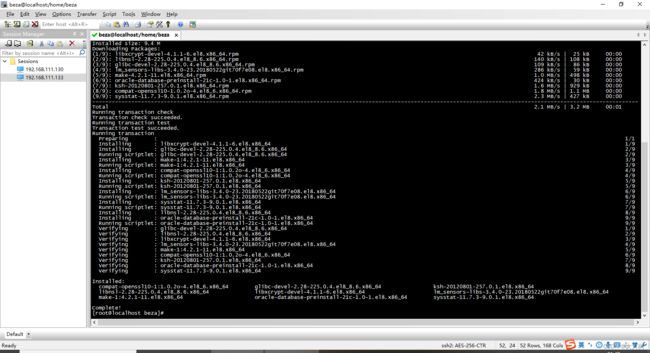
4. 开始准备预安装
sudo yum install oracle-database-preinstall-19c
预安装之后,系统会自动创建一个oracle用户。安装手册有写
When installed, the Oracle Database Preinstallation RPM does the following:
•	Automatically downloads and installs any additional RPM packages needed for installing Oracle Grid Infrastructure and Oracle Database, and resolves any dependencies
•	Creates an oracle user, and creates the oraInventory (oinstall) and OSDBA (dba) groups for that user
•	As needed, sets sysctl.conf settings, system startup parameters, and driver parameters to values based on recommendations from the Oracle Database Preinstallation RPM program
•	Sets hard and soft resource limits
•	Sets other recommended parameters, depending on your kernel version
•	Sets numa=off in the kernel for Linux x86_64 and Linux aarch64 machines.
5. 修改Oracle账户密码
sudo passwd oracle
查看oracle用户相关信息
[root@localhost ~]# id oracle

uid=54321(oracle) gid=54321(oinstall) groups=54321(oinstall),54322(dba),54323(oper),54324(backupdba),54325(dgdba),54326(kmdba),54330(racdba)
注意这里oracle的属组是oinstall,用些系统需要把oracle加入到dba组中,那么在此可以手动加入:
sudo usermod -a -G dba oracle
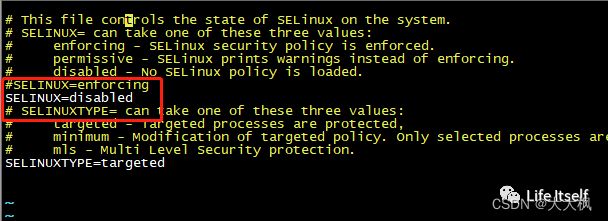
6. 修改SELINUX值在文件,然后重启机器生效。
vim /etc/selinux/config
7. 关闭防火墙,安装ssh的时候就已经关闭了
sudo systemctl stop firewalld
sudo systemctl disable firewalld
8. Oracle数据库RPM包的下载
https://www.oracle.com/database/technologies/oracle-database-software-downloads.html#19c
Xftp上传到home/oracle目录,然后移动到/目录,我也不知道为什么,看视频放在这个文件夹…
事后点评:放在那里都无所谓,最后安装的时候进入这个文件夹就可以了

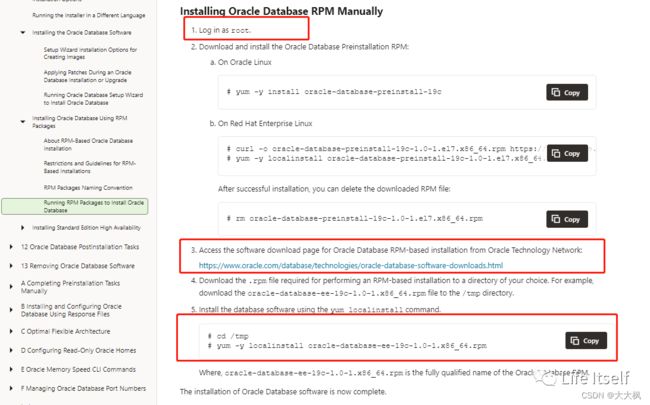
9. 开始安装
yum -y localinstall oracle-database-ee-19c-1.0-1.x86_64.rpm
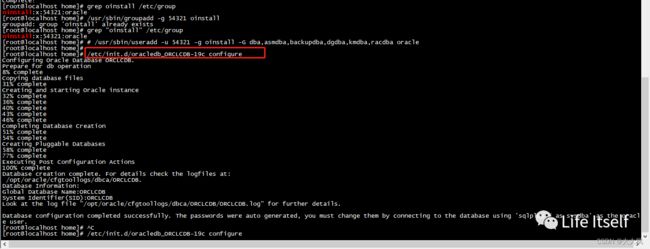
10. 安装成功之后创建和配置数据库
/etc/init.d/oracledb_ORCLCDB-19c configure
Database creation complete. For details check the logfiles at:
 /opt/oracle/cfgtoollogs/dbca/ORCLCDB.
Database Information:
Global Database Name:ORCLCDB
System Identifier(SID):ORCLCDB
Look at the log file "/opt/oracle/cfgtoollogs/dbca/ORCLCDB/ORCLCDB.log" for further details.
在这里的时候,可以尝试切换oracle用户,并使用命令查看oracle进程
ps -ef | grep oracle
 出现了Oracle说明安装成功,基本上按照手册上写的东西,安装部分就完成了。
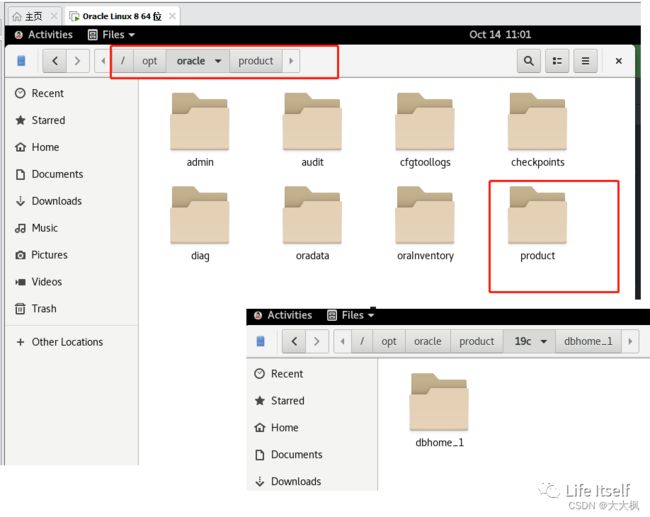
安装完成后检查CentOS的文件目录,已经有如下的环境。
11. 找了个教程说先修改一下root用户密码(不知道为什么,但是照做了)
12. 配置环境变量
切换到oracle用户下
su - oracle
vim /home/oracle/.bash_profile
追加以下内容
export ORACLE_HOME=/opt/oracle/product/19c/dbhome_1
export PATH=$PATH:/opt/oracle/product/19c/dbhome_1/bin
export ORACLE_SID=ORCLCDB
stty erase ^H
然后source一下,使环境变量生效
source /home/oracle/.bash_profile
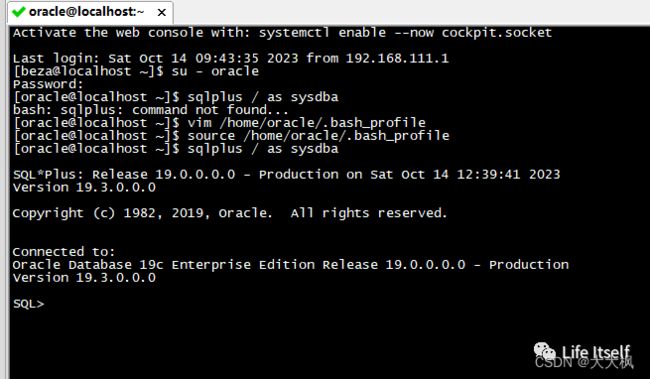
13. 尝试登陆oracle,成功
dbf目录
/opt/oracle/oradata/ORCLCDB
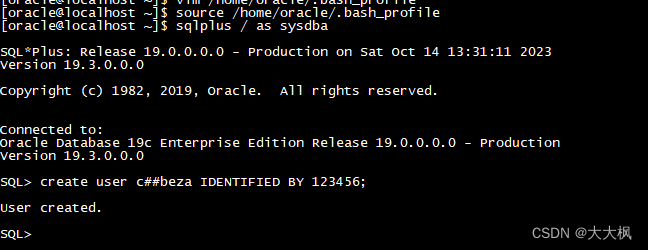
14. 添加用户并修改密码
create user c##beza IDENTIFIED BY 123456;
15. 创建表空间
create tablespace BEZA_TEST_DATA datafile
‘/opt/oracle/oradata/ORCLCDB/beza_test.dbf’ size 2048M;
16. 赋予用户权限
grant create session, resource to c##beza;
17. 创建完表空间,需要重新启动oracle数据库实例
SQL> shutdown
SQL> startup
18. 切换用户
alter user c##beza default tablespace BEZA_TEST_DATA;
19. 退出使用c##beza用户登陆
sqlplus c##beza/123456
