在WSL中安装并配置VSCode
在WSL中安装并配置VSCode
下载WSL
WSL(Windows Subsystem for Linux)可以在windows中装一个Linux子系统,非常方便且易于使用。
首先在Microsoft Store中下载Ubuntu:

点开下载的界面会花很长时间,但下载速度很快。
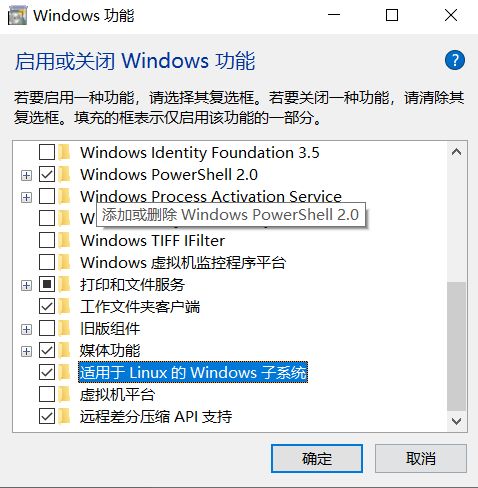
下载过程中,打开Windows功能,勾选"适用于 Linux 的 Windows 子系统”:
然后打开下载好的Ubuntu,第一次打开要设定用户名和密码。这样,wsl就算是安装完了。
为了加快下载速度,把默认源切换成阿里源:
sudo sed -i s@/archive.ubuntu.com/@/mirrors.aliyun.com/@g /etc/apt/sources.list
sudo apt update -y
sudo apt upgrade -y
下载并配置VSCode
下载VSCode只用4条命令:
sudo add-apt-repository ppa:ubuntu-desktop/ubuntu-make
sudo apt update
sudo apt install ubuntu-make
sudo umake ide visual-studio-code
这样就得到一个未配置的VSCode了。
但是由于种种原因,下载下来的VSCode可能用不了。解决办法是在本地有一个能用的VSCode,然后在本地上安装Remote-WSL插件:
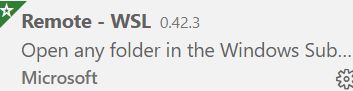
这样就可以在wsl里用code .(注意小数点和前面的空格不能少)命令进入VSCode了。在root状态下使用这个命令会失效,而且再切回原本的用户再使用也会失效,这时只能关闭终端重新启动。
然后要在wsl里安装g++和gdb:
sudo apt-get install gdb
sudo apt-get install g++
接下来要配置开发环境,需要新建一个.vscode文件夹:

4个文件的内容分别是:
c_cpp_properties.json
{
    "configurations": [
        {
            "name": "Linux",
            "includePath": [],
            "defines": ["_DEBUG","_UNICODE"],
            "compilerPath": "/usr/bin/g++",
            "intelliSenseMode": "${default}"
        }
    ],
    "version": 4
}
launch.json
{
  // Use IntelliSense to learn about possible attributes.
  // Hover to view descriptions of existing attributes.
  // For more information, visit: https://go.microsoft.com/fwlink/?linkid=830387
  "version": "0.2.0",
  "configurations": [

      {
          "name": "g++ build and debug active file",
          "type": "cppdbg",
          "request": "launch",
          "program": "${fileDirname}/${fileBasenameNoExtension}",
          "args": [],
          "stopAtEntry": false,
          "cwd": "${workspaceFolder}",
          "environment": [],
          "externalConsole": false,
          "MIMode": "gdb",
          "setupCommands": [
              {
                  "description": "Enable pretty-printing for gdb",
                  "text": "-enable-pretty-printing",
                  "ignoreFailures": true
              }
          ],
          "preLaunchTask": "g++ build active file",
          "miDebuggerPath": "/usr/bin/gdb"
      }
  ]
}
settings.json
{
  "files.associations": {
    "iostream": "cpp"
  }
}
task.json
{
  "tasks": [
      {
          "type": "shell",
          "label": "g++ build active file",
          "command": "/usr/bin/g++",
          "args": [
              "-g",
              "${file}",
              "-o",
              "${fileDirname}/${fileBasenameNoExtension}"
          ],
          "options": {
              "cwd": "/usr/bin"
          }
      }
  ],
  "version": "2.0.0"
}
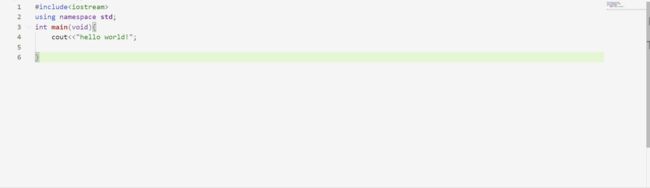
然后就可以写一个helloworld.cpp,愉快地一键F5运行了:
但还是会在上方出现一个选择环境的提示,选C++(GDB/LLDB)
选择配置则是g++ build and debug active file
然后会在终端看到结果:

当然,也可以在终端用g++直接编译然后运行~