python实现批量txt文件转mask(多标签or单标签)
1.代码
1)看注释改一下文件路径
2)复制粘贴即可用
import os
import cv2
import numpy as np


def txt2mask_new(img_x, img_y, line):
    # 处理每一行的内容
    data = line.split('\n')[0]
    d = data.split(' ', -1)
    # d[-1] = d[-1][0:-1]
    data = []

    for i in range(1, int(len(d) / 2) + 1):
        data.append([img_y * float(d[2 * i - 1]), img_x * float(d[2 * i])])

    data.append(data[0])
    data = np.array(data, dtype=np.int32)


    return data


def init_func():
    # txt文件夹操作
    folder_type = 'train'
    # folder_type = 'val'
    img_dir = 'D:/python/projects/yolov5-7.0/runs/predict-seg/exp15/pre_images'
    txt_dir = 'D:/python/projects/yolov5-7.0/runs/predict-seg/exp15/labels'
    save_dir = 'D:/python/projects/yolov5-7.0/runs/predict-seg/exp15/single_mask'
    files = os.listdir(img_dir)


    for file in files:
        name = file[0:-4]
        img_path = img_dir + '/' + name + '.jpg'
        txt_path = txt_dir + '/' + name + '.txt'

        img = cv2.imread(img_path)  # 读取图片信息
        img_x = img.shape[0]
        img_y = img.shape[1]

        img_save = np.zeros((img_x, img_y, 1))  # 黑色背景

        # 打开文件
        file = open(txt_path, "r")
        # 逐行读取文件内容
        for line in file:
            #如果输出多标签,删去if语句,后5句代码缩进一个制表符
            #如果输出指定标签,改一下标签类别
            if line[0] == "1": #显示标签的类别: 0:瓜  1:梗
                data = txt2mask_new(img_x, img_y, line)

                color = 225
                cv2.fillPoly(img_save,  # 原图画板
                             [data],  # 多边形的点
                             color=color)
        save_path = save_dir + '/' + name + '.png'
        cv2.imwrite(save_path, img_save)

        # 关闭文件
        file.close()

if __name__ == '__main__':
    init_func()
2.效果图
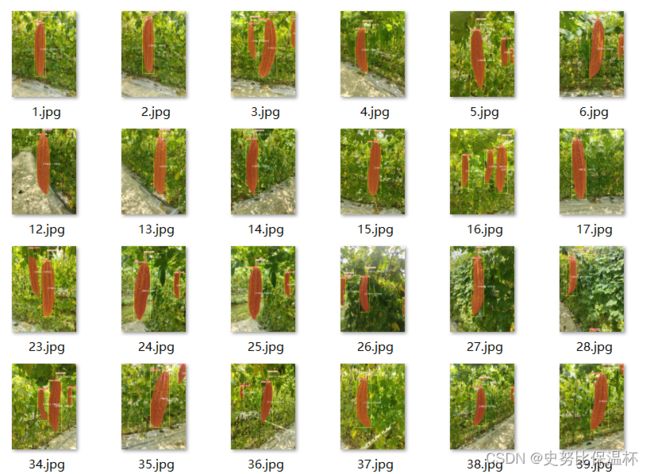
1)带标签的image
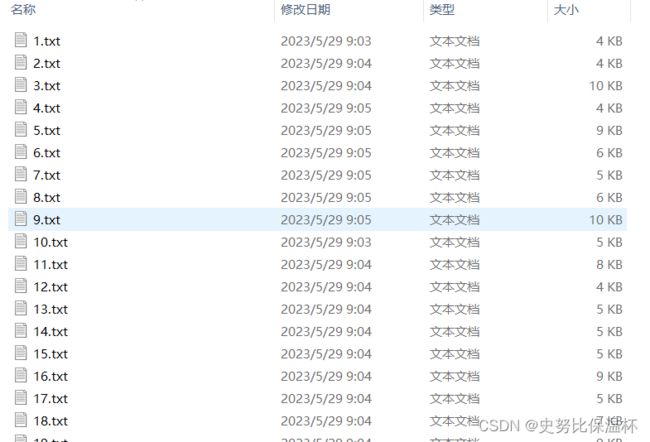
2)txt文件
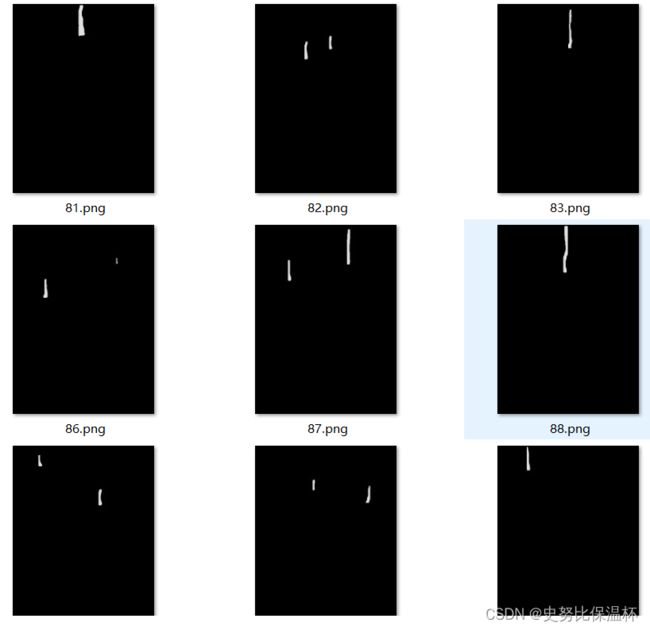
3) 指定输出单标签(梗)效果图
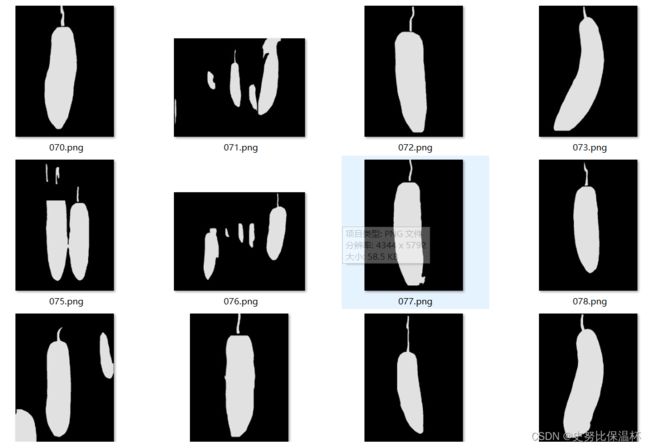
4)输出多标签效果图(瓜 and 梗)
3. 本人发布内容是想记录自己的学习过程和经历,更是为了方便自己日后使用。
如若侵权,联系必删!!!
如若侵权,联系必删!!!
如若侵权,联系必删!!!


