IMX6ULL开发板的第 1 个驱动程序
目录描述
-
- 所用设备
- 前提
- 编译内核(IMX6ULL开发板)
- 编译内核模块
- 安装内核和模块到开发板上
- 体验第 1 个驱动程序
- 开发板上运行
所用设备
IMX6ULL开发板、ubuntu18
前提
已经配置好了交叉工具编译链(后面会把这个相关步骤补起来)
为什么编译驱动程序之前要先编译内核?
① 驱动程序要用到内核文件:
比如驱动程序中这样包含头文件:#include
② 编译驱动时用的内核、开发板上运行到内核,要一致:
开发板上运行到内核是出厂时烧录的,你编译驱动时用到内核是你自己编译的,这两个内核不一致时会导致一些问题。所以我们编译驱动程序前,要把自己编译出来到内核放到板子上去,替代原来的内核。
③ 更换板子上的内核后,板子上的其他驱动也要更换:
板子使用新编译出来的内核时,板子上原来的其他驱动也要更换为新编译出来的。
所以在编译我们自己的第 1 个驱动程序之前,要先编译内核、模块,并且放到板子上去。
编译内核(IMX6ULL开发板)
不同的开发板对应不同的配置文件,配置文件位于内核源码arch/arm/configs/目录。
进入内核目录(我这边的是Linux-4.9.88)
cd Linux-4.9.88
配置
make 100ask_imx6ull_defconfig
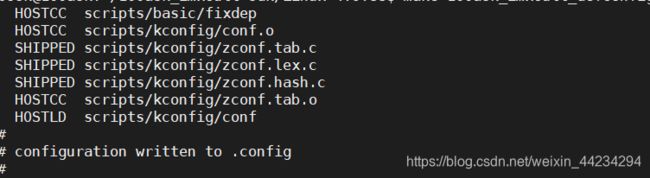
编译内核
make zImage -j4
编译成功!

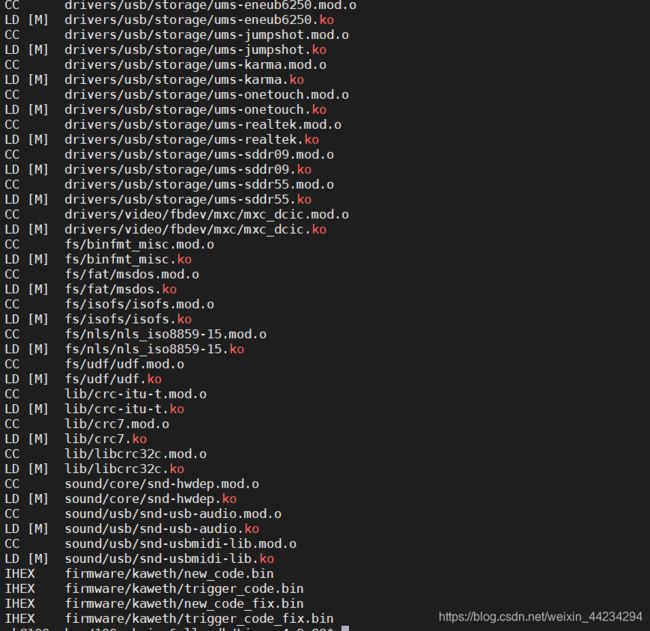
编译内核模块
进入内核源码目录后,就可以编译内核模块了!
 cd Linux-4.9.88
 make ARCH=arm CROSS_COMPILE=arm-linux-gnueabihf- modules
sudo make ARCH=arm INSTALL_MOD_PATH=/home/book/nfs_rootfs modules_install
命令是把模块安装到 /home/book/nfs_rootfs 目录下备用,会得到 /home/book/nfs_rootfs/lib/modules目录.

安装内核和模块到开发板上
执行上述命令后,在Ubuntu的/home/book/nfs_rootfs目录下已经有了zImage或uImage、dtb文件,并且有lib/modules子目录(里面含有各种模块)。
接下来我们呀哦吧这些文件复制到开发板上
此时我的是NAT模式
mount -t nfs -o nolock,vers=3,port=2049,mountport=9999 自己WindowIP:/home/book/nfs_rootfs /mnt
依次执行这五个命令
cp /mnt/zImage /boot 或 cp /mnt/uImage /boot
cp /mnt/*.dtb /boot
cp /mnt/lib/modules /lib -rfd
sync
reboot
r表示递归的赋值
f表示强制覆盖
d表示如果之前是链接文件复制过来仍然是链接文件
sync表示把内存里面的文件强制刷到磁盘上面去

体验第 1 个驱动程序
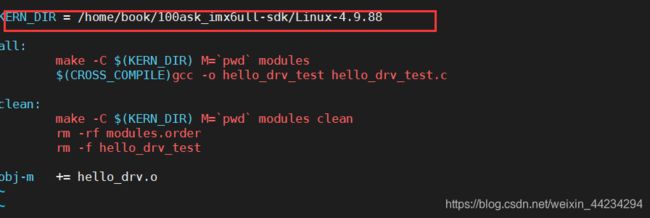
修改 Makefile 指定内核目录
把第 1 个驱动程序 01_hello_drv 上传到 Ubuntu 后,修改它的 Makefile,设置其中的 KERN_DIR 变量为内核的源码目录,以 IMX6ULL 为例,如下:
KERN_DIR = /home/book/100ask_imx6ull-sdk/Linux-4.9.88
hello_drv程序源码
hello_drv.c
#include hello_drv_test.c
#include \n" , argv[0]);
printf(" %s -r\n", argv[0]);
return -1;
}
/* 2. 打开文件 */
fd = open("/dev/hello", O_RDWR);
if (fd == -1)
{
printf("can not open file /dev/hello\n");
return -1;
}
/* 3. 写文件或读文件 */
if ((0 == strcmp(argv[1], "-w")) && (argc == 3))
{
len = strlen(argv[2]) + 1;
len = len < 1024 ? len : 1024;
write(fd, argv[2], len);
}
else
{
len = read(fd, buf, 1024);
buf[1023] = '\0';
printf("APP read : %s\n", buf);
}
close(fd);
return 0;
}
Makefile
KERN_DIR = /home/book/100ask_imx6ull-sdk/Linux-4.9.88

all:
	make -C $(KERN_DIR) M=`pwd` modules
	$(CROSS_COMPILE)gcc -o hello_drv_test hello_drv_test.c

clean:
	make -C $(KERN_DIR) M=`pwd` modules clean
	rm -rf modules.order
	rm -f hello_drv_test

obj-m	+= hello_drv.o
编译
make

开发板上运行
开发板启动后通过 nfs 挂载 Ubuntu 目录的方式,将相应的文件拷贝到开发板上。挂上方式和上面一样
挂载 NFS 成功后,把驱动和测试程序复制到开发板上:
 cp /mnt/hello_drv.ko ./
 cp /mnt/hello_drv_test ./
![]()
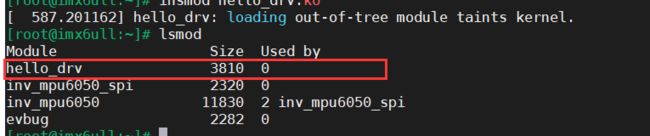
安装驱动程序
insmod hello_drv.ko
查看hello_drv驱动
lsmod
执行
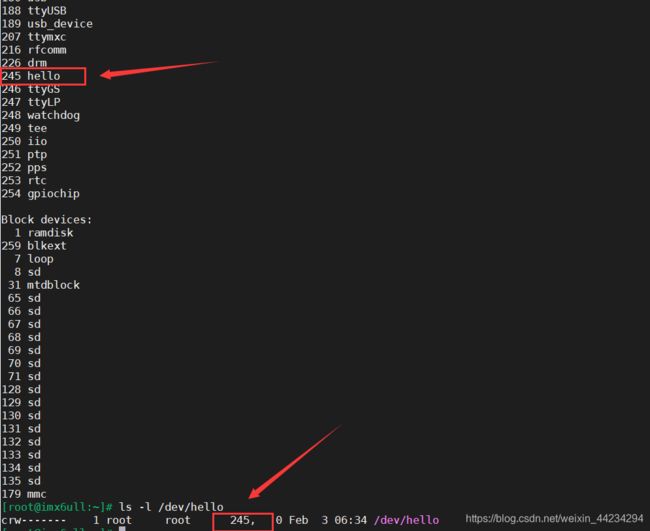
cat /proc/devices
执行如下命令,可以发现有这个设备节点,并且它的主设备号一样
ls -l /dev/hello
最后执行测试程序
增加可执行权限
chmod _x hello_drv_test
运行测试文件

成功!
