C++手写实现线程池(MacOS和Linux系统)
引言
高并发程序开发中我们经常使用到线程池, 无论Java语言还是C++, 我们就拿Java语言的线程池举例, 面试八股文中通常都背诵的滚瓜烂熟, 比如, 核心线程池数量(core size), 最大线程池数量, 超时时间, 队列长度, 以及拒绝策略等等面试官可能都会问到, 但是今天广联达的面试官问到我线程池底层是怎么实现的? 来一个任务它是直接被调度起来, 还是放到队列中去的? 这点之前我确实没仔细琢磨过(没看过Java线程池的底层的实现原理), 今天带着这个问题, 我阅读了一下Java线程池的底层实现, 并且使用C++手写了一个简单的线程池, 这里记录一下实现的过程及一些细节问题.
实现过程
1. 定义Runnable接口
这点相信不用多说, Java线程中我们都会实现Runnable接口, 然后线程调用start()方法之后会调用我们传递进去的runnable接口的run()方法, C++这里我也做了一个实现:
#ifndef RUNNABLE_H
#define RUNNABLE_H
#include 当然也可以使用模板类定义一些有参的run()方法, 这些都无关紧要.
2. 实现信号量控制和锁
信号量类: 目的是为了方式队列中任务数量为空, 导致while(true)代码块出现空转, 占用CPU资源;
锁类: 目的是保证多个线程从队列中取任务和添加任务到队列中访问是互斥的;
#ifndef _LOCKER_H_
#define _LOCKER_H_
#include 踩坑点: MAC OS系统没有对sem_post(), sem_wait(), sem_init(), sem_destroy()这几个方法进行实现, 因此在class sem类中定义了一些宏, 用于替代这几个方法的实现.
3. 实现线程池
实现逻辑简介:
- new一个线程池的时候, 会传递进来线程池大小m以及队列大小n, 并同时创建启动m个线程, 这m个县城都会竞争的从任务队列
task_queue中抢任务执行; - 初始的信号量
semaphore = 0, 因此所有的线程都阻塞着在; - 如果有任务添加到队列中,
signal(semaphore)会唤醒相应数量的线程从队列中取数据执行;
实现代码:
#ifndef _THREADPOOL_H
#define _THREADPOOL_H
#include 4. 测试线程池
测试代码:
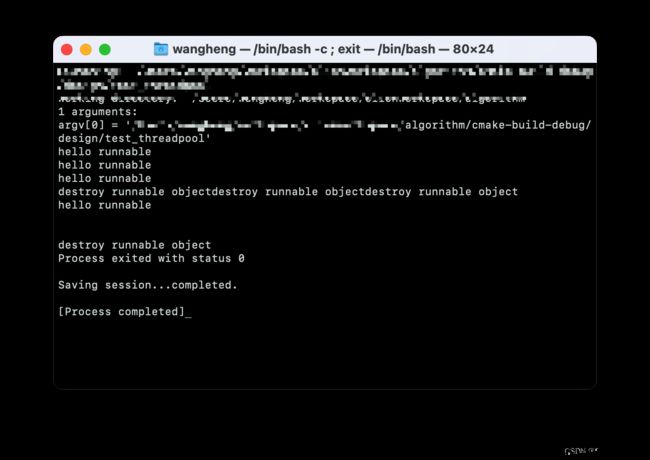
#include 测试结果:
 常见问题:
常见问题:
- 队列模板使用了shared_ptr, 防止内存泄露;
- 拒绝策略没有实现, 后序可以在
append()方法中添加相应的实现, 例如: 超过max_request值可直接throw std::exception(), 或者直接调用runnable接口中的run()方法, 这样就把main线程给阻塞掉了, 这也是Java线程池中常用的拒绝策略.
其它的未考虑到的点欢迎大家批评指正
Github代码链接