Sentinel入门
一、Sentinel介绍
Sentinel 是阿里云开发的一款用于流量控制、熔断降级、系统负载保护的轻量级库。它可以帮助开发者保障系统的稳定性,在分布式服务架构中,Sentinel 能够对服务提供一定的保护,避免因为某个服务的故障而影响全局。
Sentinel 的主要功能包括:
流量控制:通过限制请求的速率,防止过多的请求冲垮系统。
熔断降级:在服务出现故障或响应过慢时,自动熔断该服务的调用,保护系统的其他部分。
系统负载保护:通过监控系统负载,当达到一定阈值时,自动触发降级策略,保护系统不被破坏。
在实际应用中,Sentinel 通常被用在分布式服务架构中的微服务之间,以确保整个系统的稳定性。
例如,在一个电商应用中,如果订单服务出现故障,那么购物车服务和用户服务可能会受到影响。通过使用 Sentinel,可以在订单服务出现问题时自动熔断购物车服务和用户服务的调用,避免故障蔓延。
总之,Sentinel 是一款实用的库,旨在帮助开发者构建更加稳定、可靠的系统。
二、微服务集成Sentinel
加入依赖
            org.springframework.cloud
            spring-cloud-starter-openfeign


            com.alibaba.cloud
            spring-cloud-starter-alibaba-sentinel
三、安装Sentinel控制台
3.1 下载jar包,解压到文件夹
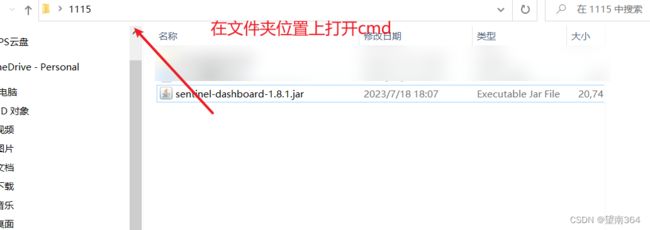
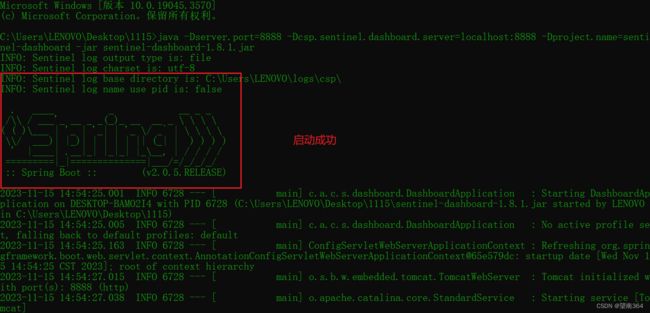
3.2 启动控制台
执行命令
java -Dserver.port=8888 -Dcsp.sentinel.dashboard.server=localhost:8888 -Dproject.name=sentinel-dashboard -jar sentinel-dashboard-1.8.1.jar

同时在启动nacos
3.3 修改配置文件


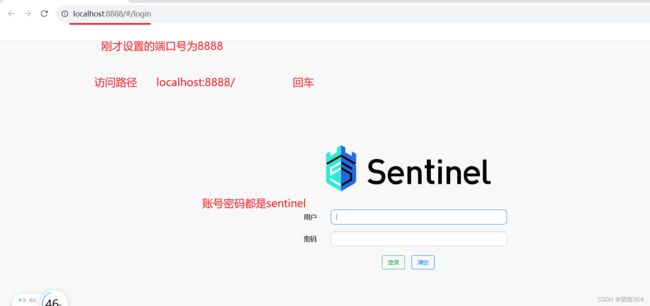
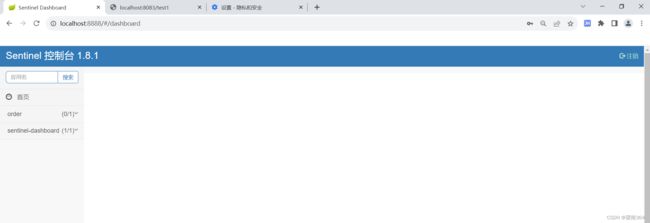
3.4 通过浏览器访问

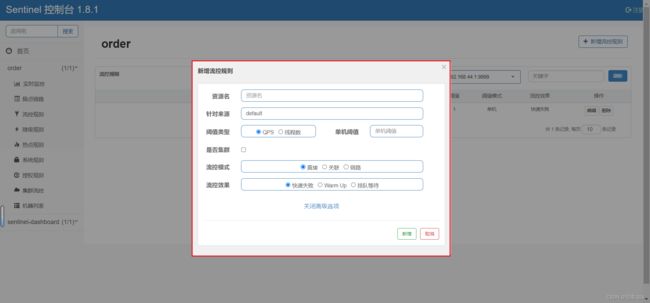
四、添加了一个流控规则
ResponseMsg类
package org.example.until;

import lombok.Data;

@Data
public class ResponseMsg {
    private Integer code;
    private String msg;
    private Object data;
    public ResponseMsg(){

    }
    public ResponseMsg(Integer code , String msg){
        this.code = code ;
        this.msg = msg;
    }
    public ResponseMsg(Integer code,String msg , Object data){
        this.code = code ;
        this.msg = msg;
        this.data = data;
    }
    public static ResponseMsg SUCCESS(Integer code,String msg , Object data){
        return new ResponseMsg( code, msg ,  data);
    }
    public static ResponseMsg SUCCESS(Integer code,String msg ){
        return new ResponseMsg( code, msg );
    }
    public static ResponseMsg FAIL(Integer code,String msg ){
        return new ResponseMsg( code, msg );
    }
}
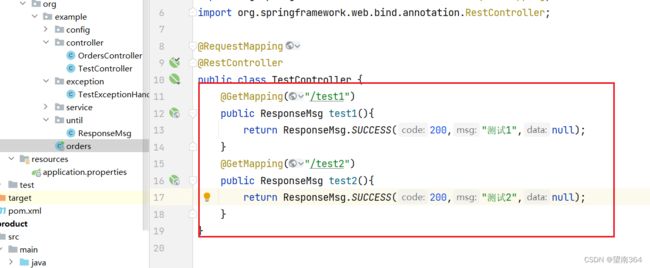
controlelr类
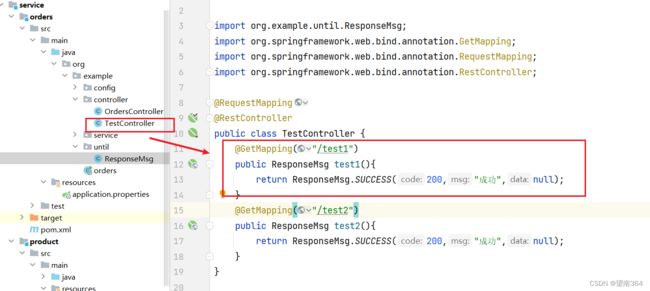
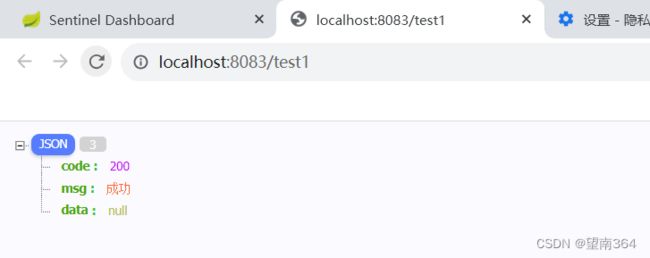
首先通过浏览器访问 test1
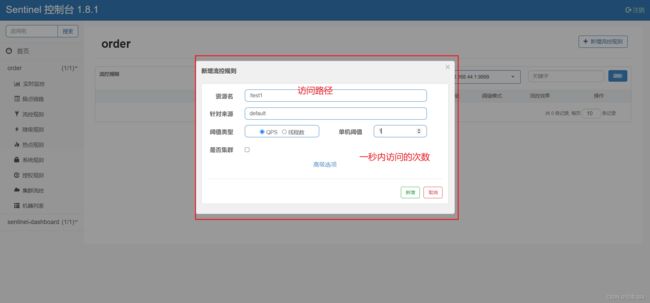
再次刷新sentinel 添加规则

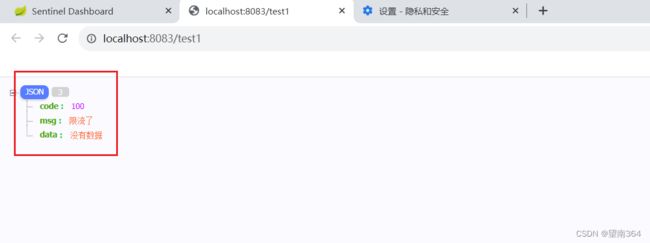
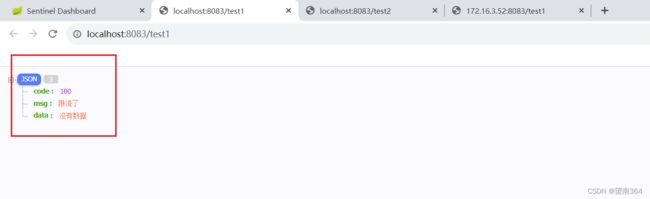
访问次数过多就会出现一下情况

五、BlockException异常统一处理
自定义BlockExceptionHandler 的实现类统一处理BlockException
在启动类 写一个objectmapper

自定义一个异常类

@Component
public class TestExceptionHandler implements BlockExceptionHandler {
    @Resource
    private ObjectMapper objectMapper;
    @Override
    public void handle(HttpServletRequest httpServletRequest, HttpServletResponse httpServletResponse, BlockException e) throws Exception {
        ResponseMsg responseMsg = null;
        if (e instanceof FlowException) {
            responseMsg =new ResponseMsg(100,"限流了","没有数据");

        }
        //返回json数据
        httpServletResponse.setStatus(500); // 500
        httpServletResponse.setCharacterEncoding("utf-8");
        httpServletResponse.setContentType(MediaType.APPLICATION_JSON_VALUE);
        objectMapper.writeValue(httpServletResponse.getWriter(), responseMsg);
        //response.getWriter();
    }
}
测试
六、配置流控模式
sentinel共有三种流控模式,分别是:
直接(默认):接口达到限流条件时,开启限流
关联:当关联的资源达到限流条件时,开启限流 [适合做应用让步]
链路:当从某个接口过来的资源达到限流条件时,开启限流
直接流控模式
直接流控模式是最简单的模式,当指定的接口达到限流条件时开启限流。上面案例使用的就是直接流控模式。
关联流控模式
关联流控模式指的是,当指定接口关联的接口达到限流条件时,开启对指定接口开启限流。
下面用这两个做测试

对 /test2 多次访问后会对 /test1进行限流
链路流控模式
加上注解
@SentinelResource("这里面时标注")
@Service
public class TestService {
@SentinelResource("test")
public void method(){
System.out.println("输出一句话-----------------");
}
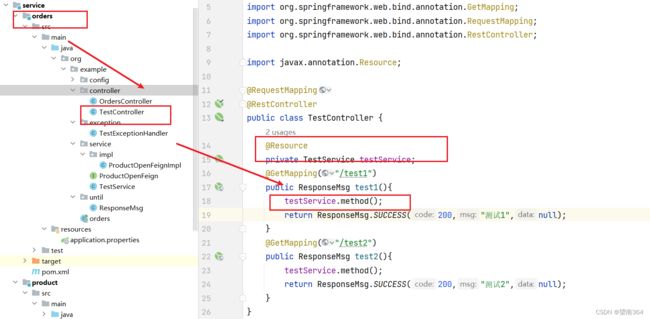
}在Controller中声明两个方法,分别调用service中的方法method
@RequestMapping
@RestController
public class TestController {
@Resource
private TestService testService;
@GetMapping("/test1")
public ResponseMsg test1(){
testService.method();
return ResponseMsg.SUCCESS(200,"测试1",null);
}
@GetMapping("/test2")
public ResponseMsg test2(){
testService.method();
return ResponseMsg.SUCCESS(200,"测试2",null);
}
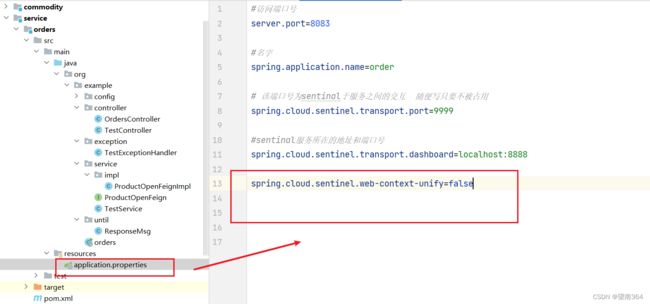
}禁止收敛URL的入口 context
在application.properties中添加:
spring.cloud.sentinel.web-context-unify=false
#用于控制是否收敛context。将其配置为 false 即可根据不同的URL 进行链路限流。
控制台配置限流规则


七、springboot项目连接虚拟机中的nacos
order
server.port=8083

spring.application.name=order

spring.cloud.nacos.discovery.server-addr=http://192.168.44.64:80

spring.cloud.sentinel.transport.port=9999

spring.cloud.sentinel.transport.dashboard=localhost:8888

spring.cloud.sentinel.web-context-unify=false

product1
server.port=8081
spring.application.name=product


# 该端口号为sentinal于服务之间的交互  随便写只要不被占用
spring.cloud.sentinel.transport.port=9999

#sentinal服务所在的地址和端口号
spring.cloud.sentinel.transport.dashboard=localhost:8888

spring.cloud.nacos.discovery.server-addr=http://192.168.44.64:80
product2
server.port=8082
spring.application.name=product


# 该端口号为sentinal于服务之间的交互  随便写只要不被占用
spring.cloud.sentinel.transport.port=9999

#sentinal服务所在的地址和端口号
spring.cloud.sentinel.transport.dashboard=localhost:8888

spring.cloud.nacos.discovery.server-addr=http://192.168.44.64:80