Debian11之极狐GitLab稳定版本安装
极狐GitLab 系统要求
官方安装文档
存储
如果想在未来灵活增加硬盘空间,请考虑使用逻辑卷管理(LVM)进行挂载,以便在需要更多硬盘空间时进行添加
CPU
CPU 需求取决于用户数量和预期的工作负载
4核是推荐的最小核数,支持多达 500 名用户
8核支持多达 1000 名用户
内存
内存需求取决于用户数量和预期的工作负载
4GB RAM 是必需的最小内存,支持多达 500 名用户
8GB RAM 支持多达 1000 名用户
数据库
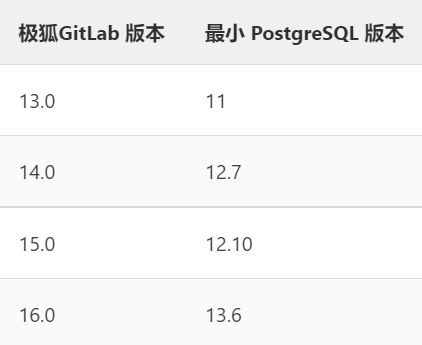
PostgreSQL 是唯一支持的数据库,捆绑在 Omnibus GitLab 软件包中,运行 PostgreSQL 的服务器应至少具有 5-10 GB的存储空间
Redis
Redis 存储所有用户会话和后台任务队列
16.0 及更高版本需要 Redis 6.0
不支持 Redis 集群模式。必须使用 Redis Standalone
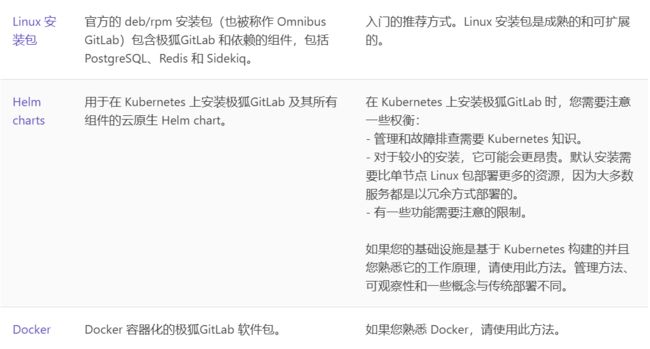
极狐GitLab 安装方法
极狐GitLab 安装(Linux 安装包)
如果您想通过域名访问您的 GitLab 实例,例如 mygitlabinstance.com,请确保该域正确指向安装 GitLab 的服务器的 IP。您可以使用命令 host mygitlabinstance.com 进行检查
如果要在 GitLab 实例上使用 HTTPS,请确保已准备好域名的 SSL 证书。(请注意,某些组件(例如 Container Registry)可以拥有自己的子域名,也需要这些子域名的证书)
如果要发送通知电子邮件,请安装和配置邮件服务器 (MTA),例如 Sendmail 或 Postfix。或者您可以使用其它第三方 SMTP 服务器
配置依赖项
sudo apt-get update
sudo apt-get install -y curl openssh-server ca-certificates perl
sudo apt-get install -y postfix #(可选,本次不安装)
安装 Postfix 以发送电子邮件通知。如果您想使用其他解决方案发送电子邮件,请跳过此步骤并在安装极狐GitLab 后配置外部 SMTP 服务器。在安装 Postfix 的过程中可能会出现一个配置界面,在该界面中选择“Internet Site”并按下回车。把“mail name”设置为您服务器的外部 DNS 域名并按下回车。如果还有其它配置界面出现,继续按下回车以接受默认配置
配置极狐GitLab 软件源镜像
curl -fsSL https://packages.gitlab.cn/repository/raw/scripts/setup.sh | /bin/bash
安装
sudo EXTERNAL_URL="http://192.168.111.12" apt-get install gitlab-jh
Notes:
Default admin account has been configured with following details:
Username: root
Password: You didn't opt-in to print initial root password to STDOUT.
Password stored to /etc/gitlab/initial_root_password. This file will be cleaned up in first reconfigure run after 24 hours.

NOTE: Because these credentials might be present in your log files in plain text, it is highly recommended to reset the password following https://docs.gitlab.com/ee/security/reset_user_password.html#reset-your-root-password.

gitlab Reconfigured!
Thank you for installing JiHu GitLab!
GitLab should be available at http://192.168.111.12

For a comprehensive list of configuration options please see the Omnibus GitLab readme
https://jihulab.com/gitlab-cn/omnibus-gitlab/-/blob/main-jh/README.md
Help us improve the installation experience, let us know how we did with a 1 minute survey:
https://wj.qq.com/s2/10068464/dc66
验证安装
# 验证配置文件
gitlab-ctl show-config
# 检查gitlab
gitlab-rake gitlab:check SANITIZE=true --trace
# 查看服务状态
gitlab-ctl status
重置密码
除非在安装过程中指定了自定义密码,否则将随机生成一个密码并存储在 /etc/gitlab/initial_root_password 文件中(出于安全原因,24 小时后,此文件会被第一次 gitlab-ctl reconfigure 自动删除,因此若使用随机密码登录,建议安装成功初始登录成功之后,立即修改初始密码
gitlab-rails console # 进入gitlab-rails控制台,进行如下操作:
	user = User.find(1)
	user.password = 'li1234mm'
	user.password_confirmation = 'li1234mm'
	user.save!
# 刷新配置文件并重启所有 gitlab 组件
gitlab-ctl reconfigure && gitlab-ctl restart
配置邮件服务[QQ邮箱]
vi /etc/gitlab/gitlab.rb # 按照如下内容编辑文件
	# 启用 smtp 服务
	gitlab_rails['smtp_enable'] = true
	# 配置 smtp 服务地址,这里需要填写邮件服务里面的“SMTP服务器地址”(如下是网易163邮箱的smtp服务器地址)
	gitlab_rails['smtp_address'] = "smtp.163.com"
	# 配置 smtp 服务的端口号(不同的邮件服务上端口不一样)
	gitlab_rails['smtp_port'] = 25
	# 配置发送邮件的电子邮箱名称(即刚才注册的邮箱名称)
	gitlab_rails['smtp_user_name'] = "[email protected]"
	# 配置发送邮件的电子邮箱授权密码
	gitlab_rails['smtp_password'] = "***"
	# 配置 SMTP 服务的域名,和上面的smtp服务器地址一致(如下是网易163邮箱的smtp域名)
	gitlab_rails['smtp_domain'] = "smtp.163.com"
	# 配置 SMTP 鉴定类别(默认 login 即可)
	gitlab_rails['smtp_authentication'] = "login"
	# 开启纯文本通信协议扩展
	gitlab_rails['smtp_enable_starttls_auto'] = true

	# gitlab 服务邮件发送来源邮箱(即发出邮件的发送方邮箱)
	gitlab_rails['gitlab_email_from'] = '[email protected]'
# 刷新配置文件并重启所有 gitlab 组件
gitlab-ctl reconfigure && gitlab-ctl restart
# 测试发送邮件
gitlab-rails console # 进入gitlab-rails控制台,进行如下操作:
	Notify.test_email("[email protected]","title","gitlab").deliver_now
irb(main):001:0> Notify.test_email("[email protected]","title","gitlab").deliver_now
Delivered mail [email protected] (636.2ms)
=> #, >, >, , >, , , , , , >
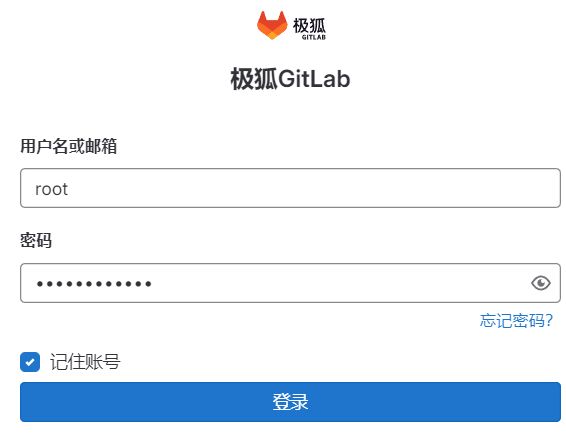
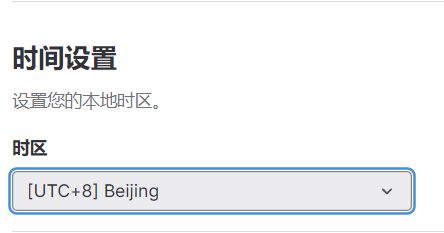
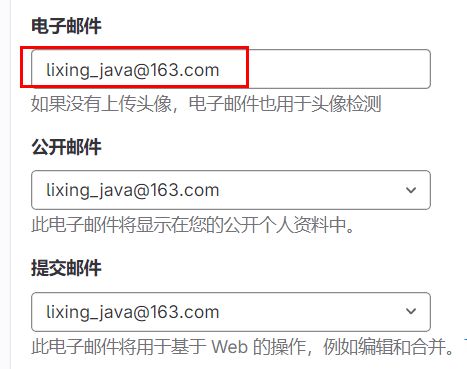
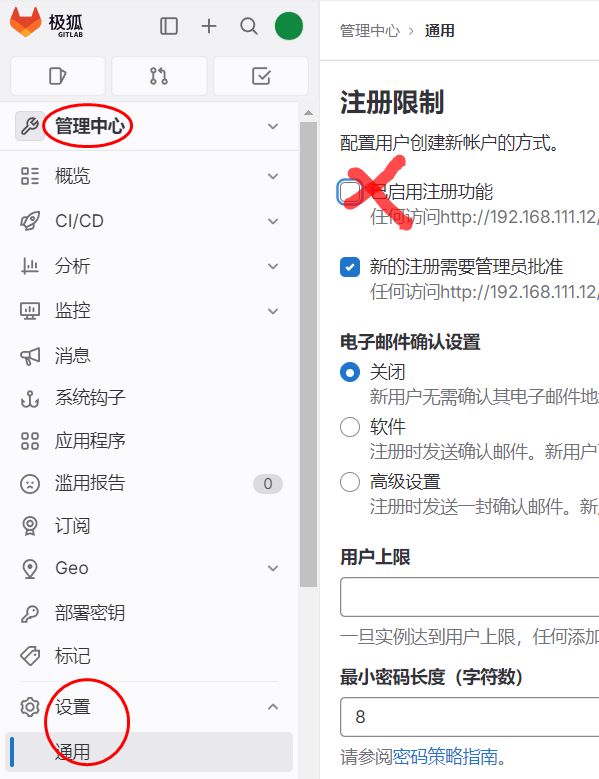
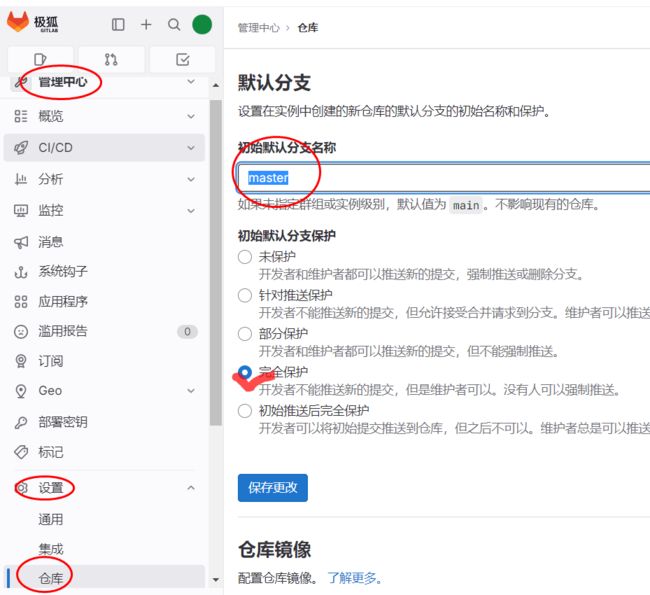
登陆[ http://192.168.111.12 ]并初始化
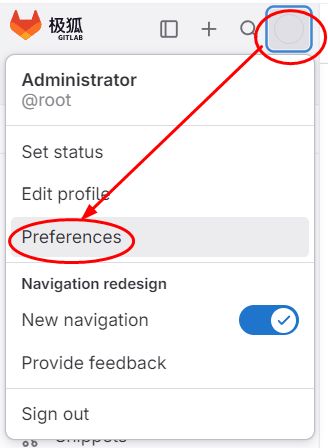
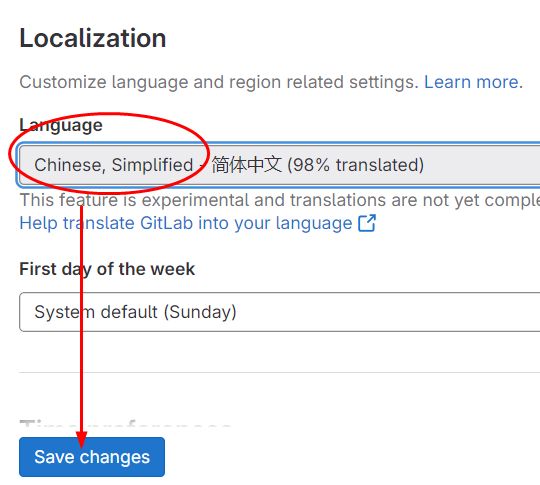
极狐GitLab 操作手册
参考我的另一篇文章
