PyQt5 + QtDesigner 复刻 Windows 计算器 (二)
目标
画一个 并实现相关的基本功能
QtDesigner 画 草稿 UI
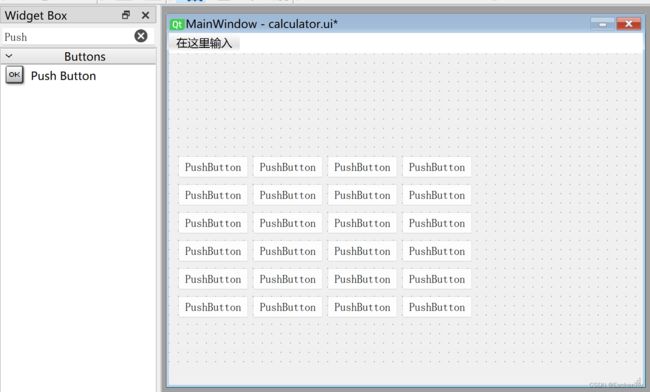
用 QtDesigner 打开 calculator.ui,先在主窗口中插入 24 个 Pushbutton
 |
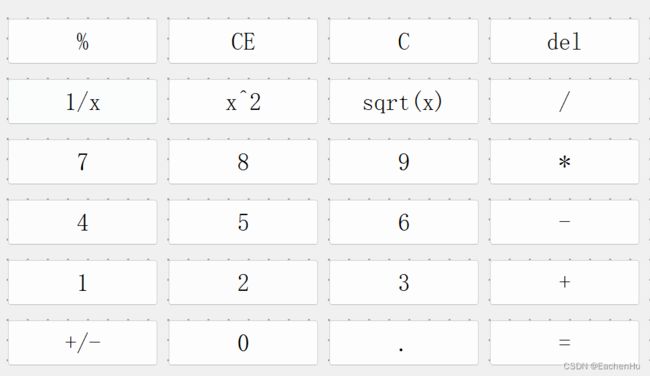
将 Pushbutton 上的 text 分别改名,同时按照功能修改每个 button 对应的对象名字。
|
|
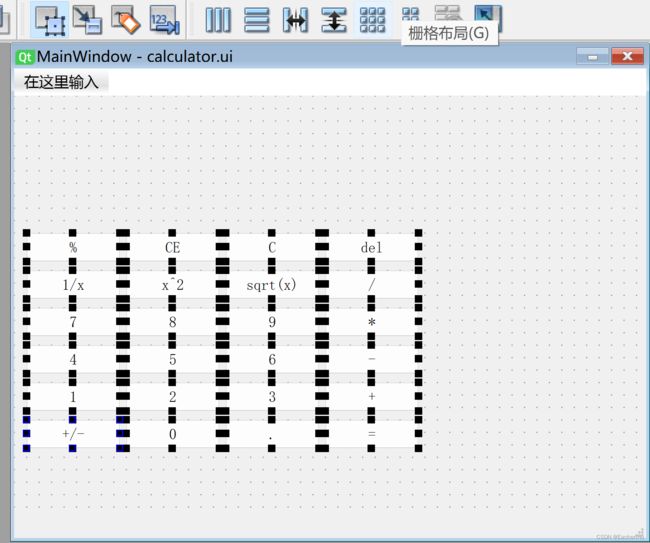
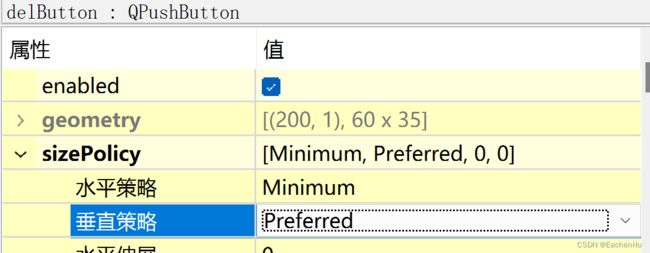
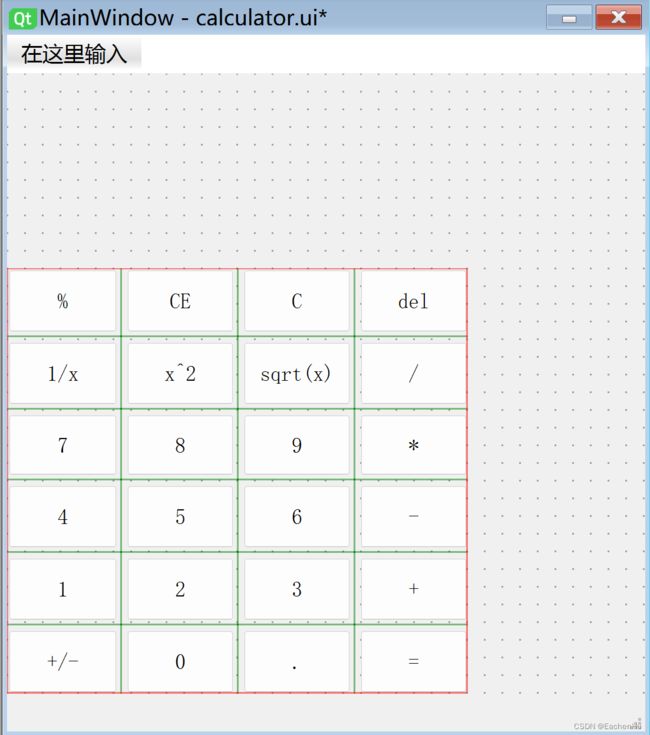
选中所有按钮,点击工具栏中的栅格布局。选中所有按钮,将 sizePolicy 中的 “垂直策略” 设置为 preferred。调整栅格到合适大小。
 |
 |
 |
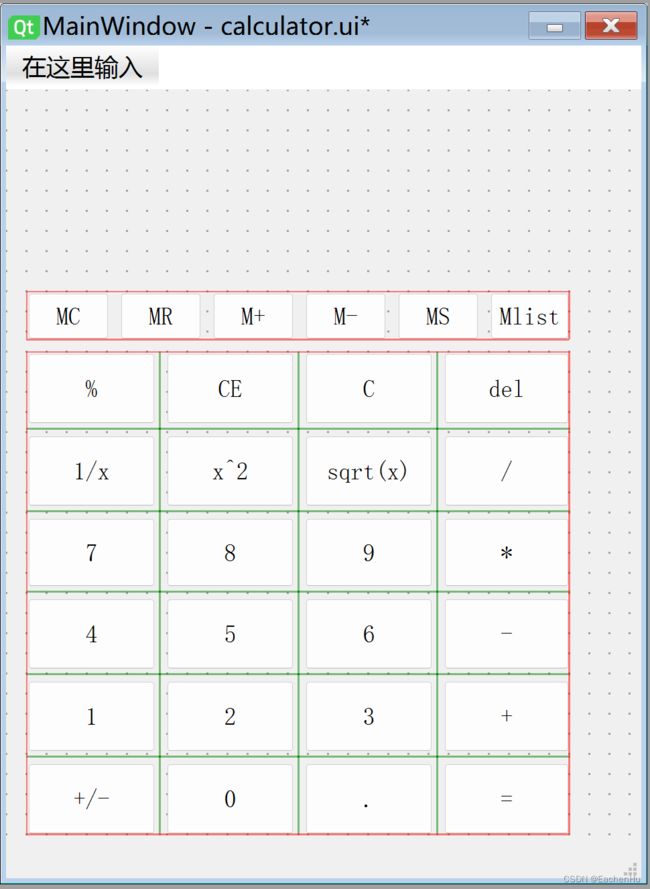
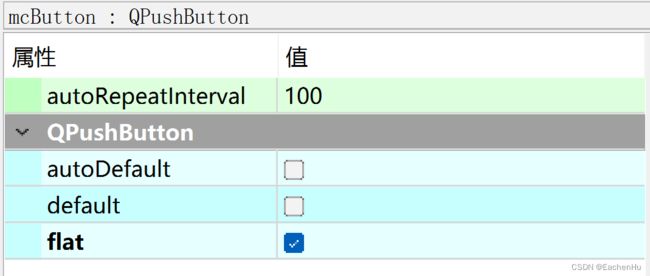
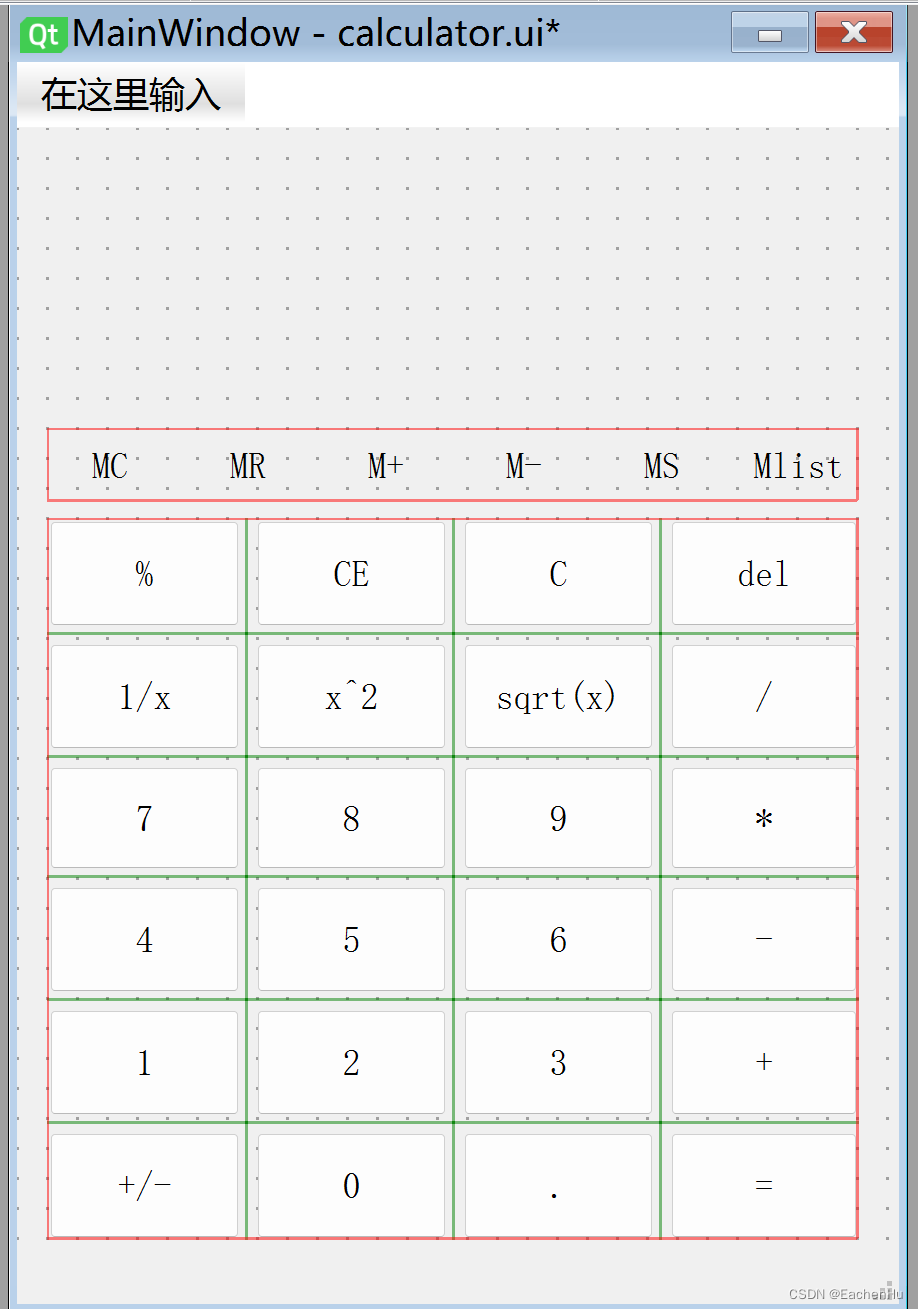
再次拖拽 6 个 pushButton 到 mainWindow,分别命名为 mcButton, mrButton, maddButton, mminusButton, msButton, mlistButton。然后选中这 6 个按钮,点击工具栏中的水平布局,同时调整布局到合适大小。再次选中这 6 个按钮,将 QPushbutton 属性设置为 Flat。
 |
 |
 |
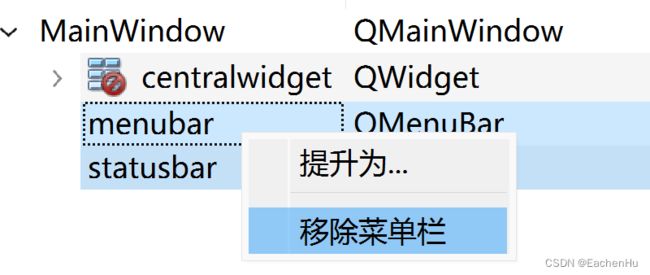
将 mainWindow 的 menubar 和 statusbar 删除
 |
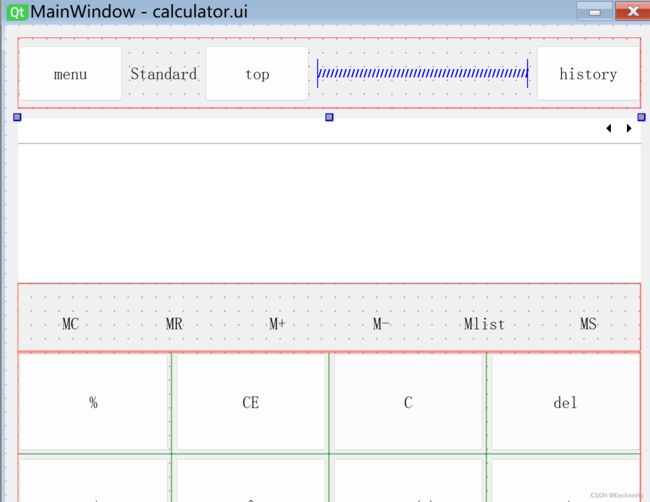
在 mainWindow 中插入三个 pushButton 和一个 label。并用同样的方法设置水平布局。
 |
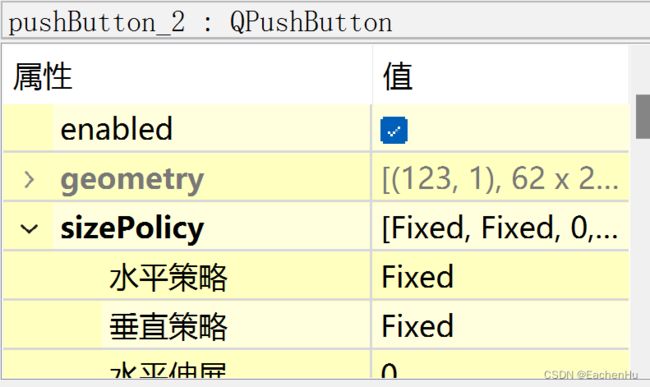
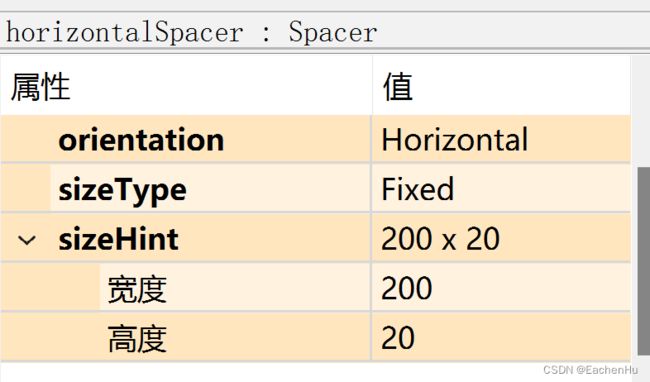
控件名称分别命名为 menuButton, modeLabel, topButton, historyButton。同时在 top 和 history 按钮中间插入一个 Horizontal Spacer。将以上 5 个控件的水平策略设置为 Fixed。同时调整 Horizontal Spacer 的长度到合适的数值。
 |
 |
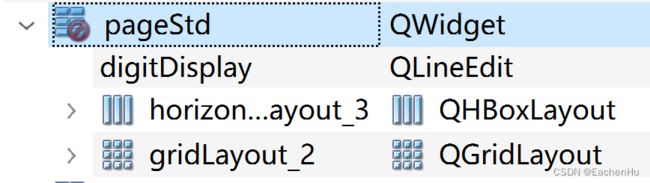
在 mainWindow 中插入一个 lineEdit,命名为 digitDisplay。再插入第二个 lineEdit,命名为 digitUpDisplay:
 |
 |
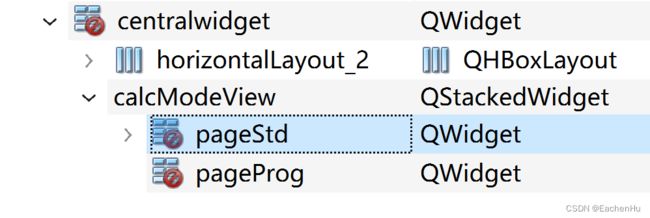
在 mainWindow 中插入一个 QStackedWidget,并将 第一个 page 命名为 pageStd,第二个 page 命名为 pageProg。这一步是为了方便实现计算器切换 standard / programmer 模式。将刚刚画好的 standard 相关的视图拖拽到 pageStd 中 (即 除了 menu 栏之外的组件)。
 |
 |
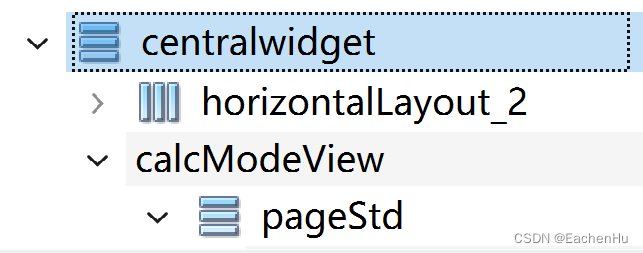
点击 centralWidget,将其设置为垂直布局:
 |
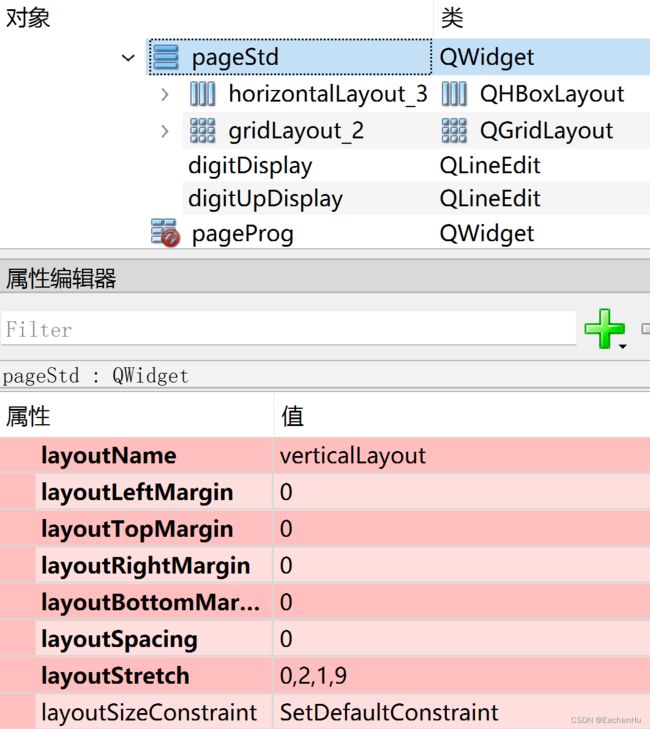
选择 pageStd,将 Layout 中的所有 Margin 设置为0,将 layoutStretch 设置为 0,2,1,9:
 |
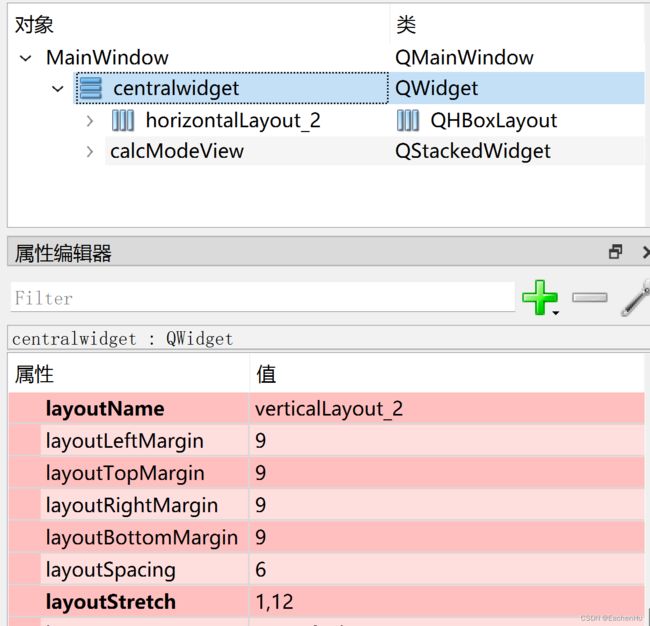
选择 centralWidget,将 layoutStretch 改为 1,12:
 |
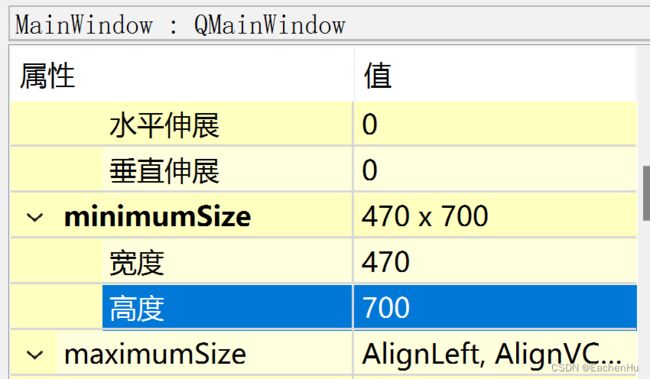
最后,将 mainWindow 最小 size 改为 470*700:
 |
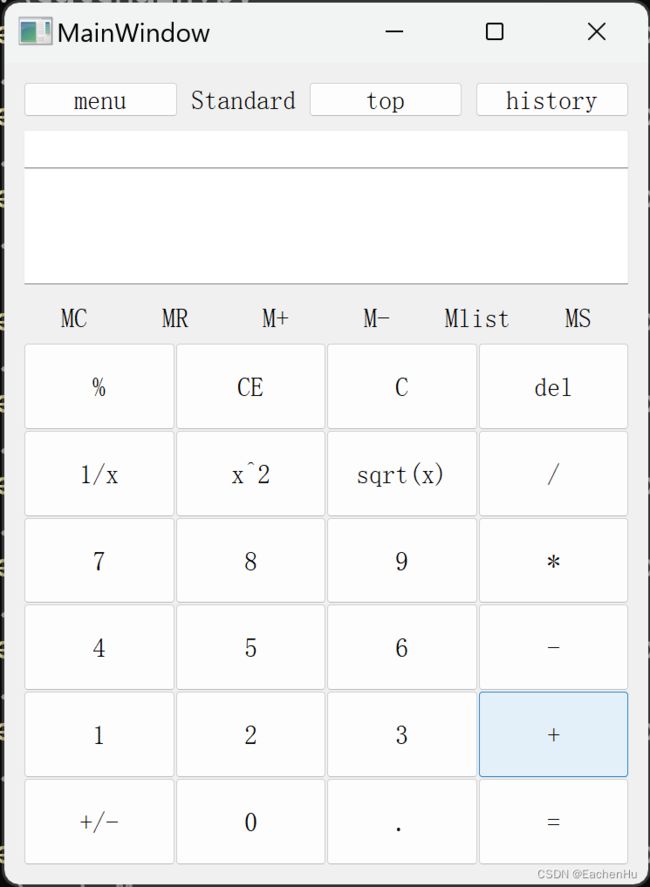
现在 standard 计算器 UI 的草稿就完成了。生成 UI 对应的 py 文件并运行主程序:
pyuic5.exe -o ui_calculator.py calculator.ui

python ./calculator.py
运行结果:
 |
功能实现放到下一篇吧.. UI 源码贴在下面。复制之后保存为 .ui 文件就可以用了。
MainWindow
0
0
470
700
0
0
470
700
MainWindow
0
0
16777215
16777215
Qt::LeftToRight
-
-
0
0
16777215
40
menu
-
0
0
16777215
40
Standard
-
0
0
16777215
40
top
-
0
0
16777215
40
Qt::Horizontal
QSizePolicy::Preferred
400
17
-
0
0
16777215
40
history
-
0
0
0
0
0
0
-
-
0
0
-
0
QLayout::SetMinimumSize
0
9
-
0
0
16777215
16777215
MC
true
-
0
0
16777215
16777215
MR
true
-
0
0
16777215
16777215
M+
true
-
0
0
16777215
16777215
M-
true
-
0
0
16777215
16777215
Mlist
true
-
0
0
16777215
16777215
MS
true
-
-
0
0
CE
-
0
0
5
-
0
0
8
-
0
0
%
-
0
0
7
-
0
0
6
-
0
0
del
-
0
0
/
-
0
0
=
-
0
0
-
-
0
0
1/x
-
0
0
.
-
0
0
2
-
0
0
3
-
0
0
*
-
0
0
x^2
-
0
0
9
-
0
0
sqrt(x)
-
0
0
+/-
-
0
0
C
-
0
0
0
-
0
0
1
-
0
0
4
-
0
0
+