apache服务器的配置
1. apache的配置
1.1 安装apache2服务
yum install httpd -y
1.2 关闭防火墙
编辑sellinux配置文件:vim /etc/selinux/config
将enforcing改成disabled
如下:
# This file controls the state of SELinux on the system.
# SELINUX= can take one of these three values:
#     enforcing - SELinux security policy is enforced.
#     permissive - SELinux prints warnings instead of enforcing.
#     disabled - No SELinux policy is loaded.
SELINUX=disabled
# SELINUXTYPE= can take one of three two values:
#     targeted - Targeted processes are protected,
#     minimum - Modification of targeted policy. Only selected processes are protected.
#     mls - Multi Level Security protection.
SELINUXTYPE=targeted
重启主机
1.3 配置用户个人网站
1.3.1 使能用户目录
编辑apache配置文件userdir.conf
vim /etc/httpd/conf.d/userdir.conf
如下所示
<IfModule mod_userdir.c>
    #
    # UserDir is disabled by default since it can confirm the presence
    # of a username on the system (depending on home directory
    # permissions).
    #
    #UserDir disabled

    #
    # To enable requests to /~user/ to serve the user's public_html
    # directory, remove the "UserDir disabled" line above, and uncomment
    # the following line instead:
    #
    UserDir public_html
IfModule>
1.3.2 新建用户
useradd teacher1
su - teacher1
mkdir public_html
echo "Teacher1's site" > public_html/index.html
chmod o+x /home/teacher1/
# 回到root用户
exit
1.3.4 重启apache服务
systemctl restart httpd
1.3.5 测试
打开REHL服务器上的Firefox浏览器,
输入http://127.0.0.1/~teacher1
回车

1.4 配置apache路径别名和用户认证
1.4.1 编辑apache服务器配置文件
vim /etc/httpd/conf.d/userdir.conf
在末尾添加
Alias /private "/data/private"

AllowOverride AuthConfig
Options MultiViews Indexes FollowSymLinks
Require user kingma
Authname "private"
authtype basic
authuserfile "/etc/httpd/conf/htpasswd"
Directory>
添加文件夹
mkdir -p /data/private
写入文件到index.html
echo "Private site" > /data/private/index.html
设置账户密码
htpasswd -c -m /etc/httpd/conf/htpasswd kingma
重启httpd服务:systemctl restart httpd
1.4.2 验证
打开REHL服务器上的Firefox浏览器,
输入http://127.0.0.1/private
回车会提示要输入用户名和密码

1.5 路径别名+IP访问控制
编辑
vim /etc/httpd/conf.d/userdir.conf
添加
Alias /private1 "/dir1/test"

Options MultiViews Indexes FollowSymLinks
AllowOverride none
Require all granted
Order Allow,Deny
Allow from 127.0.0.1
Directory>
mkdir -p /dir1/test
 echo "ip acl" > /dir1/test/index.html
systemctl restart httpd
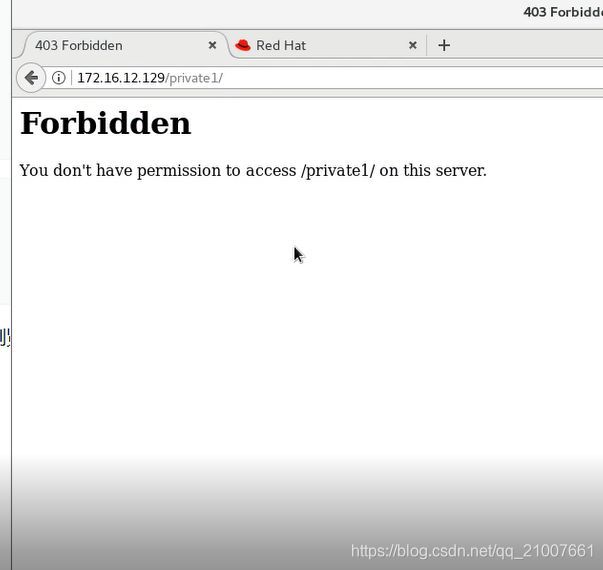
测试 可更改Allow from 192.168.x.66测试 当为192.168.x.66时,服务器浏览器会提示无权限 当为127.0.0.1时,正常访问
在客户端输入
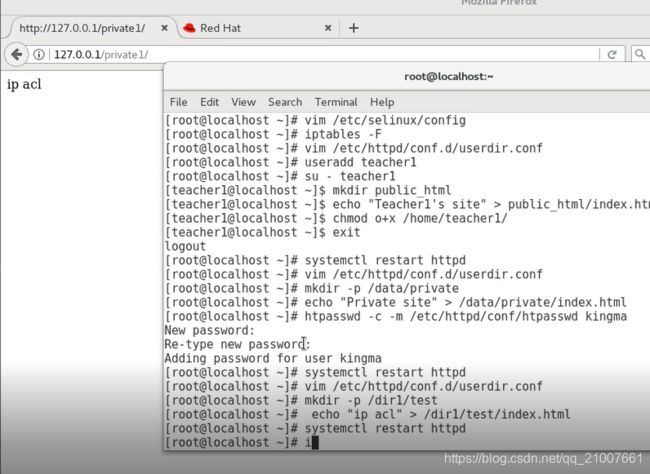
http://127.0.0.1/private1/
可以访问,但在其他主机访问,则访问失败
1.6 基于IP虚拟主机
这个文件默认没有 之间创建编辑就行
编辑
vim /etc/httpd/conf.d/vhost.conf
添加
<Virtualhost 172.16.12.129>
DocumentRoot "/var/www/html1"
virtualhost>
<Virtualhost 192.168.17.3>
DocumentRoot "/var/www/ip3"
virtualhost>
mkdir -p /var/www/html1
echo "hello world html1" > /var/www/html1/index.html
mkdir -p /var/www/html2
echo "hello world html2" > /var/www/html2/index.html
验证


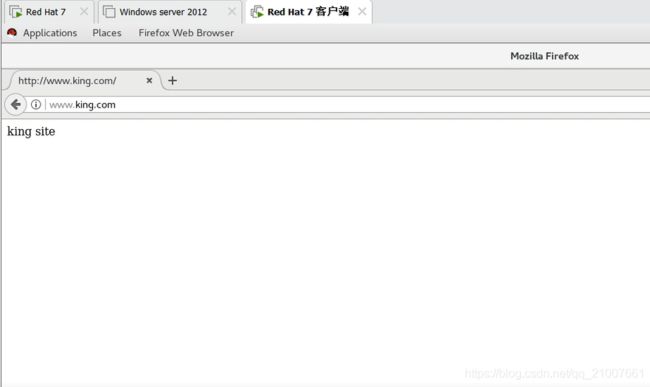
1.7 基于域名的虚拟主机
# 创建web根目录
mkdir -p /var/www/mlx
# 创建index.html文件,并写入数据
 echo "mlx site" > /var/www/mlx/index.html
 # 创建web根目录
 mkdir -p /var/www/king
 # 创建index.html文件,并写入数据
 echo "king site" > /var/www/king/index.html
辑
vim /etc/httpd/conf.d/vhost.conf
添加
把上一步的内容删除或者注释
<Virtualhost 192.168.17.2>
DocumentRoot "/var/www/mlx"
ServerName www.mlx.com
virtualhost>
<Virtualhost 192.168.17.2>
DocumentRoot "/var/www/king"
ServerName www.king.com
virtualhost>
重启apache服务
systemctl restart httpd
编辑客户端hosts文件
vim /etc/hosts
192.168.17.2 www.mlx.com
192.168.17.2 www.king.com
验证