SDK_17.1.0 nrf52832 串口透传(NUS)增加DFU功能OTA
1、环境搭建以及需要的软件见这篇文章:Secure DFU环境搭建_Zoolybo的博客-CSDN博客
2、密钥以及加密算法的方法详见这篇文章:详解蓝牙空中升级(BLE OTA)原理与步骤_Zoolybo的博客-CSDN博客
一、生成bootloader.hex
1、把dfu_public_key.c拷贝至SDK目录......\...\examples\dfu,替换原有的同名文件。
2、将BLE_peripheral_test\external\micro-ecc文件见拷贝至同目录下替换。
3、打开bootloader工程D:\NUS with DFU\examples\dfu\secure_bootloader\pca10040_s132_ble\arm5_no_packs
4、将...........\examples\dfu\secure_bootloader\pca10040_s132_ble\arm5_no_packs\_build中的hex文件 nrf52832_xxaa_s132copy出来重命名为bootloader.hex.
二、生成app.hex
1、打开NUS工程:D:\...\examples\ble_peripheral\ble_app_uart\pca10040\s132\arm5_no_packs
2\对sdk_config.h修改成如下配置:
#ifndef BLE_DFU_ENABLED

#define BLE_DFU_ENABLED 1

#endif


//  NRF_DFU_BLE_BUTTONLESS_SUPPORTS_BONDS  - Buttonless DFU supports bonds.


#ifndef NRF_DFU_BLE_BUTTONLESS_SUPPORTS_BONDS

#define NRF_DFU_BLE_BUTTONLESS_SUPPORTS_BONDS 0

#endif
//  NRF_SDH_BLE_GATTS_ATTR_TAB_SIZE - Attribute Table size in bytes. The size must be a multiple of 4.

#ifndef NRF_SDH_BLE_GATTS_ATTR_TAB_SIZE

#define NRF_SDH_BLE_GATTS_ATTR_TAB_SIZE 1600

#endif


//  NRF_SDH_BLE_VS_UUID_COUNT - The number of vendor-specific UUIDs.

#ifndef NRF_SDH_BLE_VS_UUID_COUNT

#define NRF_SDH_BLE_VS_UUID_COUNT 2

#endif
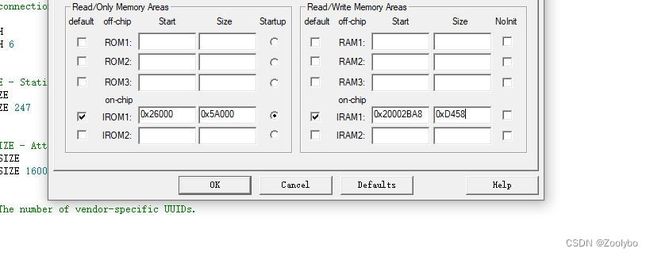
3、修改应用程序RAM起始地址,如下:
4、
在main.c中添加如下头文件定义:
#ifdef DFU_SUPPORT

#include "ble_dfu.h"

#endif
在main函数中的services_init();函数中添加如下代码:
	#ifdef DFU_SUPPORT

    ble_dfu_buttonless_init_t dfus_init = {0};

    // Initialize the async SVCI interface to bootloader.

    err_code = ble_dfu_buttonless_async_svci_init();

    APP_ERROR_CHECK(err_code);

    dfus_init.evt_handler = ble_dfu_evt_handler;

    err_code = ble_dfu_buttonless_init(&dfus_init);

    APP_ERROR_CHECK(err_code);

		#endif
添加ble_dfu_evt_handler代码如下:
// YOUR_JOB: Update this code if you want to do anything given a DFU event (optional).
/**@brief Function for handling dfu events from the Buttonless Secure DFU service
 *
 * @param[in]   event   Event from the Buttonless Secure DFU service.
 */
static void ble_dfu_evt_handler(ble_dfu_buttonless_evt_type_t event)
{
    switch (event)
    {
        case BLE_DFU_EVT_BOOTLOADER_ENTER_PREPARE:
        {
            NRF_LOG_INFO("Device is preparing to enter bootloader mode.");

            // Prevent device from advertising on disconnect.
            ble_adv_modes_config_t config;
            advertising_config_get(&config);
            config.ble_adv_on_disconnect_disabled = true;
            ble_advertising_modes_config_set(&m_advertising, &config);

            // Disconnect all other bonded devices that currently are connected.
            // This is required to receive a service changed indication
            // on bootup after a successful (or aborted) Device Firmware Update.
            uint32_t conn_count = ble_conn_state_for_each_connected(disconnect, NULL);
            NRF_LOG_INFO("Disconnected %d links.", conn_count);
            break;
        }

        case BLE_DFU_EVT_BOOTLOADER_ENTER:
            // YOUR_JOB: Write app-specific unwritten data to FLASH, control finalization of this
            //           by delaying reset by reporting false in app_shutdown_handler
            NRF_LOG_INFO("Device will enter bootloader mode.");
            break;

        case BLE_DFU_EVT_BOOTLOADER_ENTER_FAILED:
            NRF_LOG_ERROR("Request to enter bootloader mode failed asynchroneously.");
            // YOUR_JOB: Take corrective measures to resolve the issue
            //           like calling APP_ERROR_CHECK to reset the device.
            break;

        case BLE_DFU_EVT_RESPONSE_SEND_ERROR:
            NRF_LOG_ERROR("Request to send a response to client failed.");
            // YOUR_JOB: Take corrective measures to resolve the issue
            //           like calling APP_ERROR_CHECK to reset the device.
            APP_ERROR_CHECK(false);
            break;

        default:
            NRF_LOG_ERROR("Unknown event from ble_dfu_buttonless.");
            break;
    }
}
添加sd_ble_gap_disconnect函数定义如下:
static void disconnect(uint16_t conn_handle, void * p_context)
{
    UNUSED_PARAMETER(p_context);

    ret_code_t err_code = sd_ble_gap_disconnect(conn_handle, BLE_HCI_REMOTE_USER_TERMINATED_CONNECTION);
    if (err_code != NRF_SUCCESS)
    {
        NRF_LOG_WARNING("Failed to disconnect connection. Connection handle: %d Error: %d", conn_handle, err_code);
    }
    else
    {
        NRF_LOG_DEBUG("Disconnected connection handle %d", conn_handle);
    }
}
添加advertising_config_get函数定义如下:
static void advertising_config_get(ble_adv_modes_config_t * p_config)
{
    memset(p_config, 0, sizeof(ble_adv_modes_config_t));

    p_config->ble_adv_fast_enabled  = true;
    p_config->ble_adv_fast_interval = APP_ADV_INTERVAL;
    p_config->ble_adv_fast_timeout  = APP_ADV_DURATION;
}
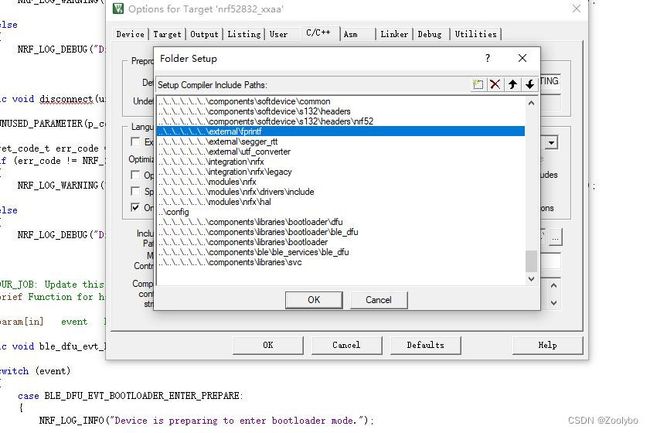
5、
对SDK不熟悉的童鞋可以直接查找这几个文件然后按照路径添加即可
6、在define中添加这些宏:DEBUG DFU_SUPPORT BL_SETTINGS_ACCESS_ONLY NRF_DFU_SVCI_ENABLED NRF_DFU_TRANSPORT_BLE=1,其中DEBUG宏只是为了调试方便而设置的,跟DFU本身无关。DFU_SUPPORT是我用来控制我添加的DFU代码的,删掉DFU_SUPPORT,将不编译所有DFU有关代码。其余的宏都是系统自带的,如果要支持DFU,也是必须要定义的。
7、编译,0错误0警告
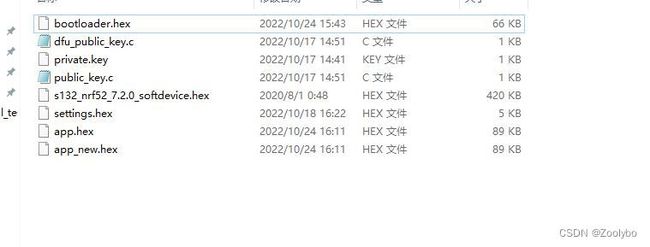
8、 将......examples\ble_peripheral\ble_app_uart\pca10040\s132\arm5_no_packs\_build中的nrf52832_xxaa.hex拷贝出两份,一份重命名为app_new.hex,一份重新命名为app.hex
三、合并烧写hex
1、打开CMD命令行使用cd命令进入到存放hex的文件夹下,例如:C:\Users\zoolybo>cd /d D:\NUS with DFU\keys
2、将上文生成的3个hex文件和softdevice hex文件merge成一个文件,然后通过nrfjprog或者nRF Connect桌面版进行烧写,相关命令如下所示:
mergehex --merge bootloader.hex settings.hex --output bl_temp.hex
mergehex --merge bl_temp.hex app.hex s132_nrf52_7.2.0_softdevice.hex --output whole.hex
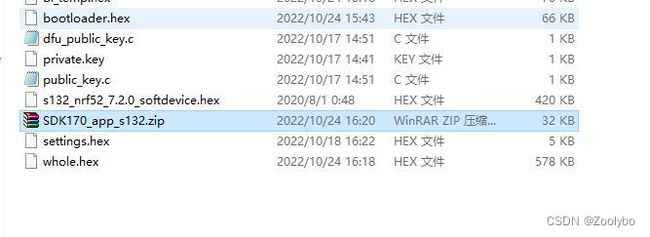
3、通过nrfutil生成新固件对应的zip包:SDK170_app_s132.zip。zip包包含新固件和init包,zip包一般通过云端下发到手机app,手机app再通过蓝牙下载到设备中。生成zip包的命令如下所示:
D:\NUS with DFU\keys>nrfutil pkg generate --application app_new.hex --application-version 2 --hw-version 52 --sd-req 0x101 --key-file private.key SDK170_app_s132.zip4、使用下列的命令烧写hex文件到芯片 ,如图所示
nrfjprog --eraseall -f NRF52
nrfjprog --program whole.hex --verify -f NRF52
nrfjprog --reset -f NRF52
四、通过DFU升级
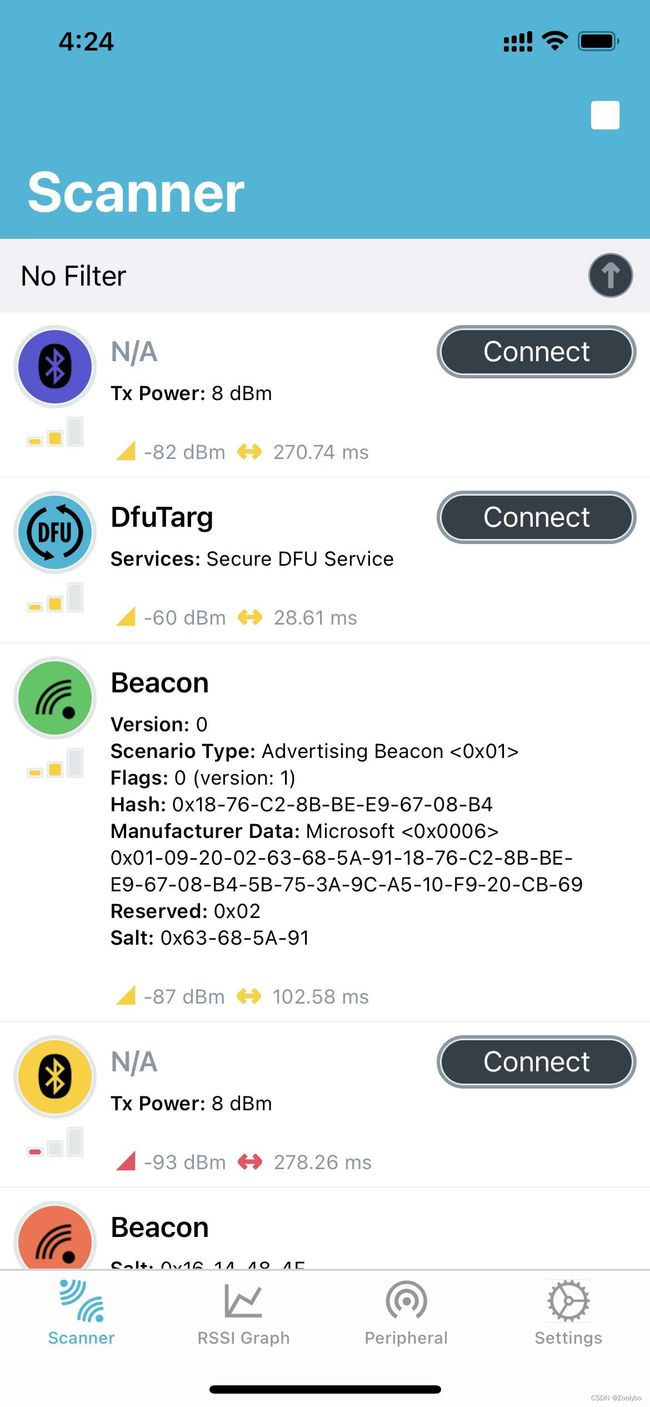
此时已经可以收到一个广播名字为DfuTarg的设备了。如图所示
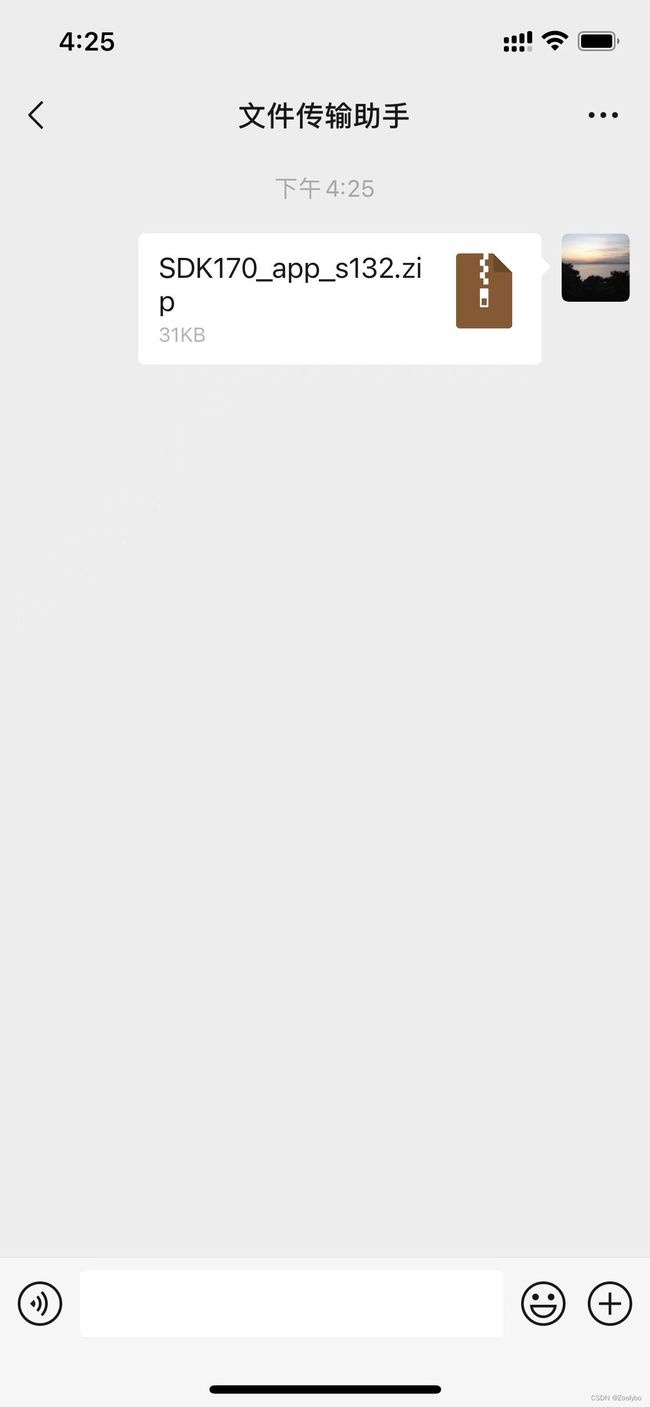
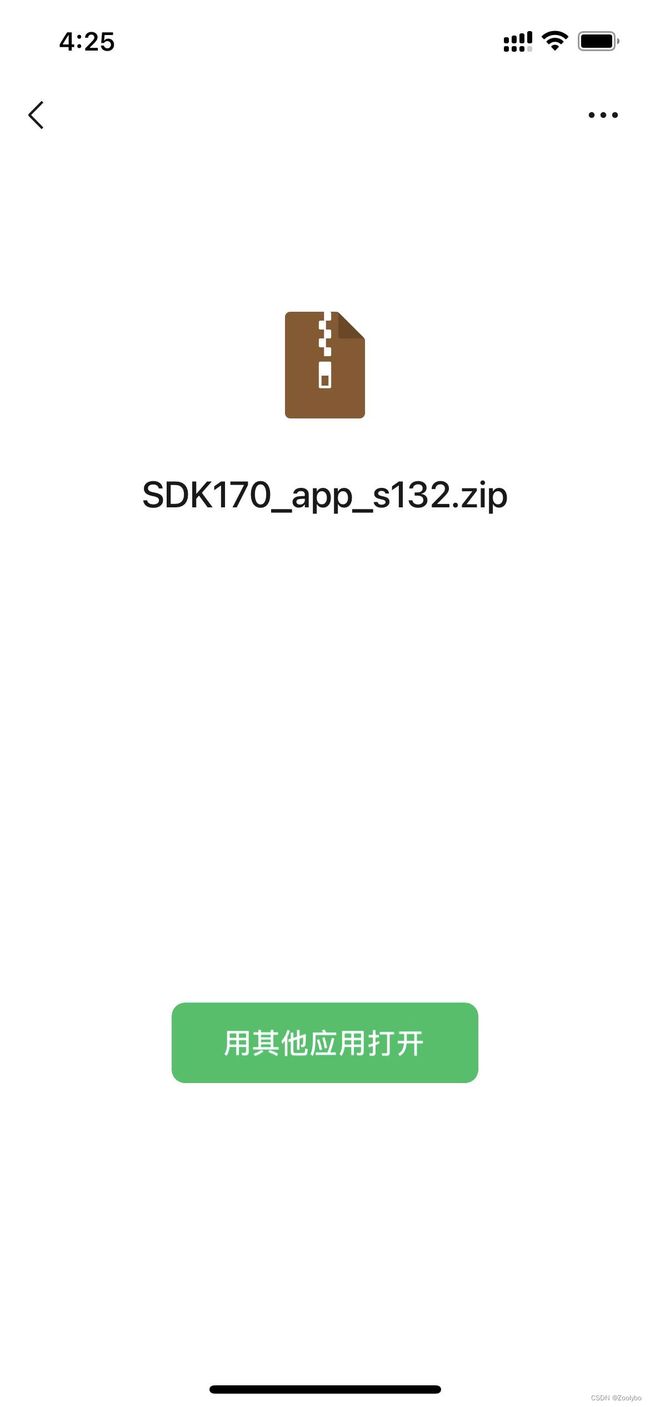
我们将之前生成的升级包SDK170_app_s132.zip可以通过微信的文件传输助手发送到手机,单击压缩包选择使用其他应用打开
选择使用nrf connect打开
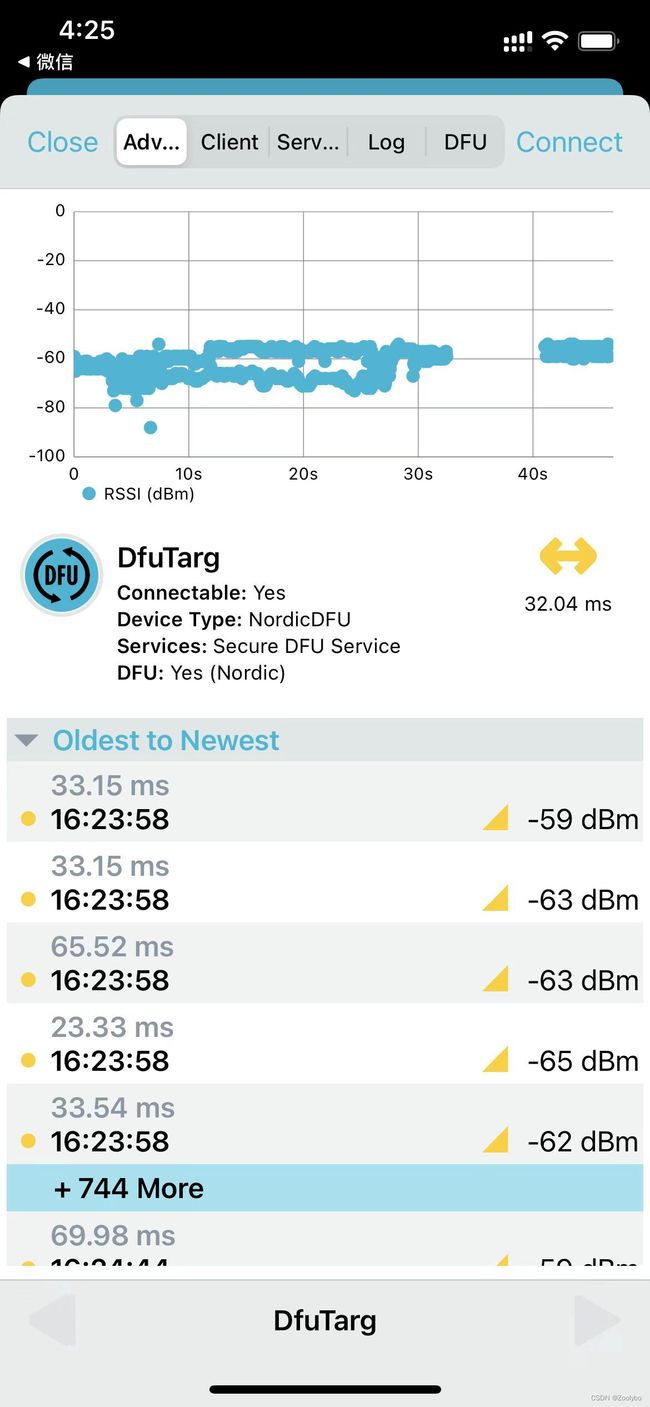
然后界面如下
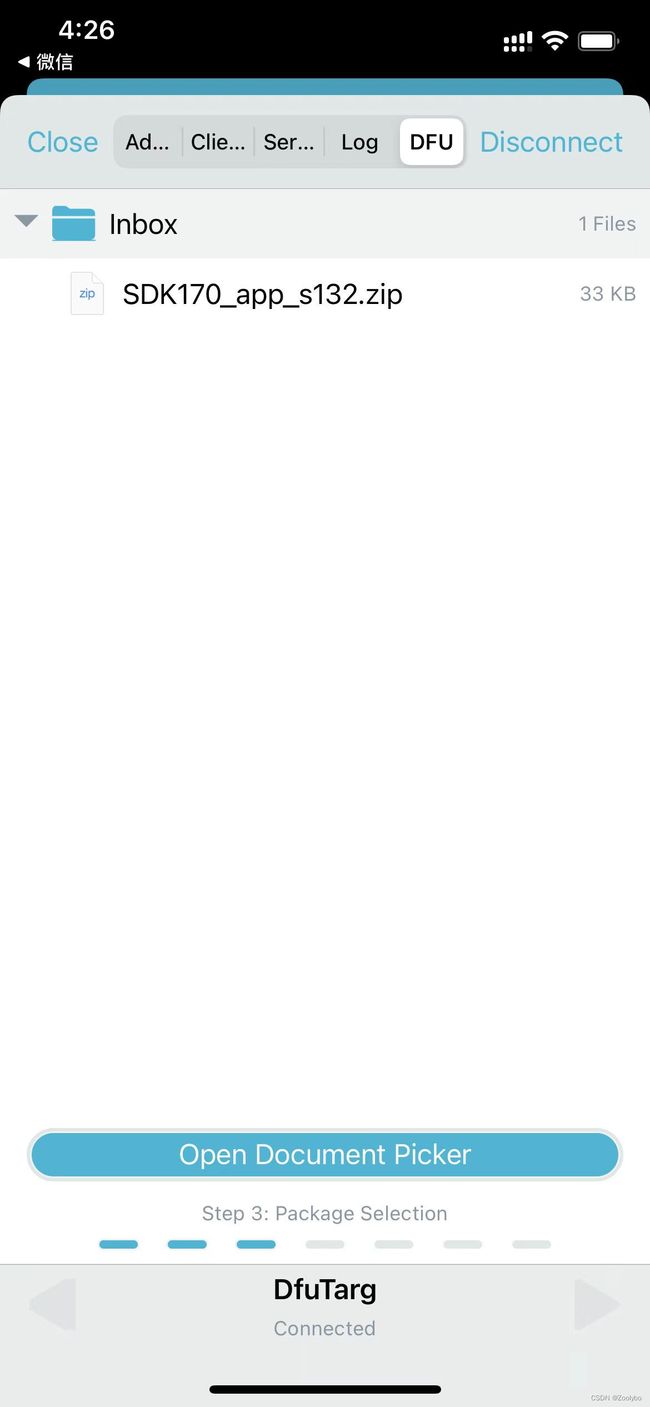
单击右上角的connect,连接设备在选择DFU选项卡
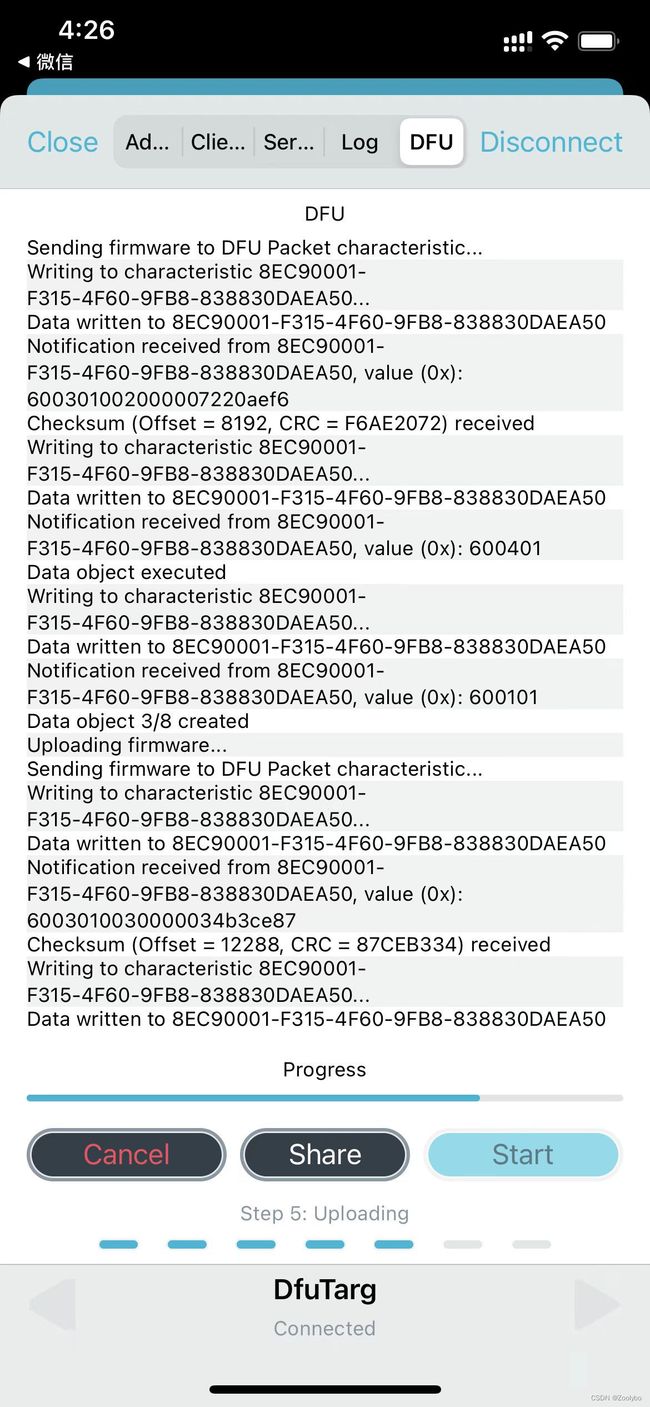
单击升级包选择start开始升级
升级成功后显示这个界面
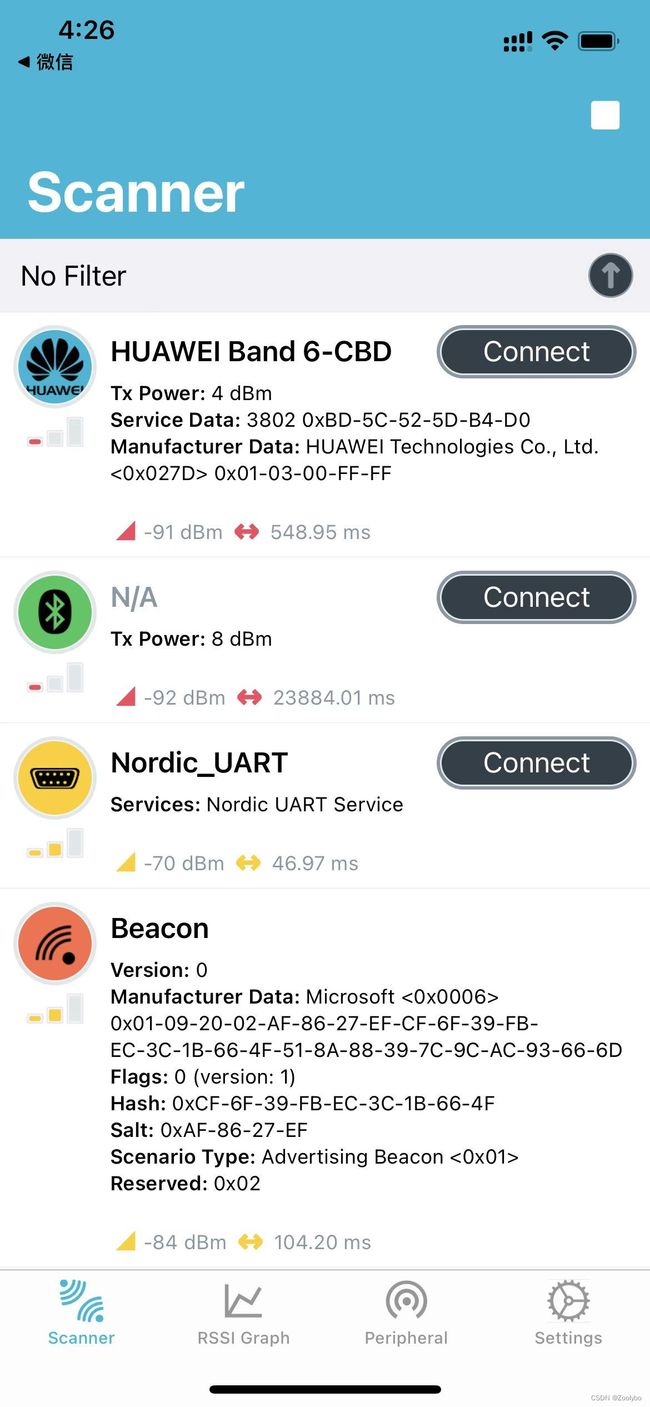
再次刷线蓝牙搜索,新的升级包已经在运行了,能够搜索到Nordic_UART的设备了

