乐意购项目前端开发 #6
一、商品详情页面

代码模版
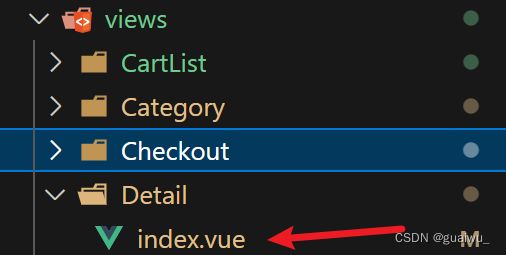
创建Detail文件夹, 然后创建index.vue文件
首页
{{ category.categoryName }}
{{ goods.goodsName }}
{{ goods.goodsName }}
{{ goods.goodsDetail }}
{{ goods.price }}
{{ goods.originalPrice }}
- 服务
-
无忧退货
快速退款
免费包邮
了解详情
-
商品数量
{{ goods.goodsNumber }}
查看
-
人气数值
{{ goods.heat }}
销量人气
-
卖家信誉
{{ seller.reputation }}
卖家主页
加入购物车
封装接口
创建文件
import http from "@/utils/http"

//获取商品信息
export function getDetail (id) {
  return http({
    url: '/goods',
      method: 'get',
      params: {
        id
      }
  })
}
配置路由
商品详情页面也是二级页面
{
        path: "/category/new",
        component: () => import("@/views/Category/New.vue"),
      },
      {
        path: "category/sub/:id",
        component: SubCategory,
      },
      {
        path: "/detail/:id",
        component: Detail,
      },
}
链接跳转
将之前页面商品的跳转链接修改
二、详情页面图片显示组件
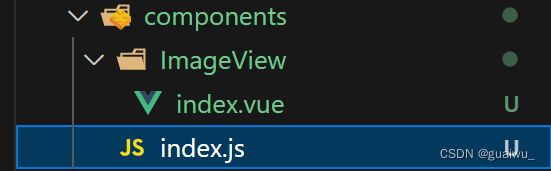
创建文件
index.js在 components 文件夹下, index.vue 在ImgView文件夹下
代码模版
index.vue
![]()
-
![]()
index.js
// 通过插件的方式把components中的所有组件都进行全局化注册
import ImageView from './ImageView/index.vue'
export const componentPlugin ={
    install(app){
        // app.component('组件名字',组件配置对象)
        app.component('LygImageView',ImageView)
    }
}
三、登录页面
代码模版
创建文件
乐易购
进入网站首页
我已同意隐私条款和服务条款
点击登录
封装接口
创建文件

编写代码("username" , "password" 要和你数据库的属性对应上)
import http from '@/utils/http'

export function loginAPI ({ username,password}) {
  return http({
    url: '/login',
    method: 'POST',
    data:{
      "username": username,
      "password": password
    },
  })
}
配置路由
登录页面是一级页面
const routes = [
  {
    // Home 页面是首页下的二级页面,所以要配置在首页路径下
    path: "/",
    component: Layout,
    children: [
      ...//省略
  },
  {
    path: "/login",
    component: Login,
  },
];
用户数据持久化
要先安装pinia
安装pinia持久化插件 pinia-plugin-persistedstate
npm i pinia-plugin-persistedstate
在main.js中注册插件
import { createPinia } from 'pinia'
import piniaPersist from 'pinia-plugin-persistedstate'

const pinia = createPinia()
pinia.use(piniaPersist)
const app = createApp(App)

app.use(pinia)
创建文件
// 管理用户数据相关
import { defineStore } from "pinia";
import { ref } from "vue";
import { loginAPI } from "@/api/login/index";
import { useCartStore } from "./cartStore";

export const useUserStore = defineStore(
  "user",
  () => {
    const cartStore = useCartStore();
    // 1. 定义管理用户数据的state
    const userInfo = ref({});
    // 2. 定义获取接口数据的action函数
    const getUserInfo = async ({ username, password }) => {
      const res = await loginAPI({ username, password });
      //console.log(res.data.code)
      // console.log(res.data.token)
      userInfo.value = res.data;

      //window.sessionStorage.setItem('token', res.data.token);

      //获取最新的购物车列表
      cartStore.updateNewList();
    };
    // 退出时清除用户信息
    const clearUserInfo = () => {
      userInfo.value = {};
      //window.sessionStorage.clear;
      //执行清除购物车的action
      cartStore.clearCart;
    };
    // 3. 以对象的格式把state和action return
    return {
      userInfo,
      getUserInfo,
      clearUserInfo,
    };
  },
  {
    persist: true,
  }
);
修改LayoutNav.vue
![]()
![]()
获取pinia中的用户数据
import { useUserStore } from '@/store/user'

const userStore = useUserStore()
根据是否登录状态来显示
                    {{ userStore.userInfo.user.username }}


                                退出登录


                    我的订单


                  请先登录
                    帮助中心
                    关于我们
整体代码