Ubuntu12.04 下svn服务搭建及Windows客户端tortoisesvn的使用
在Ubuntu服务端搭建apache+svn 在客户端使用Tortoisesvn工具。
第一步 安装SVN
$sudo apt-get install subversion
安装成功后系统会自动建立一个/home/svn文件夹。
第二步 添加用户组
$sudo addgroup subversion
$sudo usermod -G subversion -a www-data
$sudo usermod -G subversion -a root
添加完之后注销系统生效。
第三步 创建SVN文件仓库
$sudo svnadmin create /home/svn/test
$cd /home/svn/test
$sudo chown -R root:subversion test
$sudo chmod -R g+rws test (注:如果没有执行这条命令,使用tortoisesvn进行提交时会提示错误!)
第四步 安装 apache2 、libapache2-svn
$sudo apt-get install apache2
$sudo apt-get install libapache2-svn
安装完成后在浏览器中输入:http://127.0.0.1 如果提示It works!则表示apache安装成功。
第五步 打开apache配置文件
$sudo vim /etc/apache2/mods-available/dav_svn.conf
增加一下内容(蓝色字体):
<Location /svn>


  # Uncomment this to enable the repository

  DAV svn


  # Set this to the path to your repository

  SVNPath /home/svn/test


  # Basic Authentication is repository-wide.  It is not secure unless

  # you are using https.  See the 'htpasswd' command to create and

  # manage the password file - and the documentation for the

  # 'auth_basic' and 'authn_file' modules, which you will need for this

  # (enable them with 'a2enmod').

  AuthType Basic AuthName "Subversion Repository" AuthUserFile /home/svn/test/conf/passwd


  #<LimitExcept GET PROPFIND OPTIONS REPORT> Require valid-user

  #</LimitExcept>


</Location>
第五步 添加用户及密码
因为在/home/svn/test/conf/passwd文件中保存了用户名和密码,所以可以直接添加用户:
$sudo htpasswd -c /home/svn/test/conf/passwd test
然后输入两次密码。
重启apache: $sudo /etc/init.d/apache2 restart
第六步 测试
然后在浏览器中输入(客户端):
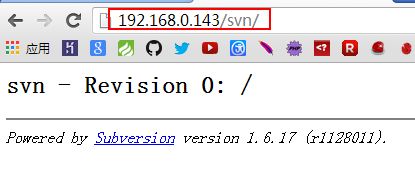
http://ip地址/svn 浏览器会弹出填写用户名和密码的对话框,输入刚才设置的用户名和密码。
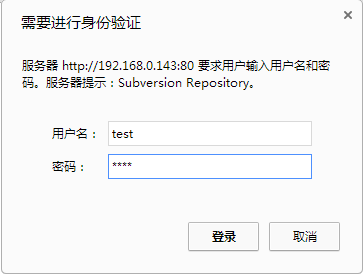
登录成功后会显示:
表示可以通过http的方式访问了。
第六步 在客户端安装tortoisesvn并使用
非常简单,一路默认。安装完后随便一个盘中新建一个空文件夹,然后鼠标右键如下图:

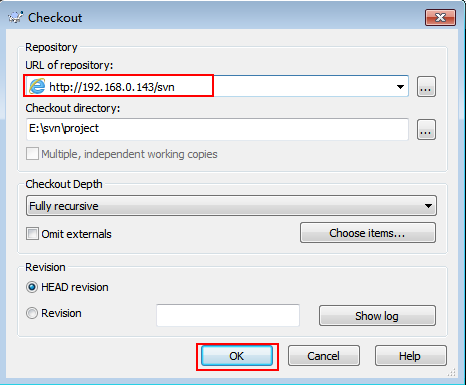
点击OK。

在本地project 文件夹下面会生成:
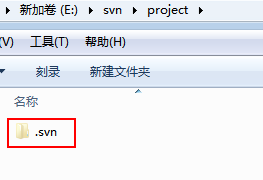
在project文件夹下面新建一个文件夹pro1,进入pro1新建read.txt随便输入一些内容。回到project文件夹外部,右键:

选中要提交的文件。
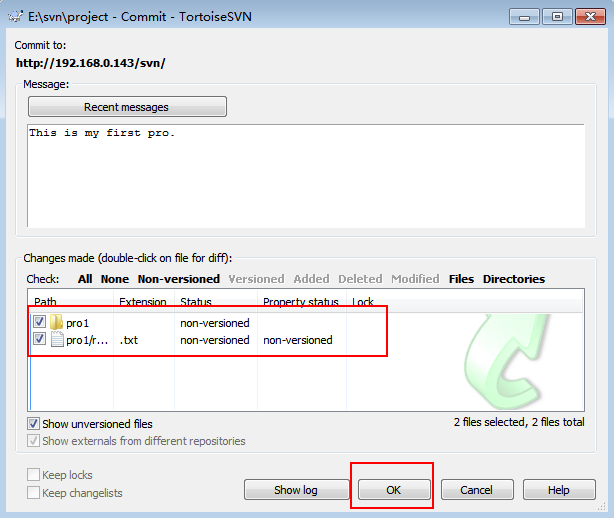
点击OK。

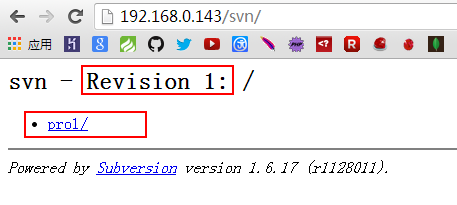
在浏览器中输入如下所示:
