使用spring构建一个restful service project
spring官方指导:http://spring.io/guides/gs/rest-service/
预期效果:
访问如同这样一个get请求:
http://localhost:8080/greeting
能够响应如下的json字串:
<!-- lang: js -->
{"id":1,"content":"Hello, World!"}
也可以传递一个参数,如下:
<!-- lang: js -->
http://localhost:8080/greeting?name=User
response为:
<!-- lang: js -->
{"id":1,"content":"Hello, User!"}
需要的准备工作
- About 15 minutes A favorite text editor or IDE JDK 1.6 or later
Gradle 1.8+ or Maven 3.0+ You can also import the code from this
guide as well as view the web page directly into Spring Tool Suite
(STS) and work your way through it from there.
下载示范project:
<!-- lang: shell -->
git clone https://github.com/spring-guides/gs-rest-service.git

cd into gs-rest-service/initial
下面使用maven作为构建工具:
创建包目录:mkdir -p src/main/java/hello
<!-- lang: shell -->
└── src
    └── main
        └── java
            └── hello
导入项目到Eclipse:
创建一个实体类:
src/main/java/hello/Greeting.java
package hello;

public class Greeting {

    private final long id;
    private final String content;

    public Greeting(long id, String content) {
        this.id = id;
        this.content = content;
    }

    public long getId() {
        return id;
    }

    public String getContent() {
        return content;
    }
}
创建一个资源控制器:
src/main/java/hello/GreetingController.java
package hello;

import java.util.concurrent.atomic.AtomicLong;
import org.springframework.stereotype.Controller;
import org.springframework.web.bind.annotation.RequestMapping;
import org.springframework.web.bind.annotation.RequestParam;
import org.springframework.web.bind.annotation.ResponseBody;

@Controller
public class GreetingController {

    private static final String template = "Hello, %s!";
    private final AtomicLong counter = new AtomicLong();

    @RequestMapping("/greeting")
    public @ResponseBody Greeting greeting(
            @RequestParam(value="name", required=false, defaultValue="World") String name) {
        return new Greeting(counter.incrementAndGet(),
                            String.format(template, name));
    }
}
创建一个可执行的Application类:
src/main/java/hello/Application.java
package hello;

import org.springframework.boot.autoconfigure.EnableAutoConfiguration;
import org.springframework.boot.SpringApplication;
import org.springframework.context.annotation.ComponentScan;

@ComponentScan
@EnableAutoConfiguration
public class Application {

    public static void main(String[] args) {
        SpringApplication.run(Application.class, args);
    }
}
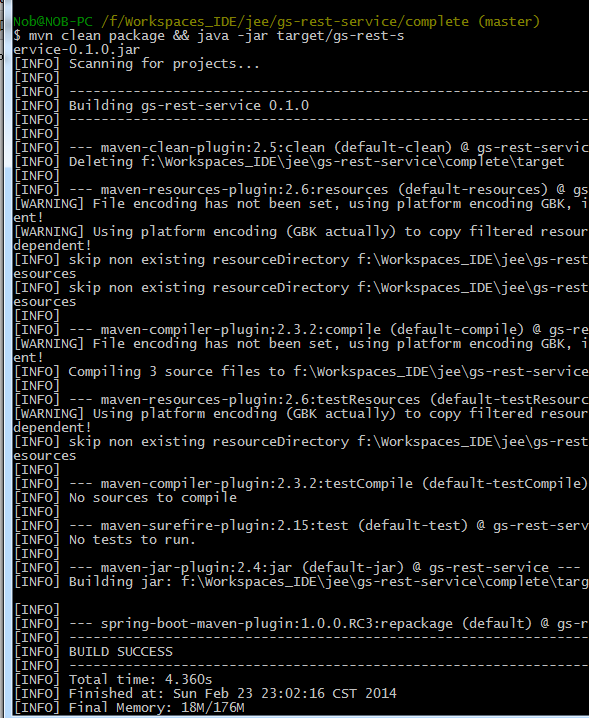
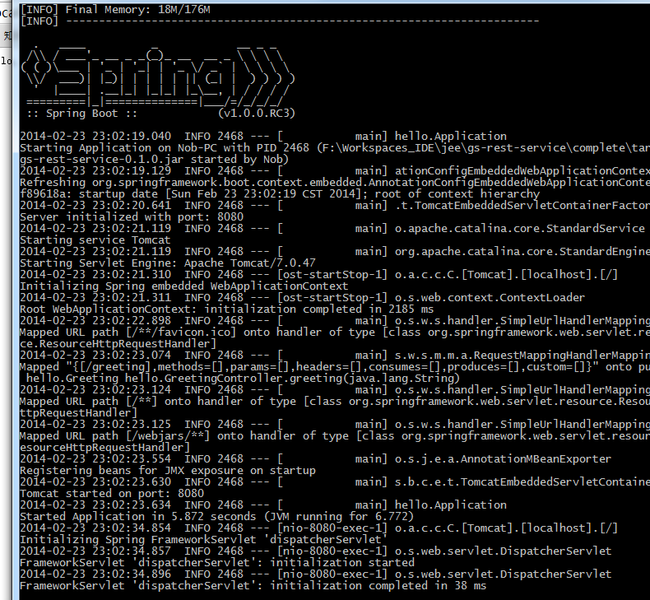
运行服务:
<!-- lang: shell -->
cd gs-rest-service/complete
mvn clean package && java -jar target/gs-rest-service-0.1.0.jar
或者Eclipse里面run as-》mvn install
测试:
http://localhost(本地主机):8080/greeting,
http://localhost(本地主机):8080/greeting?name=Nob 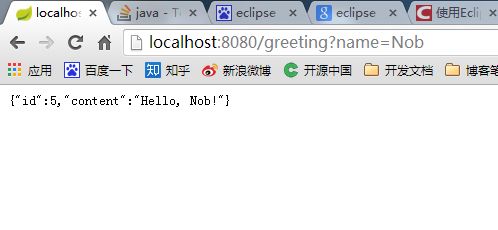
ps:可能遇到的错误:
Eclipse编码要设置为utf8,否则build时会出现问题