利用开源图片处理thumbnailator组件变幻图片
thumbnailator图片组件让人眼睛一亮,确实小组件干大事,对图片的处理解决了Java开发中处理图片的困难。
thumbnailator: http://code.google.com/p/thumbnailator/
这篇文章通过几个例子和一些注释说明thumbnailator的用法,体会其短小精悍的强大之处。
1.对图片尺寸进行重设
/**
     * 重设图片尺寸
     *
     * @throws IOException
     */
    @Ignore
    @Test
    public void test1() throws IOException {
        Thumbnails.of(new File("E:\\test\\1a.jpg")).size(160, 160)
                .toFile(new File("E:\\test\\1a_size_1.jpg"));
    }
注:可以通过查看源码或者API获取响应的操作。比如:toFile(String outputFilePath)
2.对图片尺寸进行重设,并且在中间天津水印
/**
     * 重设图片尺寸,并在中间添加水印
     *
     * @throws IOException
     */
    @Ignore
    @Test
    public void test2() throws IOException {
        Thumbnails
                .of(new File("E:\\test\\1a.jpg"))
                .size(480, 480)
                .watermark(Positions.CENTER,
                        ImageIO.read(new File("E:\\test\\02.png")), 0.8f)
                .toFile(new File("E:\\test\\1a_water_1.jpg"));
    }
注:水印的位置通过枚举类Positions设置。
对于水印位置的设置可以通过对枚举类Positions扩展。
参见源代码写法:
TOP_CENTER()
    {
        public Point calculate(int enclosingWidth, int enclosingHeight,
                int width, int height, int insetLeft, int insetRight,
                int insetTop, int insetBottom)
        {
            int x = (enclosingWidth / 2) - (width / 2);
            int y = insetTop;
            return new Point(x, y);
        }
    },
watermark方法的第三个参数是透明度,0.0f(完全透明)-1.0f(完全不透明) 。
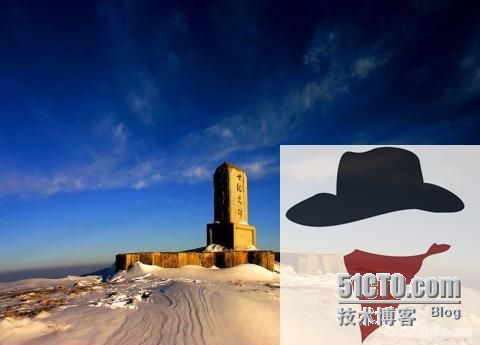
附一张右下角水印图:
3.缩放图片,并添加文字处理
/**
     * 缩放图片,并在图片右下角添加文字
     *
     * @throws IOException
     */
    @Ignore
    @Test
    public void test4() throws IOException {
        BufferedImage bi = new BufferedImage(64, 64, BufferedImage.TYPE_INT_RGB);
        Graphics2D g = bi.createGraphics();
        g.setColor(Color.LIGHT_GRAY);
        g.drawRect(0, 0, 64, 64);
        char[] data = "野马红尘".toCharArray();
        g.drawChars(data, 0, data.length, 5, 32);
        Thumbnails.of(new File("E:\\test\\1a.jpg")).scale(0.5f)
                .watermark(Positions.BOTTOM_RIGHT, bi, 0.9f)
                .toFile(new File("E:\\test\\1a_front_1.jpg"));
    }
注:这个方法对水印生成进行扩展,通过对BufferedImage进行处理产生自定义的水印。
不建议这么去做,因为Thumbnails组件本意就是为了减轻Java对图片处理的负担,因此建议准备好作为水印的图片,然后根据 2 中的方式为目标图片添加水印。
附一张附加文字的处理(右下角有“野马红尘”字样):
4.将文本生成二维码,并在其中间位置添加图片
注:这里关于二维码生成可以参考Zxing包使用或
博文: http://aiilive.blog.51cto.com/1925756/1352004
/**
     * 将文本生成二维码并且在中央添加图片
     *
     * @throws IOException
     */
    @Ignore
    @Test
    public void test5() throws IOException {
        Hashtable<EncodeHintType, String> hints = new Hashtable<EncodeHintType, String>();
        hints.put(EncodeHintType.CHARACTER_SET, "UTF8");
        BitMatrix bmx;
        String contents = "http://aiilive.blog.51cto.com";
        try {
            bmx = new MultiFormatWriter().encode(contents,
                    BarcodeFormat.QR_CODE, 450, 450, hints);
            File file = new File("E:\\test\\aiilive.png");
            File temp = new File("E:\\test\\temp.png");
            MatrixToImageWriter.writeToFile(bmx, "png", temp);
            BufferedImage bi = ImageIO.read(new File("E:\\test\\02.png"));
            Thumbnails
                    .of(temp)
                    .scale(1.0f)
                    .watermark(Positions.CENTER,
                            Thumbnails.of(bi).size(45, 45).asBufferedImage(),
                            0.8f).toFile(file);
            temp.delete();
        } catch (WriterException e) {
            e.printStackTrace();
        } catch (IOException e) {
            e.printStackTrace();
        }
    }
注:二维码图片作为临时文件,然后用Thumbnails对其进行水印处理,生成最终图片。
附一张效果图(仔细看里面有个人的头像):
5.图片进行缩放,并且旋转
/**
     * 图片旋转
     *
     * @throws IOException
     */
    @Ignore
    @Test
    public void test6() throws IOException {
        Thumbnails.of(new File("E:\\test\\1a.jpg")).scale(0.5f).rotate(45.0f)
                .toFile(new File("E:\\test\\1a_rotate_1.jpg"));
    }
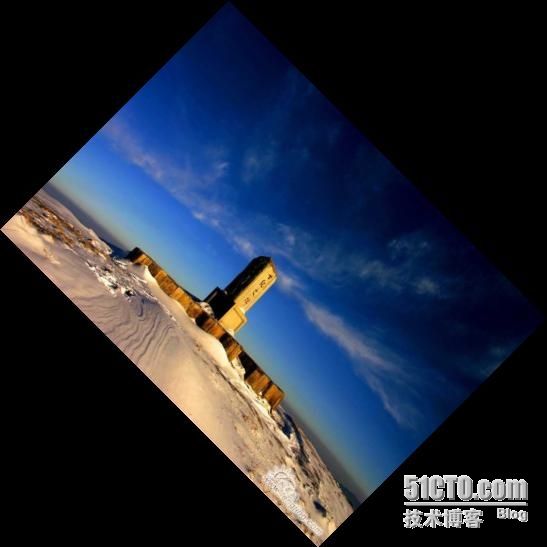
注:对图片进行0.5倍缩放,并且旋转45度,效果图如下:
6.批量处理
前面的5个例子展示了Thumbnails对单个图片的尺寸重设,缩放,打水印,旋转,更为强大的是一个图片能做的事批量也能做,甚至批量对图片输出格式设定,重命名,复制,移动都可以。
/**
     * 批量处理图片
     *
     * @throws IOException
     */
    @Ignore
    @Test
    public void test7() throws IOException {
        File dir = new File("E:\\test\\");
        File[] fs = dir.listFiles();
        Thumbnails
                .of(fs)
                .scale(0.8f)
                .outputFormat("jpg")
                .outputQuality(1.0f)
                .toFiles(new File("E:\\test\\"), Rename.PREFIX_HYPHEN_THUMBNAIL);
    }
注:这个例子对test目录下的图片进行0.8倍缩放,输入格式设为jpg,最高质量,输入值test目录,且命名为:thumbnail-原图片名。
关于图片的重命名可以通过对Renme的apply方法进行自定义实现。
通过以上6个例子涵盖了thumbnail的基础功能,我们可以在源代码的基础上进行扩展来实现更多的功能或者满足比较特殊的需要,例如:对于输出文件的重命名,水印位置等都可以进行扩展。另外还可以将图片裁剪,缩放,水印,重命名等结合起来解决更复杂的问题。
本文出自 “野马红尘” 博客,谢绝转载!


