终于成功使用asdoc生成了文档
网上有好多教程,貌似搞下来都不怎么能成功。今天自己摸索了一下,终于成功了,记录下来,也许能帮助有需要的人。
首先我装的是FlashBuilder4,所以还在用FlexBuilder的人我就不保证以下内容是否适用了。以下是我的FlashBuilder4安装的目录:
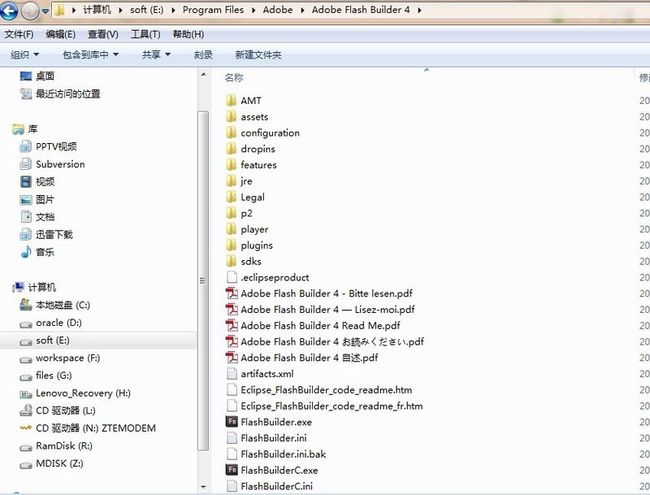
第一步:需要配置一下环境变量,把E:\Program Files\Adobe\Adobe Flash Builder 4\sdks\4.0.0\bin 这个路径配置到环境变量里面。当然,这一步不是必须的,只是为了避免每次都进到这个目录来运行asdoc.exe而已。至于怎么去加环境变量,这里省略了,大家都懂的。
第二步:编写编译配置文件,放到你的src目录下,xml的实例如下【里面每个参数的含义请下载文后的附件自己慢慢看一下】:
<?xml version="1.0"?>
<flex-config xmlns="http://www.adobe.com/2006/flex-config">
	<compiler>
		<source-path>
			<path-element>Z:\workspace\flashbuilder\ZVP_CORE\src</path-element>
		</source-path>
		<library-path>
			<path-element>Z:\workspace\flashbuilder\ZVP_CORE\libs</path-element>
		</library-path>
		<!--禁用严格模式--> <strict>false</strict>


	</compiler>

	<!--需要输出到文档的类路径-->
	<doc-sources>
		<path-element>Z:\workspace\flashbuilder\ZVP_CORE\src\com</path-element>
	</doc-sources>

	<!--需要排除的类或者文件-->
	<exclude-sources>
		<path-element>Z:\workspace\flashbuilder\ZVP_CORE\src\com\ztesoft\bpmn\__resizeable.as</path-element>
		<path-element>Z:\workspace\flashbuilder\ZVP_CORE\src\com\ztesoft\common\__selectable.as</path-element>
		<path-element>Z:\workspace\flashbuilder\ZVP_CORE\src\com\ztesoft\common\CLASS_MAPPING.as</path-element>
		<path-element>Z:\workspace\flashbuilder\ZVP_CORE\src\com\ztesoft\common\__withlabel.as</path-element>
		<path-element>Z:\workspace\flashbuilder\ZVP_CORE\src\com\ztesoft\common\link\__linkAble.as</path-element>
		<path-element>Z:\workspace\flashbuilder\ZVP_CORE\src\com\ztesoft\common\slothook\__hookable.as</path-element>
		<path-element>Z:\workspace\flashbuilder\ZVP_CORE\src\com\ztesoft\common\slothook\__slotable.as</path-element>
		<path-element>Z:\workspace\flashbuilder\ZVP_CORE\src\com\ztesoft\dd\__dragsrc.as</path-element>
		<path-element>Z:\workspace\flashbuilder\ZVP_CORE\src\com\ztesoft\dd\__dropzone.as</path-element>
		<path-element>Z:\workspace\flashbuilder\ZVP_CORE\src\com\ztesoft\core\__observable.as</path-element>
	</exclude-sources>

	<!--文档输出路径--> <output>G:\ZVP_doc</output> <!--忽略警告--> <warnings>false</warnings>


</flex-config>
【以上示例用的XML配置文件已经附在文后】
第三步:从命令行进入到你工程的src目录,然后运行:

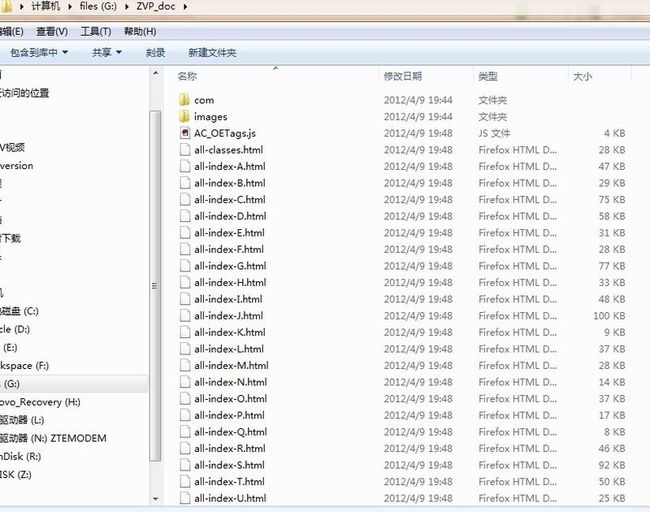
OK,在指定的目录成功生成文档了,请看:
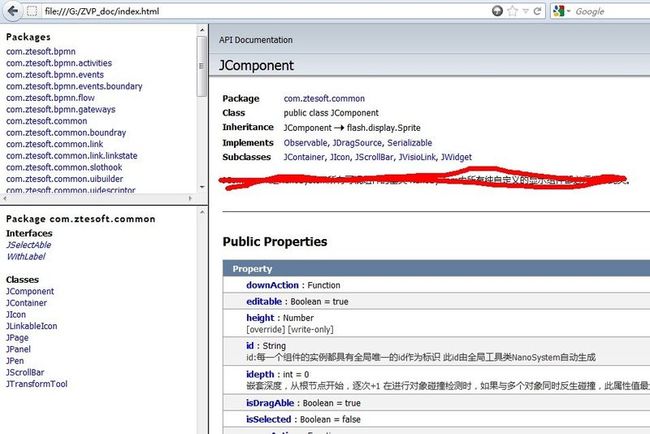
打开来小炫耀一下:
最后总结一下:
首先:ASDoc这工具不是很好使,如果不禁用严格模式 ,那么只要代码或者注释里面出现了一些不该出现的东西 ,都会导致文档编译失败。
其次:最好仔细看一下来自Adobe的说明文档【附于文后】,注释的编写是有规范的。很多特殊字符,HTML标签 神马的,如果写得不好,文档编译也会失败的。
第三:使用include方式导入到类中的as文件必须排除掉。
第四:貌似sdk\4.0.0下面的asdoc.exe比sdk\3.5.0下面的好用一点。
好了,祝你好运。