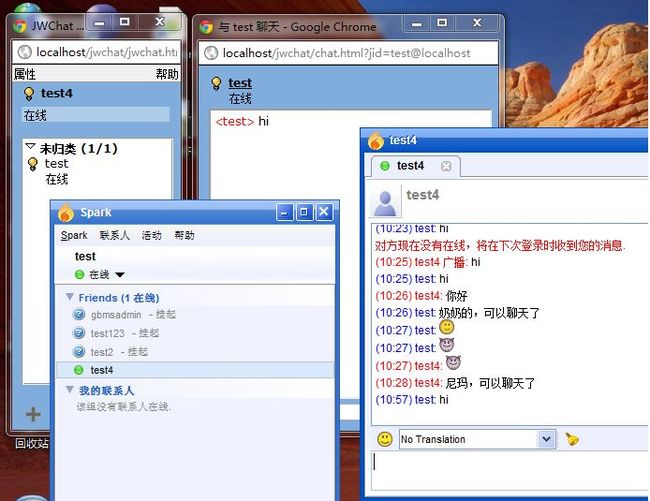
openfire+jwchat+nginx搭建XMPP的webim
openfire+jwchat+nginx搭建XMPP的webim
Openfire是一个强大的即时消息(IM)和聊天服务器,它实现了XMPP协议,下载
http://www.igniterealtime.org/projects/openfire/
jwchat是XMPP的一个客户端实现,下载
http://blog.jwchat.org/jwchat/
nginx作为jwchat的运行容器,实现http-bind,下载
http://nginx.org/
下载后先安装Openfire,安装比较简单,
window下解压后,进入bin下面,运行openfire.exe,
启动服务,浏览器输入http://localhost:8080,然后按提示安装即可
nginx安装,window下nginx解压即可用。
jwchat解压,使用中文版,所以把jwchat目录下面的.zh_CN为后缀的都去掉。
把整个目录拷贝到nginx的html下面
配置jwchat的config.js文件
var SITENAME = "localhost"; #服务器的ip,非本机改为特定ip或者服务
var BACKENDS =
[

		{
			name:"Native Binding",
			description:"Ejabberd's native HTTP Binding backend",
			httpbase:"/http-bind/",
			type:"binding",
			servers_allowed:[SITENAME]
		},
		/*这部分注释掉
		{
			name:"Native Polling",
			description:"Ejabberd's native HTTP Polling backend",
			httpbase:"/http-poll/",
			type:"polling",
			servers_allowed:[SITENAME]
		},
		{
            name:"Open Relay",
            description:"HTTP Binding backend that allows connecting to any jabber server",
            httpbase:"/jhb/",
            type:"binding",
            default_server: SITENAME
        },
		{
			name:"Restricted Relay",
			description:"This one let's you choose from a limited list of allowed servers",
			httpbase:"/JHB/",
			type:"binding",
			servers_allowed:[SITENAME,'jabber.org','jwchat.org']
		}
		*/
];
配置nginx
在nginx的conf文件下打开nginx.conf,添加http-bind的代理设置
#在
#gzip on;
#下增加
upstream openfire {
        server 127.0.0.1:7070;
    }
在
location / {
root html;
index index.html index.htm;
}
之上增加
location /http-bind {
        proxy_pass http://bk.openfire;
        proxy_buffering off;
        proxy_redirect off;
        proxy_read_timeout 120;
        proxy_connect_timeout 120;
	}
配置完成,启动nginx,然后浏览器访问
http://localhost/jwchat使用
