cocos2d中的anchorPoint
将该图片放置到屏幕左下方
CCSprite sprite = CCSprite.sprite("Default.png");
addChild(sprite);
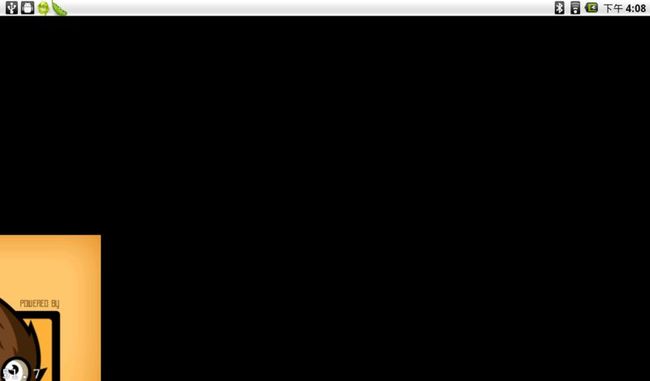
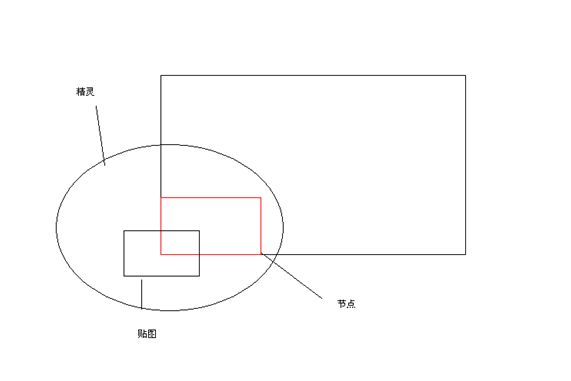
生成的精灵放置在( 0,0 ),也就是屏幕左下角。但是精灵的贴图的中心点和精灵的左下角位置一致 ,导致贴图只能显示一部分(贴图的右边上半部分)。
可以这样想,一个精灵有两部分,一部分是节点背景对象 ,另一部分是贴图对象 (自己理解定义的名称,非官方)
怎么可以让贴图完全显示出来呢?使用定位点
每个节点都有一个定位点,但是只有当节点拥有贴图时,这个定位点才有用。默认情况下, anchorPoint 属性设置为( 0.5,0.5 )
定位点和节点的位置没有关系。当改变 anchorPoint 属性的时候,我们能看到精灵在屏幕上的位置发生了变化,但是其实节点没有改变;改变的是精灵里贴图的位置
CCSprite sprite = CCSprite.sprite("Default.png");
sprite.setScale(0.6f);
sprite.setPosition(CGPoint.make(500, 300));
addChild(sprite);

ccMacros.CCLOGERROR("test", "Position:"+sprite.getPosition().x +"--"+sprite.getPosition().y);
ccMacros.CCLOGERROR("test", "AnchorPoint:"+sprite.getAnchorPoint().x +"--"+sprite.getAnchorPoint().y);
ccMacros.CCLOGERROR("test", "AnchorPointInPixels:"+sprite.getAnchorPointInPixels().x+"--"+sprite.getAnchorPointInPixels().y);
修改定位点为0
CCSprite sprite = CCSprite.sprite("Default.png");
sprite.setScale(0.6f);
sprite.setPosition(CGPoint.make(500, 300));
sprite.setAnchorPoint(CGPoint.make(0, 0));
addChild(sprite);
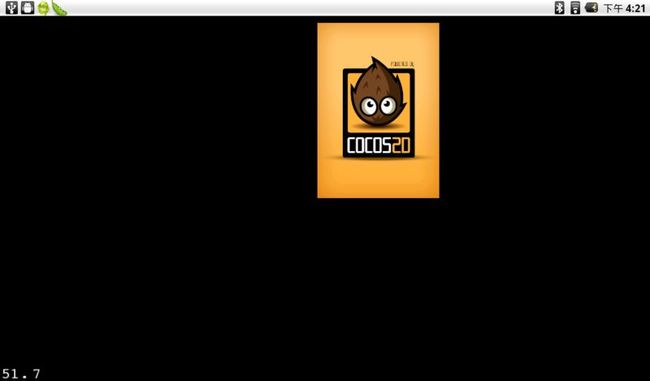
从上面可以看出来精灵的位置没有发生变化,发生变化的只是贴图对象 相对于节点背景对象 的偏移 。
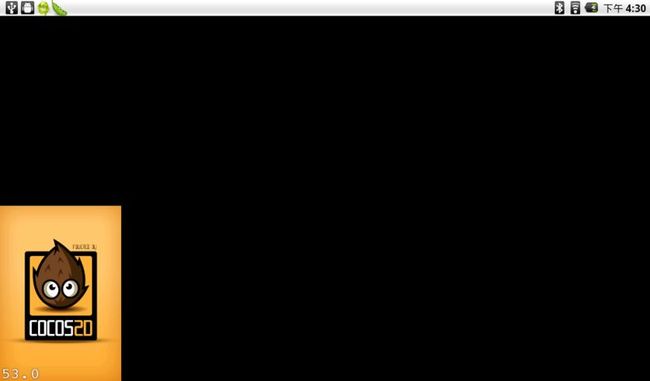
默认情况下 anchorPoint 为( 0.5,0.5 ),即贴图对象 的中心位置对应着节点背景对象 的左下角;而当 anchorPoint 为( 0,0 ),即贴图对象 的左下角对应着节点背景对象 的左下角
所以按照下面的代码,图片就可以正好显示在左下角了
CCSprite sprite = CCSprite.sprite("Default.png");
sprite.setAnchorPoint(CGPoint.make(0, 0));
addChild(sprite);
